By Matteo Martignago, cinematographer and colorist. Sources and figures last checked July 27, 2026.
Set your camera to manual, f/8, ISO 100 and manual focus on a fixed point on the road, put it on a tripod, and choose your shutter speed by timing how long one car takes to cross your frame. For most roadside setups that is somewhere between 5 and 20 seconds, not the flat 30 seconds most guides hand you. That last step is the one the published guides leave out, and it is why so many first attempts come back as a single white blur.
Jump to
The settings, on one screen · What light trail photography is · How long should the exposure be? · Every setting, and the reason for it · Where to stand and when to go · How to shoot a sequence · Stacking · Editing in Lightroom · On a phone · Why your shots failed · Shooting safely · FAQ
The settings, on one screen
Here is the whole recipe. Every number in it is explained further down, and every number appears the same thing everywhere it appears, because a guide that argues with itself is worse than no guide.
| Setting | Set it to | Why |
|---|---|---|
| Mode | Manual | You are choosing shutter and aperture for different jobs, so you need both |
| Aperture | f/8 | Sharpest on most lenses, and the last stop before diffraction starts costing you resolution |
| ISO | 100, or your camera’s base | On a tripod you can leave the shutter open as long as the shot needs, so amplification buys nothing |
| Shutter | The time one car takes to cross your frame, usually 5 to 20 seconds | Sets how long the trail is, and the ambient exposure with it, which is why you pick it first |
| Focus | Manual, on a static point on the road | Autofocus hunts on an empty night road, and a moving car is not a focus target |
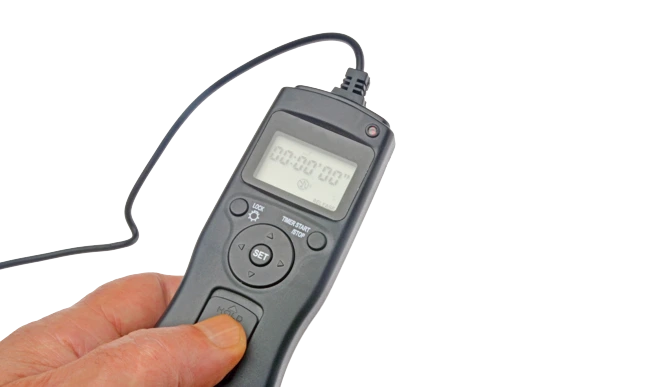
| Release | Two second timer, or a remote | Pressing the shutter by hand shakes a multi-second exposure |
| White balance | Daylight if you plan to stack, Auto for one-off frames | Streetlights, LEDs and headlights mix badly; correct it in RAW either way |
| Long exposure NR | Off | It roughly doubles the time per frame and locks the camera while it works |
| File | RAW | Night frames need highlight and shadow latitude you do not get from JPEG |
| Filter | None after dark | An ND filter is a daylight tool here; after sunset it only weakens the trails |
What light trail photography actually is
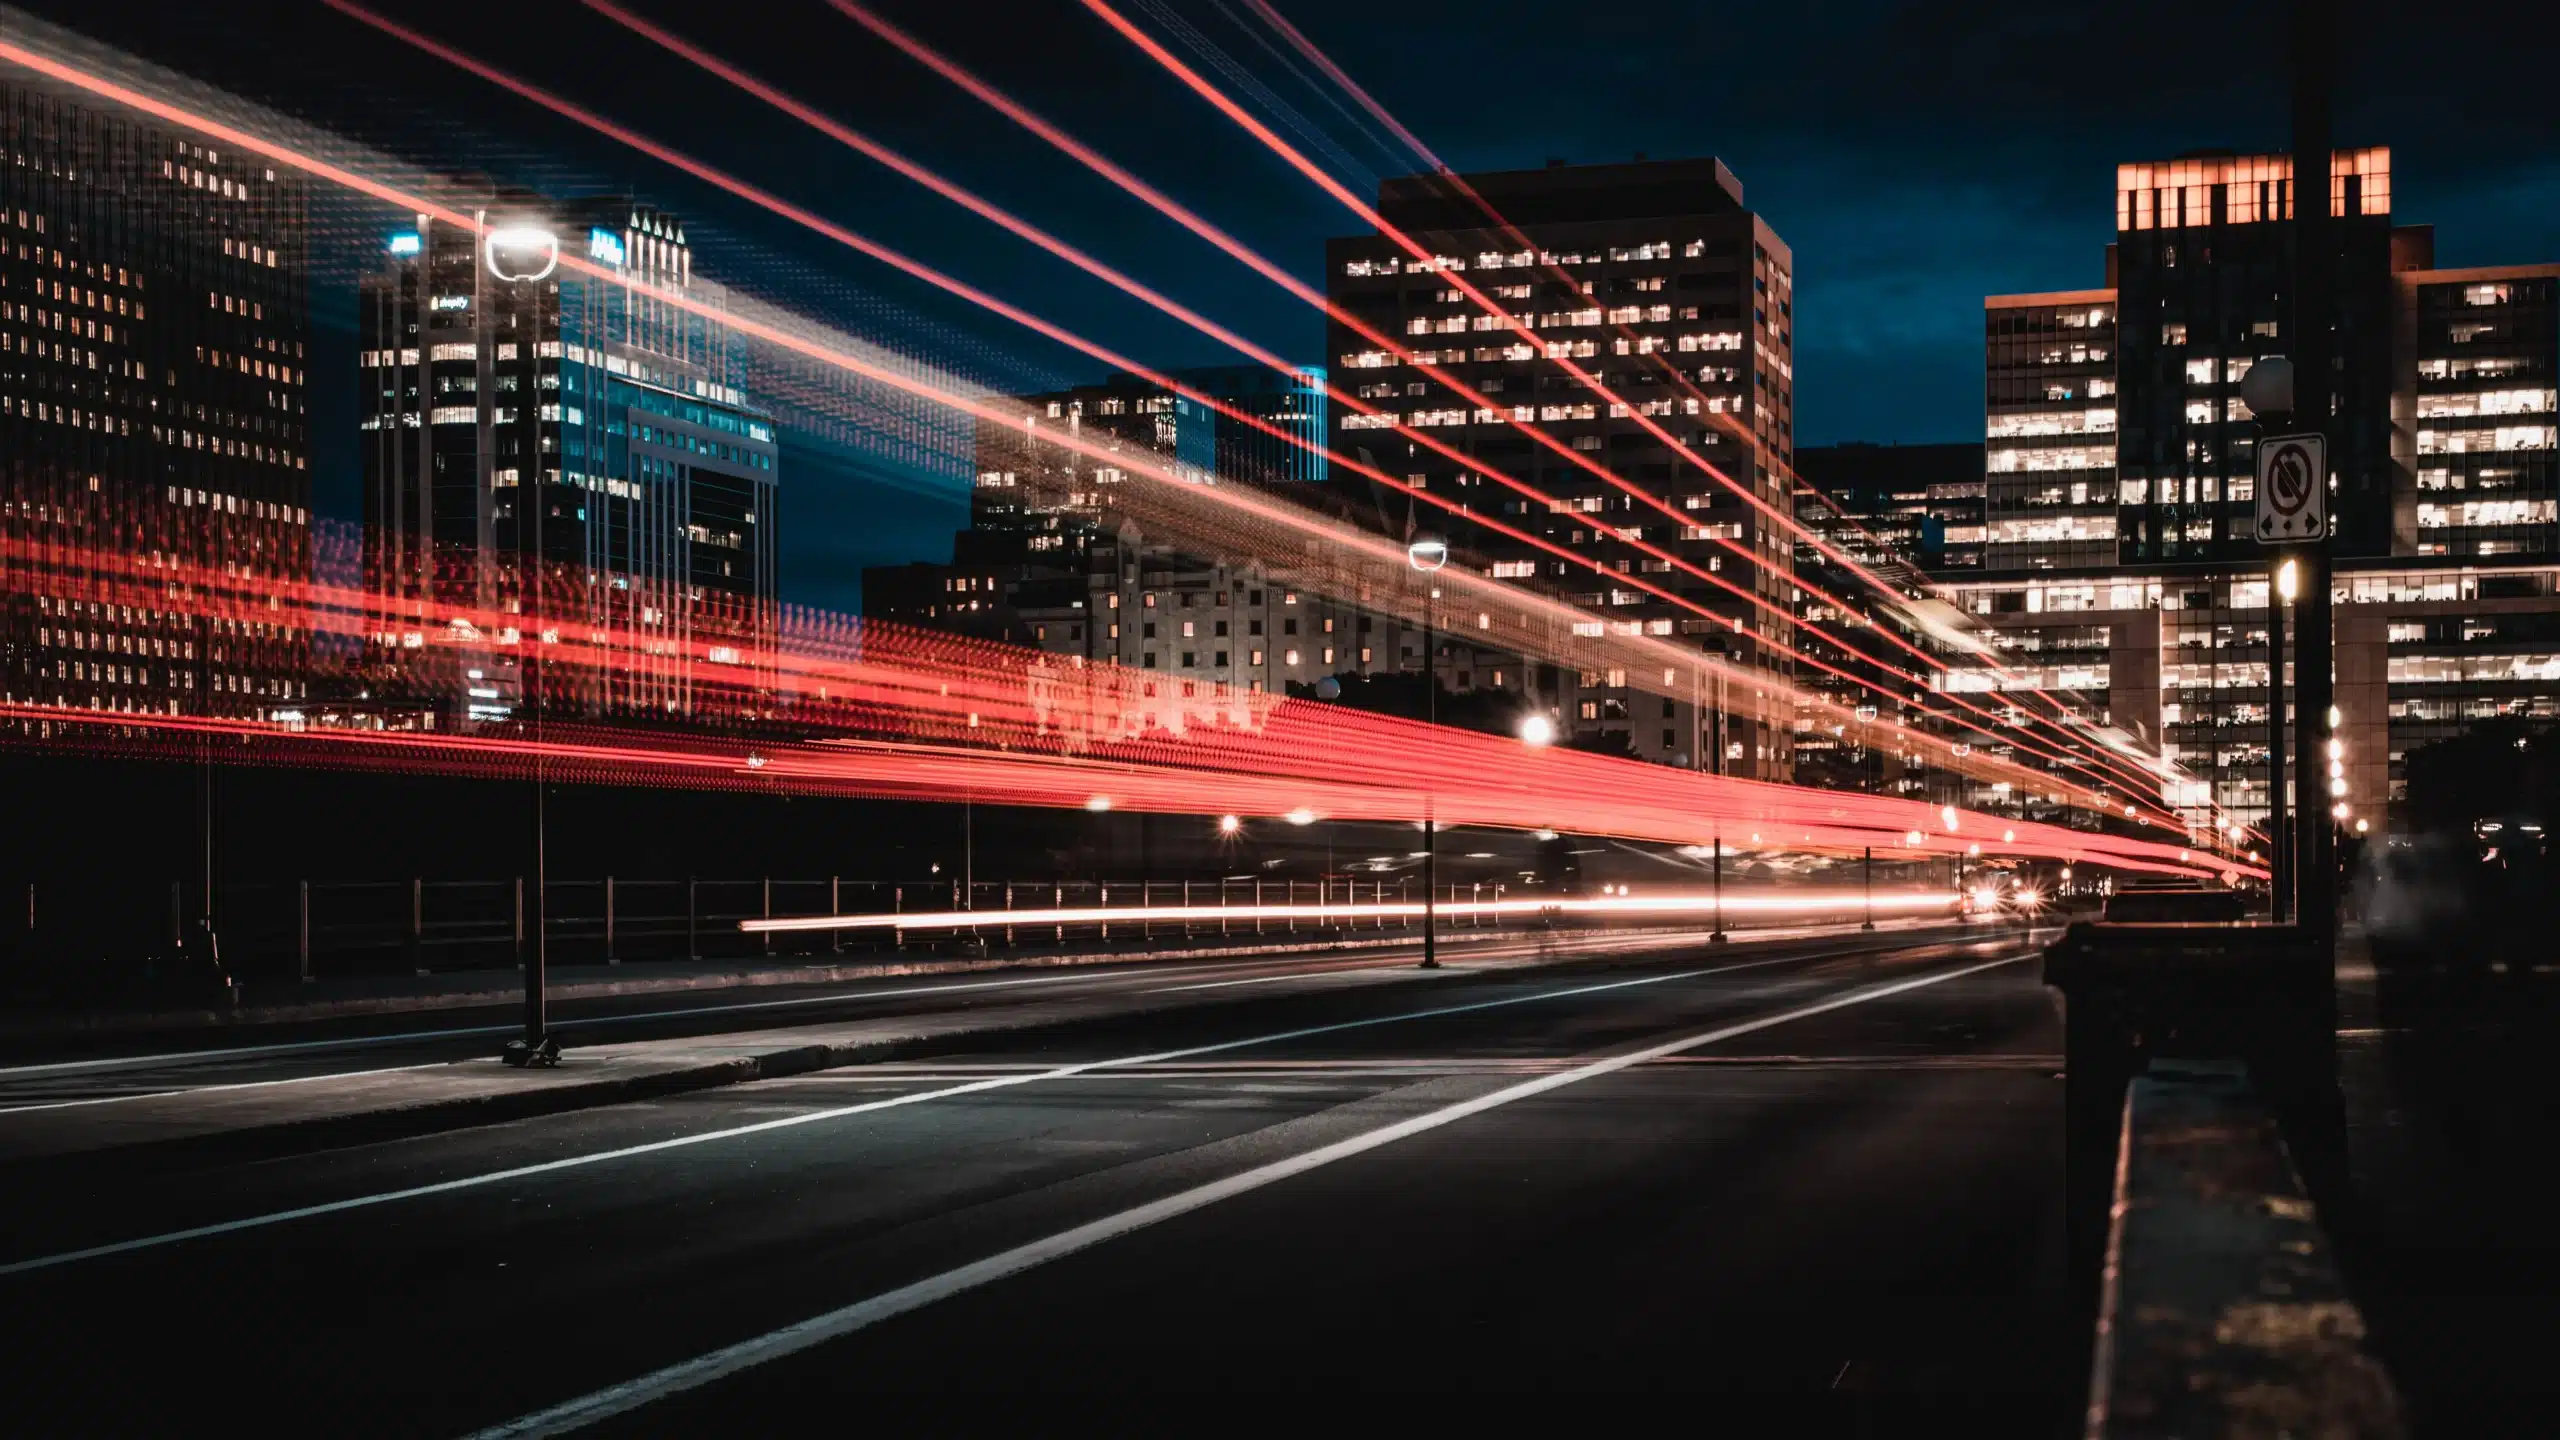
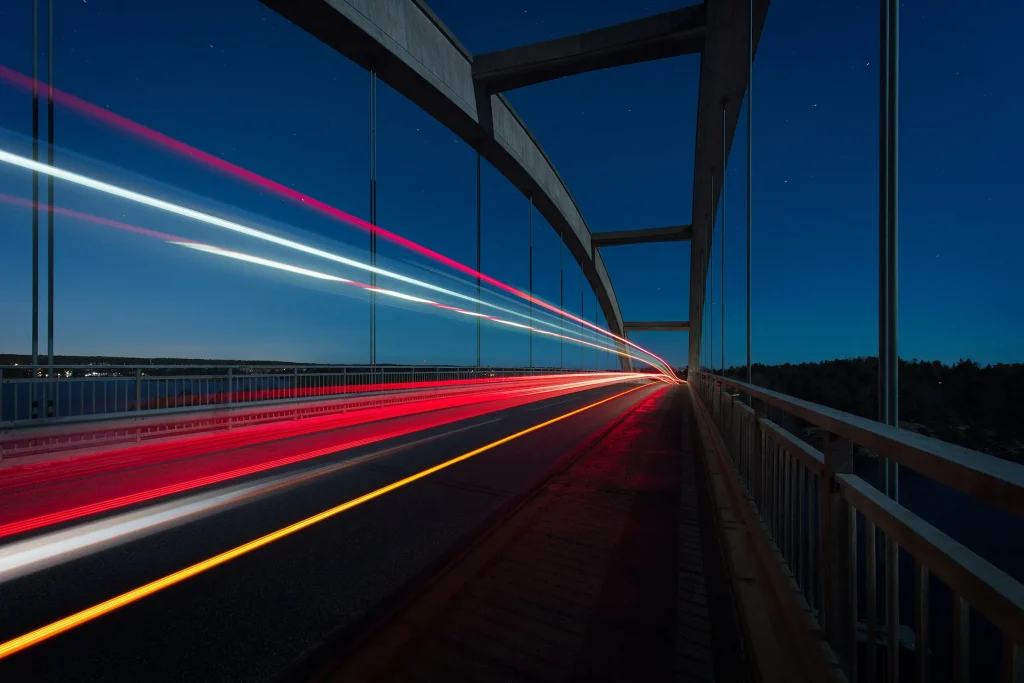
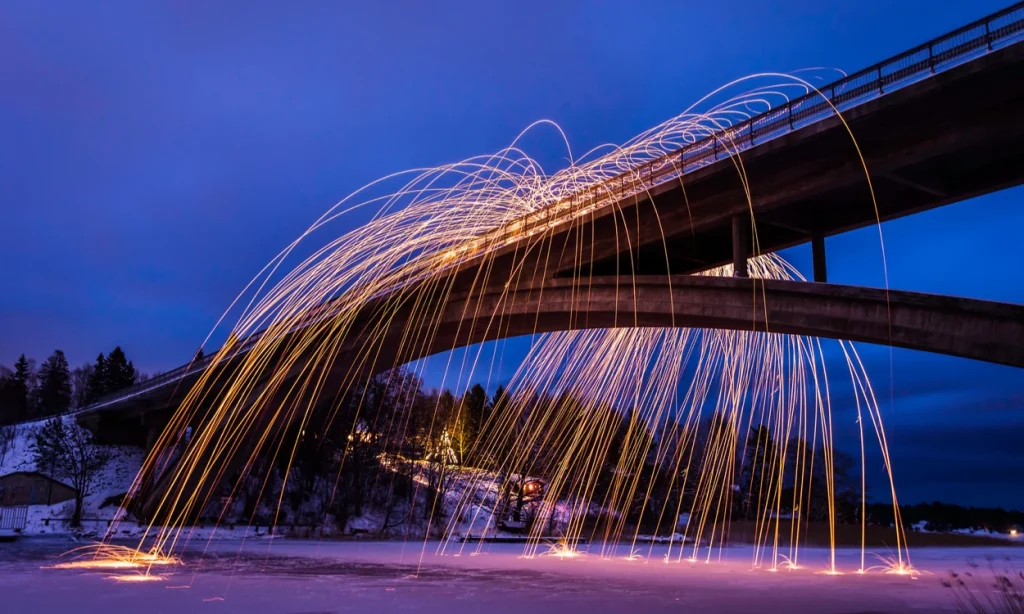
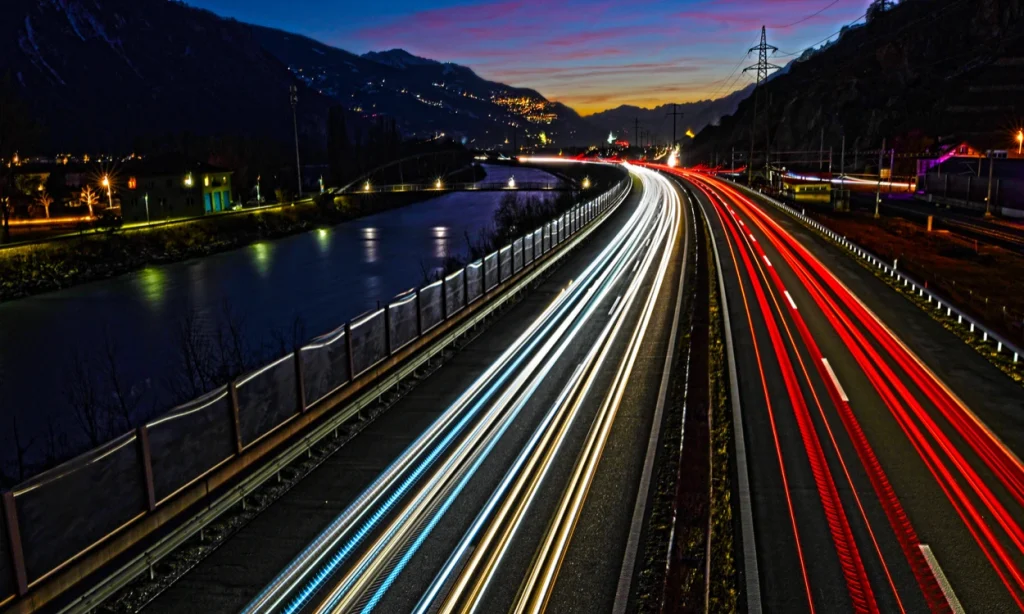
Light trail photography means holding the shutter open long enough that a moving light records as a continuous streak instead of a point. The classic subject is traffic: headlights write white lines, taillights write red ones, and the cars themselves vanish, because no part of the road is covered by one for long enough to register.
That is the whole genre in one sentence: a long exposure records what was bright, weighted by how long it stayed in one place. Bright and moving becomes a line. Bright and still becomes a blown out blob. Dark and moving disappears. Two neighboring techniques get confused with this one constantly, so here is the split:
| Light trails | Star trails | Light painting | |
|---|---|---|---|
| What is moving | Vehicles and other lit traffic | The Earth, rotating under the stars | A light you are holding |
| Typical exposure | 5 to 20 seconds | 30 to 60 seconds each, repeated for 2 to 4 hours | Seconds to minutes |
| Aperture | f/8 | f/2.8 or the widest your lens goes | Varies with how bright your light is |
| ISO | 100 | 800 to 1600 | Varies |
| Where | A lit city with traffic | Far from light pollution, no moon | Anywhere dark enough |
| Key tool | Tripod and remote | Intervalometer and stacking software | The handheld light |
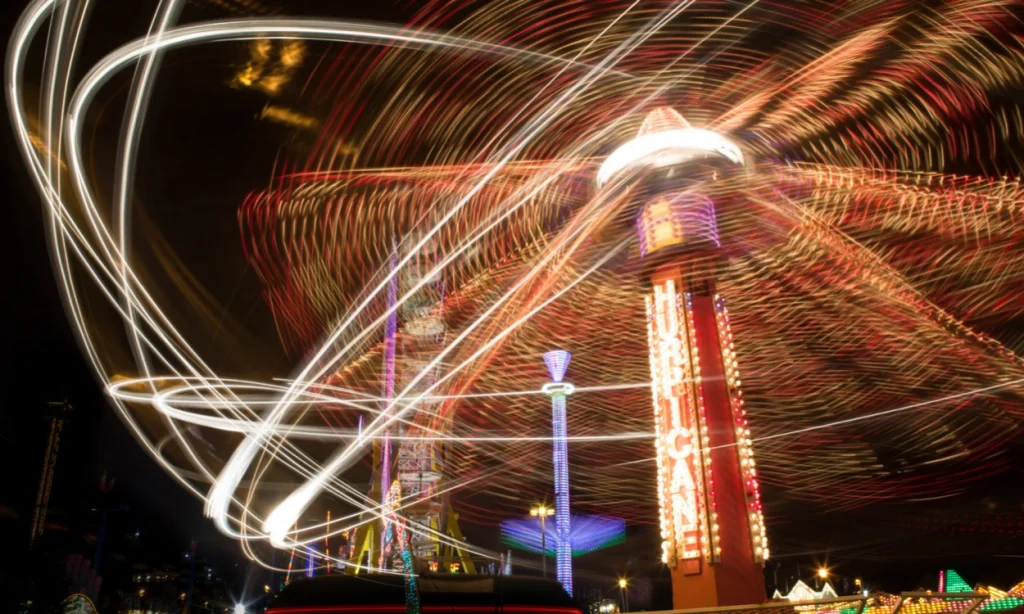
The distinction that matters is control. Here you are recording light you did not create and cannot direct, which makes it a timing problem. In light painting you are the light source, which makes it a drawing problem. Moving the camera instead is a third thing again: see intentional camera movement.
How long should the exposure be?
Every guide gives you a range. None of them tells you how to pick a number inside it. It depends on three things you can measure: how wide your frame is where the cars are, how fast they are moving, and therefore how long one takes to cross it.
How wide is your frame?
Frame width is the distance multiplied by your sensor width, divided by focal length. You do not have to work it out, because here it is:
| Focal length | Frame width at 50m (full frame) | Frame width at 100m (full frame) | Frame width at 100m (APS-C) |
|---|---|---|---|
| 14mm | 129 m | 257 m | 168 m |
| 24mm | 75 m | 150 m | 98 m |
| 35mm | 51 m | 103 m | 67 m |
| 50mm | 36 m | 72 m | 47 m |
How long does a car take to cross it?
Divide the width by the speed. A road that fills 150 meters of your frame, with traffic at 50 km/h, takes one car just under 11 seconds to cross end to end.
| Frame width | 30 km/h (19 mph) | 50 km/h (31 mph) | 80 km/h (50 mph) | 110 km/h (68 mph) |
|---|---|---|---|---|
| 25 m | 3.0 s | 1.8 s | 1.1 s | 0.8 s |
| 50 m | 6.0 s | 3.6 s | 2.2 s | 1.6 s |
| 100 m | 12.0 s | 7.2 s | 4.5 s | 3.3 s |
| 150 m | 18.0 s | 10.8 s | 6.8 s | 4.9 s |
| 300 m | 36.0 s | 21.6 s | 13.5 s | 9.8 s |
This is less a new idea than an unpublished one. Answering a beginner on DPReview in 2019, one forum regular worked it exactly this way: “At 30 mph a car travels 44feet/second (~15 yards/s)… Say your scene gives about 100 yards of road and you judge traffic to be moving at 30mph; 6-7s would give you trails all across the frame.” A hundred yards at 30 mph is 6.8 seconds, which is what the table above returns. What no published guide gives you is that arithmetic as something you can look up.
Why a longer exposure stops helping
Once the exposure runs longer than the crossing time, the trail is already edge to edge and cannot get longer, because the frame has run out. The extra seconds do two things instead, and both work against you.
The first is that more cars arrive. Ten seconds on a busy road might catch one clean vehicle; forty seconds catches four, laid over each other, and four overlapping trails read as one bright smear.
The second is the key to the whole technique. Ambient light accumulates with time: the sky, the buildings and the road surface brighten in direct proportion to how long the shutter is open. A trail does not. Any given pixel is lit only while a headlight is sweeping across it, a fraction of a second no matter how long the exposure runs. Trail brightness is set by aperture, ISO and vehicle speed. Background brightness is set by time.
Where this comes from: That asymmetry is reasoning from how exposure works, not a figure quoted from anyone. I could not find a published source stating it directly, so treat it as an explanation rather than a citation. What it predicts does match both the manufacturers’ recommendations and the failures people post on forums.
It also explains why the two settings are not interchangeable, which is the single most common misunderstanding in this genre. Shutter speed sets how long the trail is. Aperture sets how bright everything is. If your photograph is too bright, stopping down and shortening the exposure will both fix it, but only one of them will keep your trails.
What about the 15 to 30 seconds everyone recommends?
Nikon says “A shutter speed of around 15-30 seconds is the sweet spot”, and Canon Australia says to “begin your light trail shooting at 30 seconds”. Both are picturing one case: a wide lens, an elevated vantage point and a long stretch of road. Run that case through the table above and it comes back between 10 and 22 seconds, depending on how much road you have in frame. So the bottom of their range is a sound starting guess, and the top of it is already past the point where you are collecting sky rather than trail. Move closer, zoom in, or point at faster traffic and the number drops quickly. Time a car and you do not have to guess at all.
Every setting, and the reason for it
Aperture: f/8, and what f/16 really costs
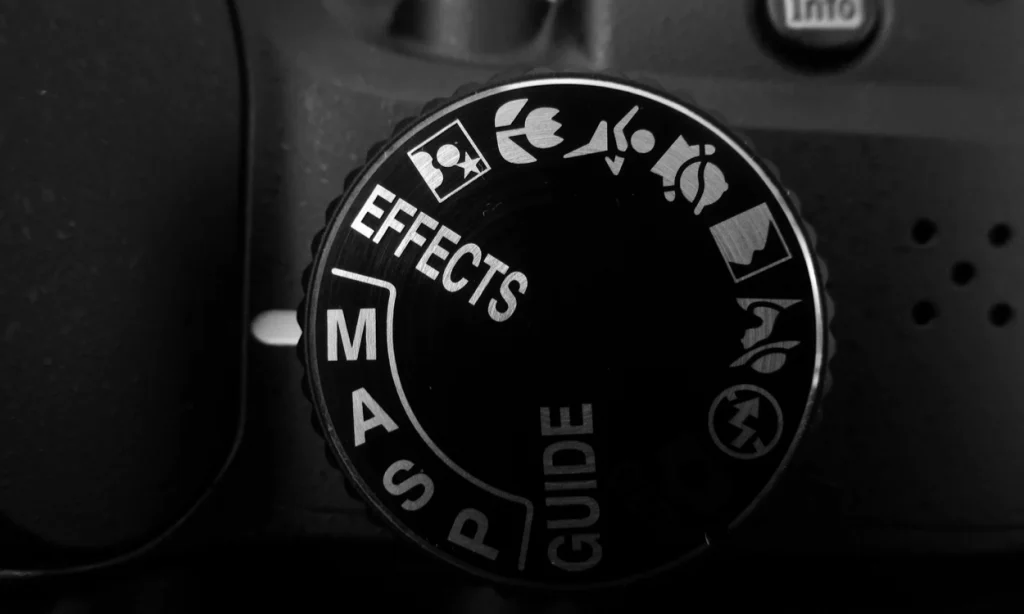
Start at f/8 and stay there. It is what Nikon prescribes for this technique, and 500px puts it plainly: “The sharpest aperture with the least distortion is usually going to be f/8 on most lenses.”
The advice everywhere else is to use a high f-number, and it is doing real damage. Past a certain point, stopping down makes the image softer rather than sharper: light bends around the edge of the aperture and a point of light lands on the sensor as a small disc. That disc has a formula. Its diameter is 2.44 times the wavelength times the f-number, which Edmund Optics publishes, along with a worked table at 520nm. The figures below are computed at 550nm, the middle of the visible range.
| Aperture | Blur disc at 550nm | On 24MP APS-C | On 24MP full frame | Verdict |
|---|---|---|---|---|
| f/5.6 | 7.5 µm | 1.9 px | 1.3 px | Sharp. Use it if you need the light |
| f/8 | 10.7 µm | 2.7 px | 1.8 px | The working aperture |
| f/11 | 14.8 µm | 3.8 px | 2.5 px | Fine on full frame, softening on dense APS-C |
| f/16 | 21.5 µm | 5.5 px | 3.6 px | Visibly soft. Only worth it for starbursts |
| f/22 | 29.5 µm | 7.5 px | 4.9 px | Spreads every point of light across more than seven pixels |
Canon does not hedge either. Its aperture guide states that “Very small apertures (such as f/22) cause diffraction, which can also reduce image sharpness”, and calls it an unavoidable physical phenomenon. High f-numbers are recommended almost everywhere as the way to make trails sharp. That is precisely backwards.
The one honest reason to shoot f/22
Starbursts. Canon Australia recommends it outright: “Set your aperture at f/22 as this will help you achieve a starburst effect coming through the lens.” Narrow apertures turn every static streetlight into a spiked star, and short of a dedicated star filter there is no other way to get it in camera. Just know it is a trade rather than an upgrade: you buy the spikes with several pixels of blur across the whole frame. Shoot it deliberately, and shoot an f/8 frame too.
ISO: base, always
ISO 100, or whatever your camera’s lowest native setting is. There is no situation in tripod-mounted light trail photography that calls for raising it.
ISO does not collect light. It amplifies the signal after the sensor has collected whatever it collected. As Capture the Atlas puts it, ISO “is not the sensitivity of the camera’s sensor to light, it’s an artificial signal amplification that brightens the image.” On a tripod your shutter can stay open as long as you like, so you never need that amplification. Raising it only eats highlight headroom, and here the highlights are the whole subject: headlights are the brightest thing in the frame, so they clip to featureless white and lose their color first. Canon Australia reaches the same place from the other direction: “An ISO of 100 will give you the smallest amount of noise possible.” The full logic of how the three controls trade off is in our guide to the exposure triangle.
Focus: a fixed point on the road
Switch the lens to manual focus and focus on something that is not moving: a lane marking, a sign, a bridge pier, the edge of a building at roughly the distance your trails will be. Nikon’s guide is unambiguous about it: “Use Manual focus and focus on a specific point on the road. This will ensure the trails are sharp.”
Do not try to focus on the light source, which is what you will be told almost everywhere. The light source is a car that is not in your frame yet while you are focusing, and once it arrives it is at a different distance every second. There is nothing there to lock onto.
In practice: go to live view, magnify the display as far as it goes, aim at the highest contrast static edge you can find, and turn the focus ring until it snaps. The night specialists at National Parks at Night point out that contrast is what you are hunting, and that “you can’t get a much harder edge than a bright light source surrounded by black”, which makes a distant static streetlight an ideal target. Then turn autofocus off so a half press cannot undo the work.
White balance, RAW and the noise reduction setting that wastes your night
Shoot RAW. Night scenes mix sodium streetlights, LED signs, halogen headlights and whatever the sky is doing, and no single white balance is right for all of them. Leave the camera on auto and fix it later, or lock it to daylight for consistency across a sequence you plan to blend.
Then find long exposure noise reduction and turn it off. It shoots a second, equally long exposure with the shutter closed and subtracts the noise pattern it finds, which is clever but expensive. Nikon’s manual for the Z7II and Z6II states that with it enabled, “The time required to process photos after shooting roughly doubles.” A 15 second frame costs about 30 seconds, the camera is locked while it works, and the next green light comes and goes without you. Denoise in editing instead. If you plan to stack frames, leaving it on is not merely wasteful: the gap it inserts breaks the trails.
Where to stand, and when to go
Height is the first decision, and it is the one that changes the photograph most.
There is a genuine disagreement here. One school says drop to headlight level, argued exactly that way on DPReview: “Lower the camera so it is on the same height as most headlights and taillights”, at which point some trails rise and some fall. The same thread carries the opposite view from photographers who prefer to look down from above. Both are right. Elevated gives you the long converging sweeps most people picture; headlight height gives you something more aggressive and less familiar.
When to go: blue hour
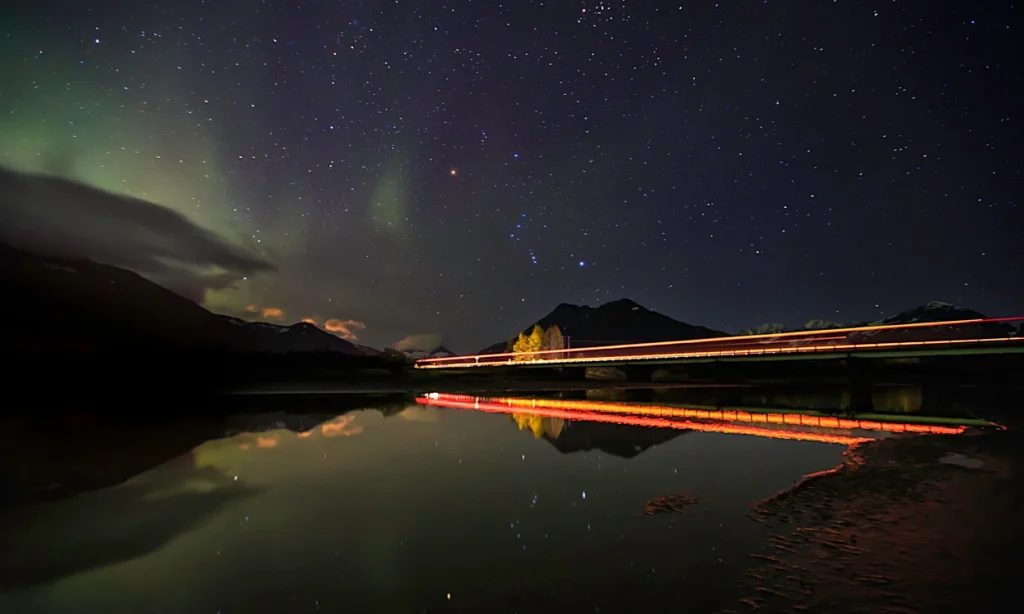
Go at blue hour, the window after sunset when the sun is below the horizon but the sky has not gone black. This follows directly from the asymmetry above: at blue hour the sky needs roughly 5 to 15 seconds, the same order as the crossing times in the table, so one frame can expose the sky correctly and lay down one clean set of trails at the same time. An hour later the sky needs 60 seconds or more, and the trails get no brighter to keep pace. Expose for the sky and you pile up so many overlapping trails that they merge; expose for one clean trail and the sky comes out empty black.
Worth being straight about: Neither Nikon’s guide nor Canon Australia’s names a time of day; Canon gets as far as “once the sun goes down”. The blue hour case above is reasoning from how the exposure behaves, and it is why almost every light trail photograph you admire has a blue sky rather than a black one. Our guide to dawn and dusk covers how long that window lasts where you are.
Beyond the obvious overpass, the locations that reward this are the ones that bend the light into a shape: roundabouts, where trails close a circle; tunnel mouths, where they emerge from black; long avenues shot down their length so the trails converge; train platforms; airport approach roads. In all of them you want a predictable, repeating flow and something solid for the eye to hold onto. A photograph of nothing but trails is a screensaver.
Read the traffic lights
Read the traffic lights before you open the shutter. On a signaled road traffic arrives in packets. Start just after a light turns red and you get an empty frame; start as the line pulls away and you get a dense one. Watch two cycles and you will know when to press.
How to photograph light trails, step by step
- Set up on a tripod, well back from the road, and frame the shot. Level the horizon now, not later.
- Switch the lens to manual focus. Magnify live view, focus on a static high contrast edge at the distance of the trails, then turn autofocus off.
- Set manual mode, f/8, ISO 100, RAW, long exposure noise reduction off.
- Time one car across your frame. Count it out loud if you have to. That number is your shutter speed.
- Take one frame and check the histogram. If the highlights are clipping, shorten the exposure before you touch the aperture.
- Watch the traffic lights and learn the cycle.
- Shoot 20 to 30 frames on a two second timer or a locked remote, aiming for one clean vehicle per frame rather than a crowd.
- Shoot one more frame with no traffic in it at all. That is your clean background plate, and you will be glad of it when you start blending.
When one exposure is not enough: stacking
Sooner or later the two requirements fight. You want dense, numerous trails, which needs a long exposure, but the static parts of the scene are already close to blowing out: a lit bridge or a row of storefronts burns white long before the road fills with trails.
An ND filter does not solve this, and it is worth knowing why. Cutting light cuts the trails as much as the buildings, so you get the same trails, fainter. What solves it is shooting several short frames and combining only the bright parts afterwards.
The recipe, from a photographer answering exactly this problem on DPReview: “Take a couple dozen light trail exposures. Make them as short as traffic speeds allow. Your goal is to get only a single vehicle in each exposure with as long a light trail as possible.” Load them into Photoshop as layers, set every layer above the background to Lighten, then switch individual layers off until you like the combination: “Maybe a particular 8 of them looks best, omitting the other 16 of them because they overlap or are incomplete.” Nikon describes the same approach and the same blend mode.
Lighten works because it compares each pixel across the stack and keeps the brighter one. Your background is identical in every frame and only the trails move, so the result is every trail on one clean background, with nothing else touched.
Three things that follow from stacking, and only one is obvious
- Long exposure noise reduction must be off. The dark frame it shoots between exposures leaves a gap, and a gap in the middle of a trail is a broken trail.
- You probably do not need bulb mode at all. The 30 second ceiling that pushes people into bulb only binds if you insist on one enormous frame. Twenty short frames go past it without the ceiling ever mattering.
- You stop being afraid of a ruined frame. One bad car, one pedestrian with a phone flashlight, one gust that moves the tripod: throw that frame away and keep the other nineteen. A single long exposure gives you nothing to throw away.
If you do want one continuous frame beyond 30 seconds, that is what bulb mode is for: the shutter stays open as long as the release is held or locked, which is where a remote stops being a luxury. Many recent bodies also have a bulb timer so you can dial in a duration rather than counting.
Editing light trails in Lightroom
This section covers Lightroom Classic. The cloud version, now called simply Lightroom, has no modules and uses different panel names, so the tone controls you want are under Light rather than Basic there.
Start by turning on the clipping indicators at the top corners of the histogram: blown trail cores are the signature failure of this genre and they are hard to see by eye on a bright screen. Adobe documents the behavior, with clipped whites shown in red and clipped blacks in blue, and Alt or Option while dragging a slider shows the clipping channel by channel.
Then work in this order, in the Develop module. Press D to get there from Library, because the Basic panel does not exist in the Library module and no amount of looking will find it.
- Lens Corrections first, to remove chromatic aberration. A brilliant trail against a black sky is close to the worst case for color fringing, and it is much easier to remove before you start pushing contrast.
- White balance. Set it by eye on something you know should be neutral, usually the road surface. Mixed lighting means there is no correct answer, only a choice.
- Whites, dragged left until the trail cores stop showing red. This is the single most important move on the photograph, and it is the one that gets skipped.
- Highlights left to recover detail in the streetlights and signs.
- Blacks left to take the sky down to a clean black rather than a muddy gray, and Shadows gently if you want to keep some detail in the buildings.
- Dehaze, a small amount, to cut the orange glow of light pollution.
- Vibrance rather than Saturation, so the reds of the taillights strengthen without the already saturated parts going neon.
- Masking when you want to work on the trails alone. A Luminance Range mask selects by brightness, which on this kind of frame is very nearly a selection of the trails themselves. Select Sky does the complementary job.
- Detail panel last, and only at 100 percent zoom, or you will not see what you are doing. Reduce color noise before luminance noise, and raise the Sharpening Masking slider so the sharpening stays on the trails and off the empty sky. Hold Alt or Option while dragging it to see exactly what is being protected.
There is no Save button, and there does not need to be
The previous version of this article told you to “save your changes by clicking the Save button in the upper right-hand corner of the screen”. No such button exists. Adobe states it plainly: in Lightroom Classic you do not save photos in the traditional sense, you export them. Your edits are written to the catalog continuously as you work and the original file is never touched. When you want a file you can share, choose File then Export. Ctrl or Cmd plus S does exist, but it is Save Metadata to File, which writes a sidecar, not a photograph.
One more thing worth stating plainly, because the wrong version of it is widely copied: the Detail panel does two things only, sharpening and noise reduction. It is a cleanup pass. It is not where you shape the trails.

Light trails on a phone
How do you take a picture of light trails on an iPhone?
You can, but not with the feature everyone points you at, and it is worth knowing why before you waste an evening.
The iPhone’s built-in Long Exposure effect works on a Live Photo, and a Live Photo is a very short clip. Apple’s own documentation states that your iPhone records what happens 1.5 seconds before and after you take a picture. That is a three second window, total, and it is fixed. Three seconds is enough to smooth a waterfall or blur a fountain, which is what that feature is really for. It is not enough for traffic: from the crossing time table above, three seconds at typical urban speeds gets you a stub, not a trail. To use it at all, take a Live Photo, open it, tap the Live Photos button near the top of the screen and choose Long Exposure.
For real trails you need an app that holds a genuine long exposure or stacks frames for you, plus something to keep the phone still, which in practice means a small tripod and a clamp. On Android, many manufacturers include a pro or manual mode with a shutter speed control, which is the simpler route if you have it. The same arithmetic applies either way. Fuller walkthrough in our guide to long exposure photography on an iPhone.
Why your light trail shots failed
Six things commonly go wrong with this shot. Find your symptom.
Everything merged into one white blob
Too many cars in one frame. Your exposure is longer than the crossing time, so vehicle after vehicle laid a trail over the same stretch of road until the trails stopped being distinguishable. Shorten the exposure to the crossing time, aim for one or two vehicles per frame, shoot a lot of frames and stack the good ones.
Still overexposed, even at f/22
It is the failure that turns up most often in beginner threads, and it is caused by the advice, not by the photographer. On DPReview, one beginner with a Nikon D7000 posted 15 and 30 second frames shot at f/36, explaining that what he had taken from the articles he read was “to use a high F number and a tripod”. The reply was that he should be at f/8, and that if he zoomed in he would “note general fuzziness and diffraction rings around some of the lights. This was caused by the very small aperture.” In a separate thread another beginner turned up with a 15 second, f/29 exposure, shot on the same reasoning.
Both followed published guidance to the letter and both got soft photographs for it, and in the first case stopping down had not even bought the darkness it cost the sharpness for: “In your second shot, despite using f/36 the background is still quite bright.” The reply named the real fix. “You only need high f-numbers (small apertures) if the overall scene is too bright. Keep your shutter speed as short as possible and you don’t need such small apertures.”
So stop using aperture as the brightness control of last resort. Shorten the shutter to the crossing time first. If the frame is still too bright at f/8 with a correct-length exposure, you are out too early, and that is the one case where an ND filter is the right answer.
The trails are short stubs
The opposite problem: your exposure is shorter than the crossing time. Either lengthen it, or recompose so the road occupies less of the frame, or find faster traffic. Check the table above for what your focal length and distance actually require.
The trails are broken or dashed instead of smooth
If the gaps are fine and regular, the likely cause is the cars, not the camera. Modern vehicle LEDs are not lit continuously: they switch on and off very rapidly to control brightness, too fast for the eye but not for a long exposure, which records the gaps. That mechanism is well understood, though I have not found a controlled test of it on light trails specifically, so treat it as the likely cause rather than a proven one. If the gaps are large and irregular, look at the camera instead: long exposure noise reduction pauses after every frame, and some bodies cap exposure length hard on the electronic shutter, so try the mechanical one.
Everything is slightly soft
Three candidates, in order of likelihood. Diffraction, if you are past f/11: see the table above. Vibration, if you pressed the shutter with your finger or the tripod is on something that moves. Or focus on the wrong plane, which is what happens when you let autofocus decide in the dark.
The camera locks up for as long as the exposure after every frame
Long exposure noise reduction is on. It is shooting a second exposure of equal length with the shutter closed, and you cannot shoot while it does. Turn it off in the menu and clean up the noise in post instead. If you plan to stack, this is not optional.
Shooting safely near traffic
You will be standing still, in the dark, near moving vehicles, looking through a camera. Scout in daylight so you know where the sidewalk ends and what the traffic does. Wear something bright and reflective. Never put the tripod where a driver would not expect a person, and never on the traffic side of a barrier. Canon Australia makes the simplest recommendation of all: “It might be worth photographing things with a buddy. That way you can keep safe and keep an eye on your gear at the same time.”
On the legal side in the United States, anything visible from public ground is generally fair to photograph, bridges and transport infrastructure included. The limits that actually bite are trespass, if you cross private land to reach a vantage point, and obstruction, since a tripod on a crowded sidewalk is a different matter from a camera in your hands. Some authorities and venues restrict tripods while allowing handheld work. Rules differ by country, so check locally. More on working after dark in our guide to night street photography.
Frequently asked questions
Three questions that come up constantly. If your problem is that a photograph did not work, the diagnostic section is the faster route.
How do I photograph light trails with a person sharp in the shot?
Use flash with rear curtain, also called second curtain, sync. The exposure runs long enough to record the trails and the flash fires at the end rather than the start, freezing your subject after the motion has been drawn. With front curtain sync the trails print in front of them instead of behind, which reads as wrong.
The part that catches people out: your subject has to stay put for the whole exposure, not just for the flash. Walk away when it fires and the scene behind carries on exposing through the space where they were standing, so they come out semi-transparent.
Do I actually need an ND filter?
Only in daylight or early dusk. Meter at f/8 and ISO 100. If the correct exposure is shorter than your crossing time, you need to cut light to get there, and that is what an ND does. If it is already longer, you do not need one and adding it only makes the trails fainter. The arithmetic: multiply the base exposure by the filter’s factor, so a 3 stop filter turns 1 second into 8.
| Correct exposure at f/8, ISO 100 | Stops needed to reach 10 seconds | Filter to reach for |
|---|---|---|
| 1/60 s | about 9 | ND512 to ND1000 |
| 1/15 s | about 7 | ND128 |
| 1/4 s | about 5 | ND32 to ND64 |
| 1 s | about 3 | ND8 to ND16 |
| 4 s | about 1 | ND2 to ND4, or just wait a few minutes |
| 10 s or longer | none | No filter. It will only weaken your trails |
What lens should I use?
A wide-angle lens most of the time, but not for the reason usually given. A wide lens does not help you shoot trails from a distance; it makes distant things smaller. It is right because in practice you are close to the road or above it and want road, sky and something solid in frame together. A longer lens genuinely helps when you want to compress a straight stretch so the trails stack up, but it narrows your frame, which shortens your crossing time. Check the table.
Related reading: the exposure triangle, night street photography, photographing the moon, and how many legs a tripod really needs.