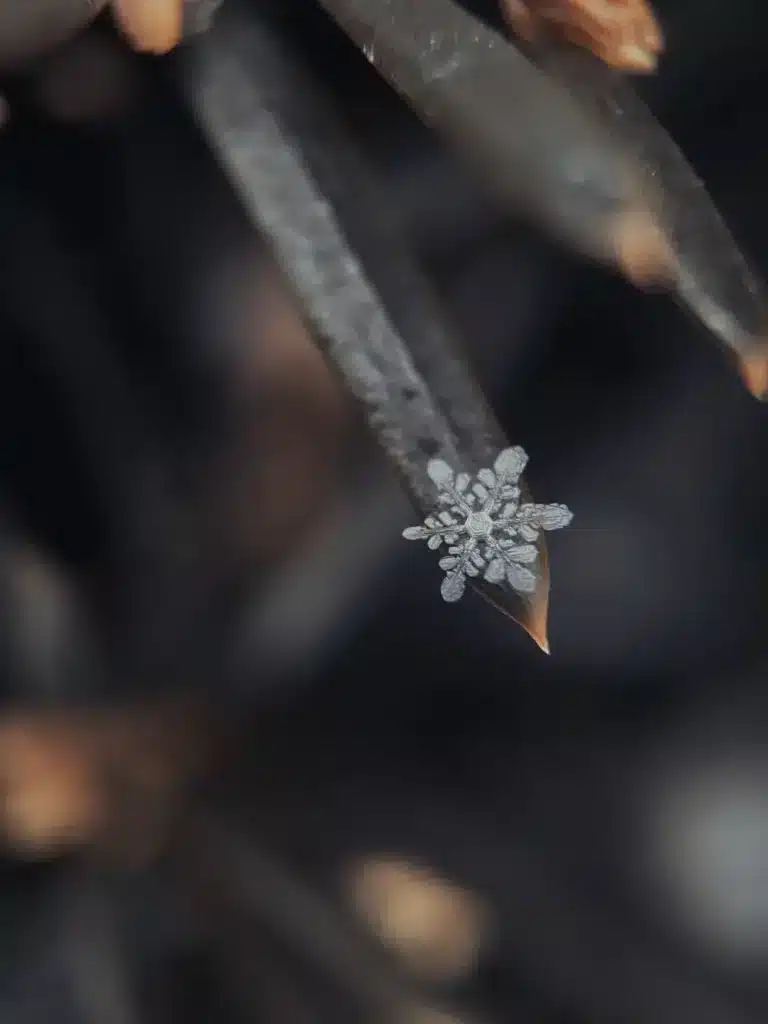
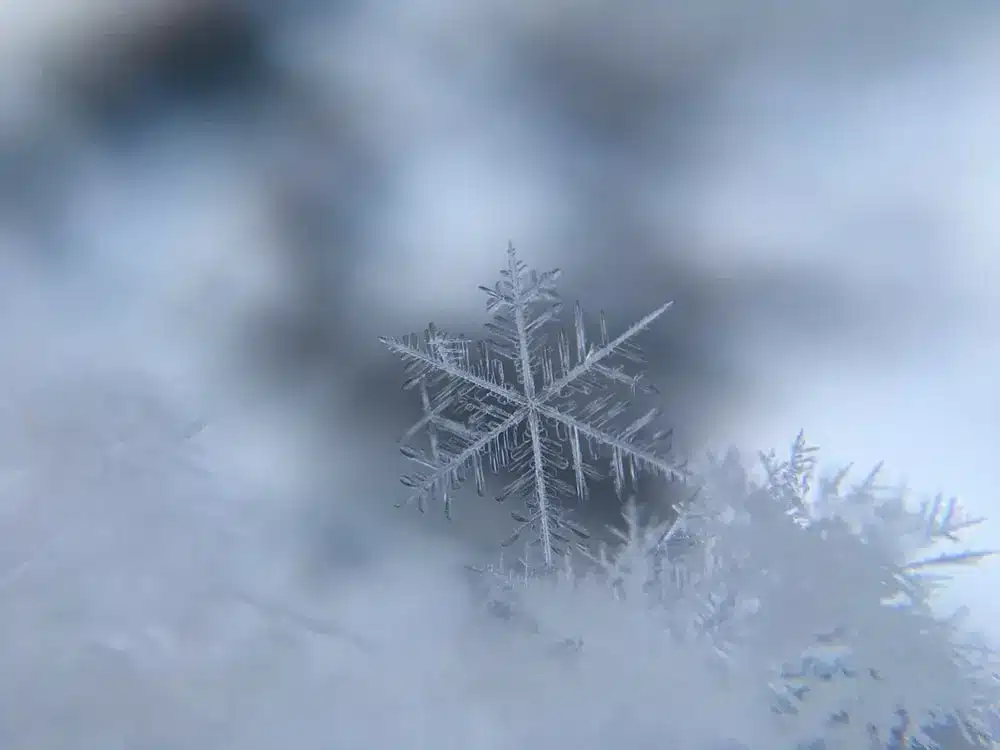
Winter is a time for magic. The snowflakes that fall from the sky are delicate, beautiful and can create stunning photos if captured correctly.
If you want to learn how to photograph snowflakes, you’ve come to the right place! In this blog post, we will give you a step-by-step guide on everything you need to know in order to take amazing snowflake photos.
Let’s get started!
What is Macro Photography
Macro photography is the process of taking close-up photos of small objects. This type of photography can be used to capture amazing details that are usually too small to see with the naked eye.
There are several different types of macro photography, including:
- Super Macro Photography: This type of macro photography involves photographing objects from a distance of less than an inch!
- Life-sized Imaging: This type of macro photography involves photographing objects at their actual size.
- Extreme Close-up Photography: This type of macro photography involves photographing objects from a distance of less than 0.15 inches!
Now that you know the basics of this genre of photography, let’s learn how to take amazing snowflake photos with it!
Equipment & Camera Settings
When it comes to macro photography, you need some specific equipment in order to get the best results. In our specific case, we need something that allows us to see all of the ice crystals in the tiny snowflake.
Camera Settings
The best camera settings for macro photography vary depending on the subject matter and the lighting conditions. However, there are a few general tips that will help you get started.
First, it’s important to use a tripod. This will help you keep your camera steady and avoid blurry photos. This is extremely important, as we are going to see later, for stacking photos.
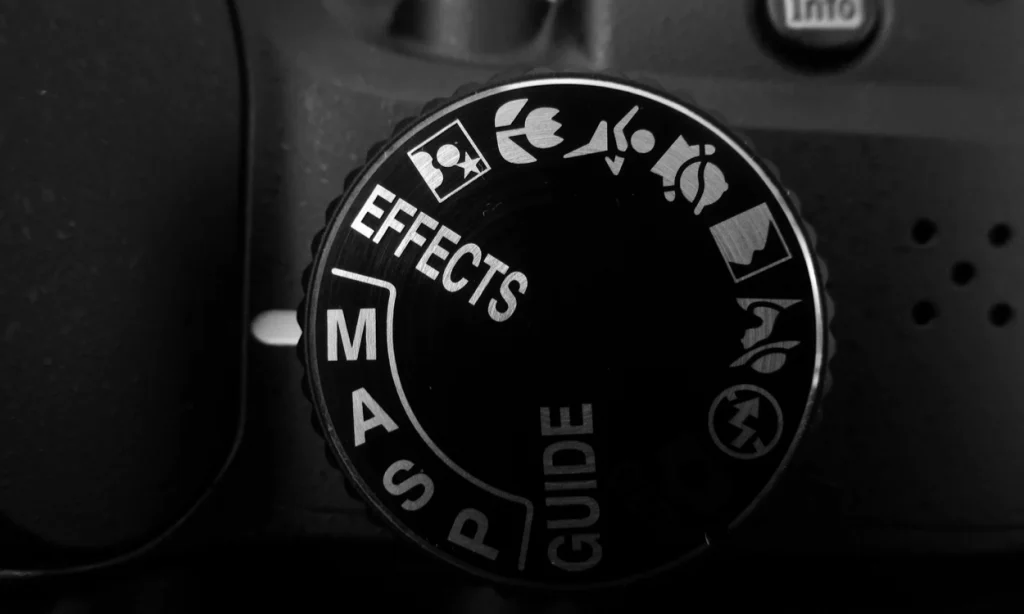
Second, set your camera to manual mode. This will allow you to control all of the settings yourself, which is important when photographing small objects.
Third, use a small aperture. This will help you get a sharp photo with a large depth of field. A good starting point is an aperture of f/16.
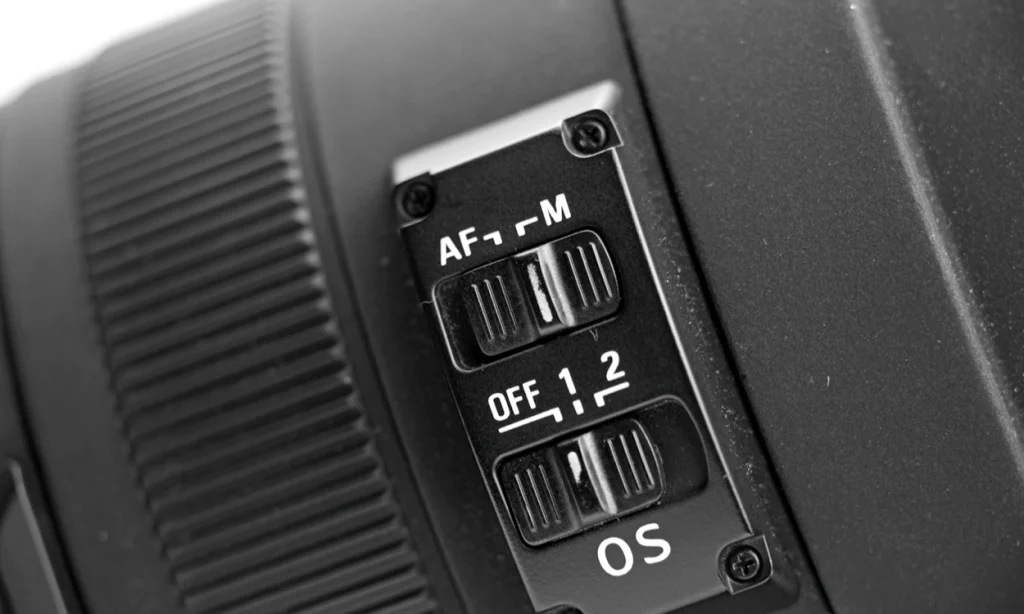
Fourth, set your focus to manual since you will have to take several pictures focusing on different portions of the snowflake.
Extension Tubes
In order to photograph an object from a very close distance, you will need a set of extension tubes. These tubes connect between your camera and lens, and allow you to get much closer to your subject.

There are several different types of extension tubes, but the two most common are:
Dedicated Macro Lens: This type of extension tube is designed specifically for macro photography. It has a built-in lens that will allow you to focus on your subject from a very close distance.
Converter Lens: This type of extension tube does not have a built-in lens. Instead, it simply extends the distance between your camera and lens. This will allow you to focus on your subject from a closer distance, but you will need to use a separate lens.
Lighting
In order to photograph snowflakes you will need some lighting but it is not complicated at all. You will just need a Ring Light.

There are several ring flashes that you can mount at the end of the lens but these are the best options available now in my opinion:
This ring light is perfect for photographing small objects because it has a built-in diffuser that will help soften the light and create more even lighting.
In-Camera Filters

There are several filters you can use in a camera for macro photography, but the four most common are:
Polarizing Filter: This filter will help reduce glare and reflections from your subject.
UV Filter: This filter will help protect your lens from scratches and dirt.
ND Filter: this filter will help reduce the amount of light that enters your camera. This is helpful if you are photographing in bright conditions.
Diopters: This filter will help you focus on your subject from a closer distance.
There are several strengths for each of these filters. I would recommend experimenting with all of them to see how they work and understand firsthand what they do exactly.
Macro Lens
Choosing the right macro lens is very important for macro photography. There are several factors that you need to consider when choosing a lens, such as:
Focal Length: The focal length of a macro lens determines how close or far away you can be from your subject and still get a sharp photo. In our case, you will want to choose a lens with a focal length of 100mm or less.
Aperture: The aperture of a lens determines how much light can enter your camera.
To photograph snowflakes you won’t have a big need of letting a lot of light in because most of the time the subject will be almost overexposed and you will actually need to increase the f-stop and compensate with the ring flash that brings up all the details.
Image Stabilization: Lenses with image stabilization will help you keep your camera steady reducing the effects of any camera shake.
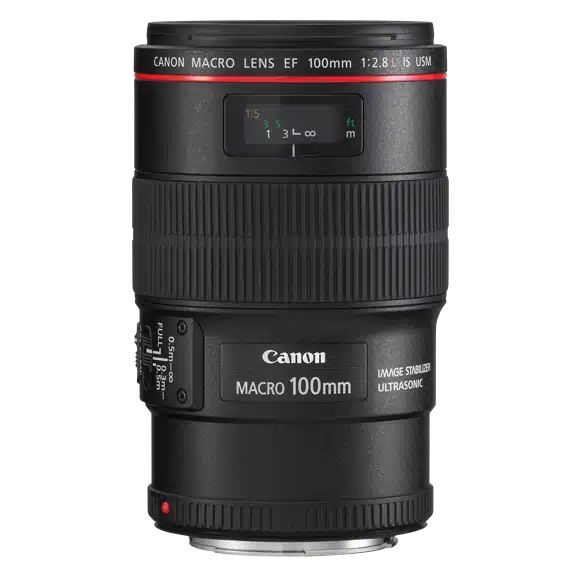
The lens that I would recommend for a beginner or someone who is interested in this kind of photography is the Canon 100mm f/2.8 IS USM. It is a great lens for the price, it has image stabilization and a minimum focal distance of 11 inches.
How to Choose The Background
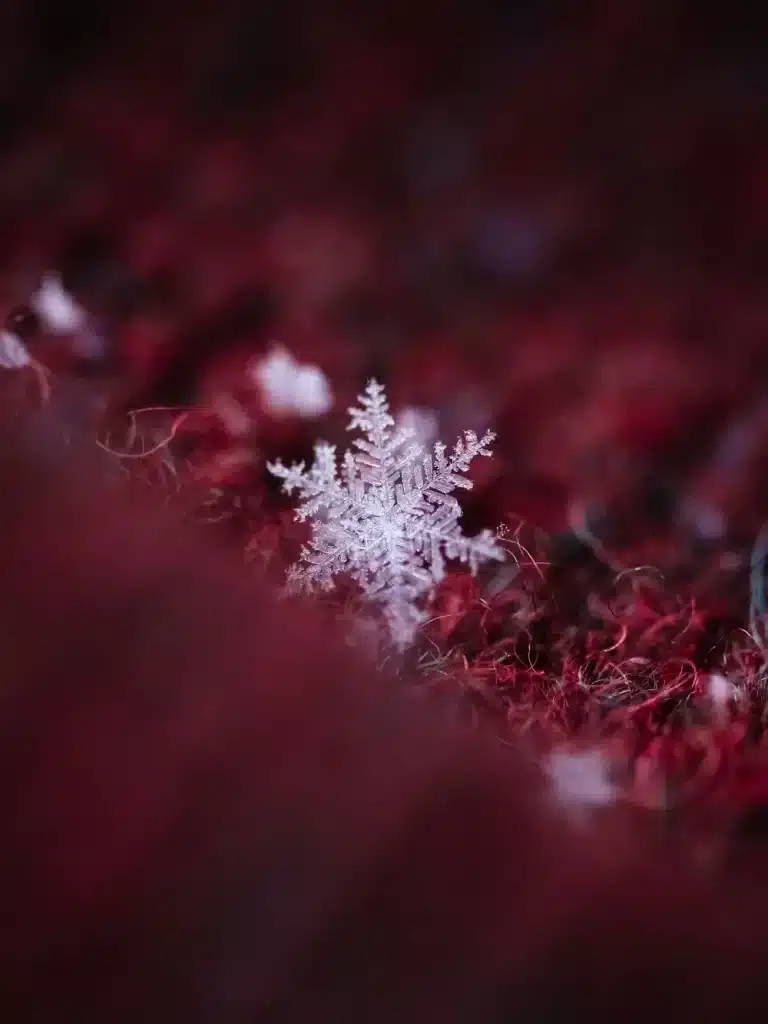
Usually, you can choose any background when you photograph snowflakes, but some work best than others. If you want the snowflake to really stand out, then I recommend using a black background.
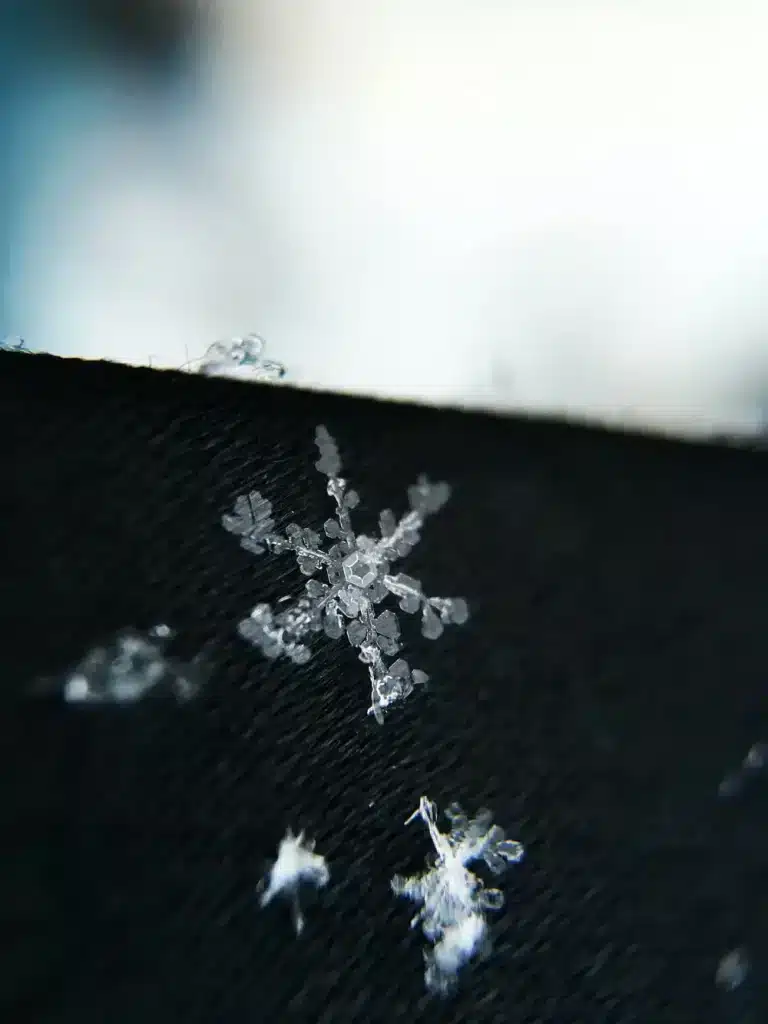
You can use anything black for your background. Some people use black velvet, but I find that a piece of construction paper works just as well.
If you want to get really creative, you can use a different color background to create some really cool effects.
A dark background really helps the snow crystals to pop and the color contrast defines the edges very well.
The trick part sometimes is to transfer a few snowflakes to these backgrounds because they melt immediately.
How to photograph snowflakes
Snowflake Photography can be tricky at the beginning but with some easy steps and a little bit of practice, you will be able to take some stunning photos.
These are 3 easy steps to do when photographing snowflakes.
1) Find the Right Flake
It is very important to find the right snowflake to photograph. You need to wait until it starts to snow.
When it is snowing you can grab your equipment and the backgrounds you want to use and wait until the entire snowflake lands on the background.
You might need to wait until the right snowflake lands since every snowfall produces different types of snowflakes. You might want to wait for larger snowflakes to be able to grab more details.
2) Capture a series of Photograph for Focus Stacking
Focus stacking is a photography technique where multiple images are taken at different focus distances and then combined into a single image. This is done to create an image with a greater depth of field than would be possible with a single image.
When photographing snowflakes, it is important to use focus stacking because the depth of field is so small. You will need to take multiple images at different focusing distances in order to get all of the details of the snowflake in focus.
Sometimes you will be able to get a good photo with just one image, but most times you will need to use focus stacking.
3) Stack your Images
To create a focus stack, you will need software that can combine the images into a single image.
I recommend Helicon Focus.

Once you have your images, you will need to open them in Helicon Focus. Select all of the images and click on the “Stack” button.
This will combine all of the images into a single image and you will be able to see the depth of field that you were not able to see before.
This process is almost essential when photographing snowflakes because it allows you to see all the snow crystals, but you can use it for all the subjects you photograph.
Edit Snowflake Photography in Lightroom
Lightroom is a great software to edit snowflake photography. It is a very easy but powerful tool to improve your photographs.
There are a few things you can do to edit your snowflake photographs.
The first thing is to increase the clarity. This will help to bring out the details in the photograph.
You can also increase the vibrance to make the colors more intense.
If you want to really make the snowflake pop, you can increase the black point. This will make the background darker and the snowflake will really stand out.
Lightroom allows you to use presets as a starting point to edit your photographs. If you are not familiar with it and want to install some presets, check out this article on how to properly install Lightroom presets.
Conclusion
Snowflake photography can be a really fun and rewarding experience. It is important to find the right flake, use focus stacking, and edit your photographs in Lightroom to get the best results.
With a little bit of practice, you will be able to take some stunning snowflake photographs.
I hope you have found this guide interesting and helpful.
If you have any questions comment below and we will answer as soon as possible!
Frequently Asked Questions
Snowflakes are beautiful, but they can be difficult to photograph. The best way to get a clear image is to use macro lenses. This type of lens will allow you to get close to the snowflake and capture all the intricate details.
If you don’t have a macro lens, you can try using a telephoto lens. This will let you get a close-up of the snowflake without being too close. You may also want to use a tripod to keep your camera steady and avoid blurry images. With the right equipment and a little practice, you can take some stunning photos of snowflakes.
To capture falling snowflakes, equip your DSLR with manual settings. Opt for a backdrop that contrasts with the snowflakes, like a dark surface or tree branch. Manually focus on a point where snowflakes are descending. Utilize a rapid shutter speed (around 1/1000 sec), burst mode, and adjust ISO for proper exposure. Leverage natural light and refine images with post-processing for optimal results.
In the absence of a macro lens, explore alternative methods. Experiment with close-up filters for increased magnification, or reverse your lens using an adapter for macro-like effects. Utilize extension tubes or leverage the close-up capabilities of certain zoom lenses. Alternatively, capture shots from a distance and later crop and enlarge the snowflakes during post-processing.
Even with an iPhone, you can photograph snowflakes. Attach a third-party macro lens to enable closer focusing. Ensure camera stability by using a tripod or a steady surface. Manually focus by tapping and holding on to the focal point. Make use of burst mode to capture multiple shots rapidly. Enhance your images with editing apps, adjusting sharpness, contrast, and color. For creative options, experiment with accessories like magnifying lenses.