One of the things I’ve loved most about growing as a photographer is discovering new ways to bring my vision to life. And honestly, finding the right Lightroom presets can completely transform your editing process. They’ve definitely helped me develop a more consistent look and speed up my workflow.
If you’re just getting started or finally ready to install those presets you’ve been eyeing, I’ve got you covered. In this guide, I’ll walk you step by step through how to add presets to Adobe Lightroom, both on desktop and mobile.
Let’s dive in and get your editing game leveled up.
What is Lightroom?
Lightroom is a powerful photo editing software that helps you manage, organize, and edit your photos. You can easily import photos from your mobile device or computer into Lightroom to get started with editing them on the desktop version.
If you’re more of a mobile user, don’t worry! Lightroom Mobile allows you to edit all of your photos straight from your phone or tablet.
Adobe Lightroom is an amazing photo editing software that can do so much more than just crop and resize your pictures. It has a huge collection of editing tools, filters, and presets that you can use to create amazing photos.
You can also create stunning collages, manipulate the color of your photos, and add special effects to make your photos unique.
What are Lightroom Presets
Lightroom presets aren’t just for beginners. Even experienced photographers often find new and exciting ways to use them.
Presets can be used to modify the intensity, color, and other characteristics of a photograph, transforming an image without having to learn new skills.
You can see Lightroom Presets as Instagram Filters. The main and biggest difference is that you can change all the parameters of a Lightroom preset inside of the “develop” tab. Furthermore, you have the possibility to download and create your own presets inside Lightroom.
Technically, a preset is a set of instructions that, when applied to an image in Lightroom, changes predefined parameters such as color temperature, tonality, saturation etc.. As we previously mentioned, differently to Instagram, you can edit and adjust the preset to fit at best any photo.
This is a very important option because every photograph is unique whereas the preset is one and always the same. Having the option to adjust all the parameters gives you flexibility when it comes to editing.
How to Add a Preset to Adobe Lightroom
Desktop
To install Lightroom presets on desktop, the process is pretty simple.
The first step to add presets in Lightroom is of course to have all the presets you need to import in Lightroom saved in a folder on your hard drive.
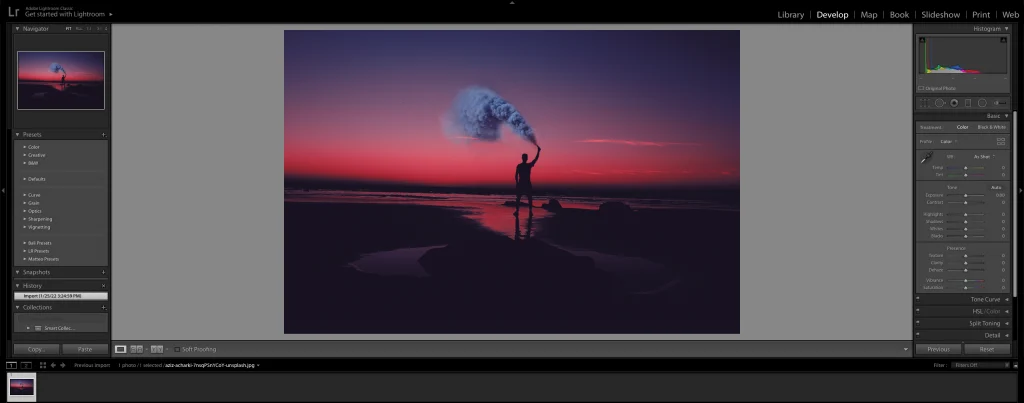
Open Lightroom and import the photo(s) you want to edit. Once they are imported in Lightroom, click on the Develop module tab in the top right.
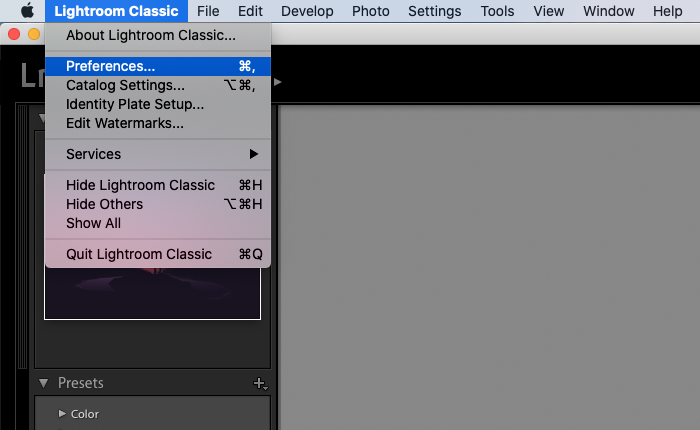
Once you are in the Develop Module, click on Lightroom –> Preferences –> Presets
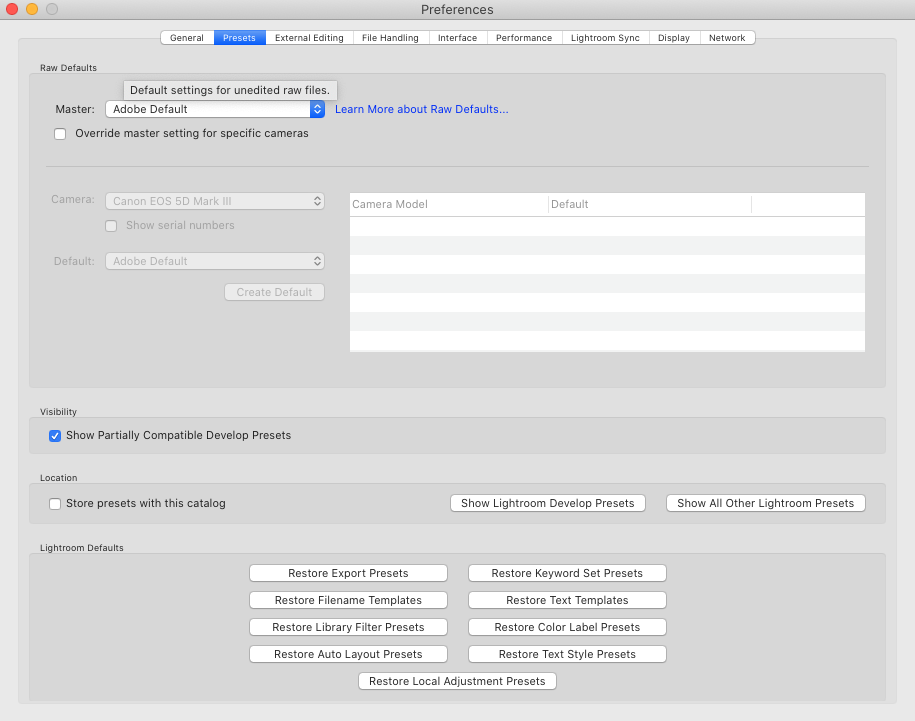
After you select Presets in the top bar, click on Show All Other Lightroom Presets.
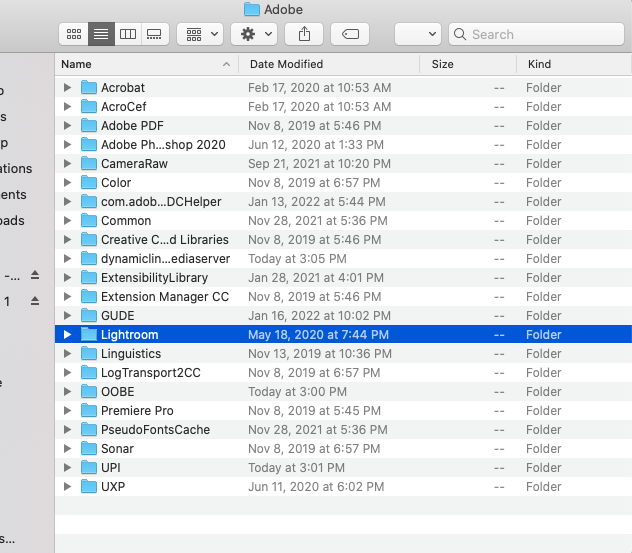
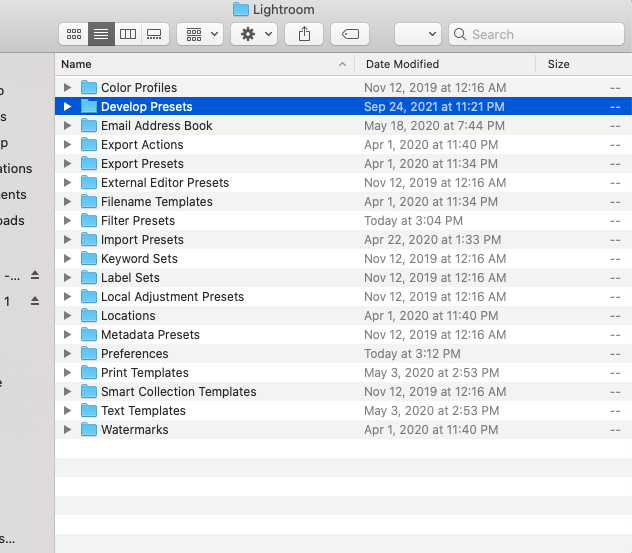
A window is going to open. Open the Lightroom Presets Folder –> Develop Presets
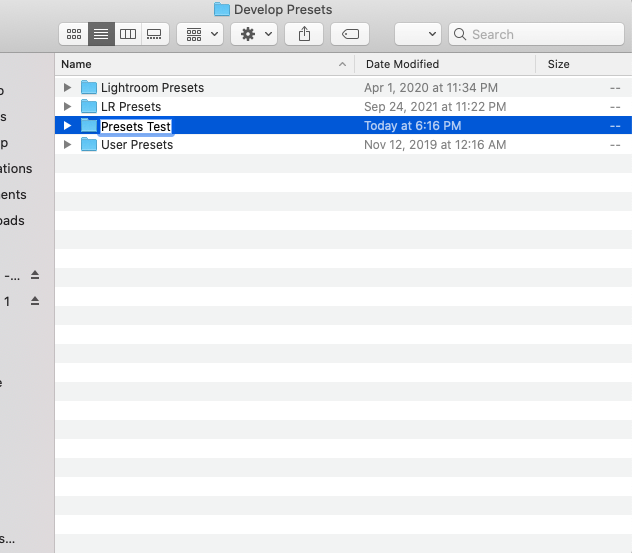
Once you are in this directory, just create a folder and name it as you want it to appear in Lightroom.
Drag and drop the .lrtemplates files.
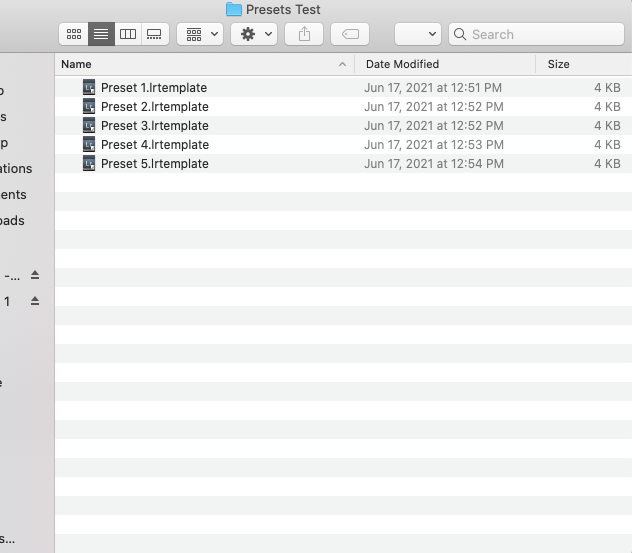
Once the files are copied, restart Lightroom and you will have the presets available on the sidebar menu in the folder you previously created.
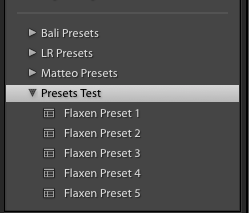
Done. You can now enjoy your new presets on Lightroom.
Mobile
The process of installing Lightroom presets on your mobile app is very easy. In this case, you won’t have any .lrtemplate files but you will use DNG files.
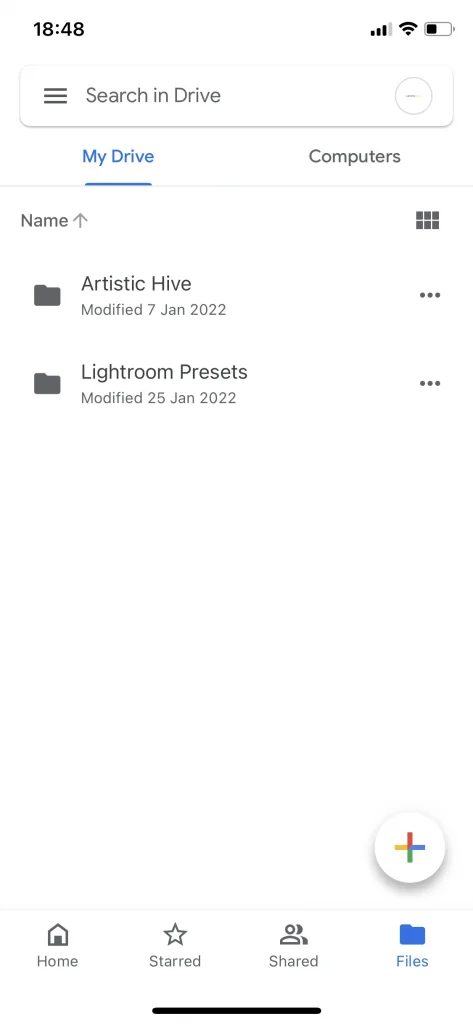
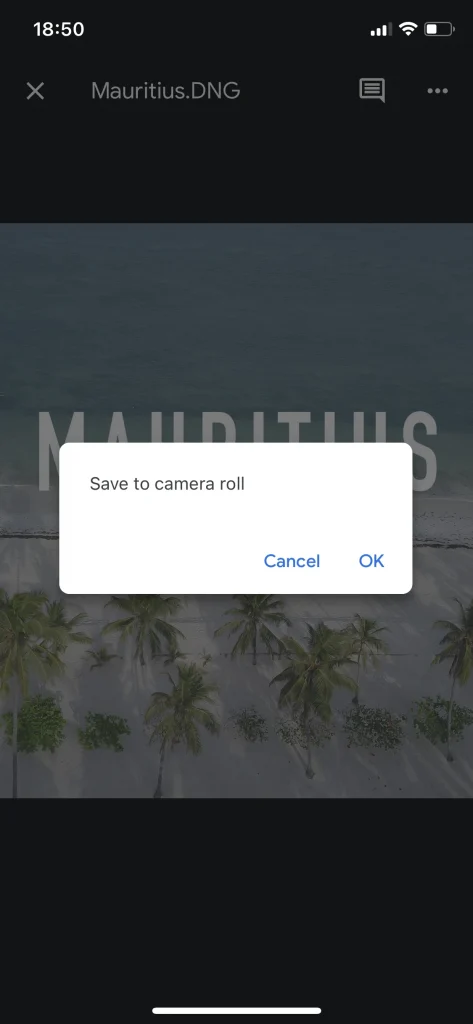
The first step necessary to import presets is to bring you DNG files on your phone. The easiest way to do so is by copying them on your google drive application and then save them to your camera roll.
Once the DNG Files are on your phone, open Adobe Lightroom Mobile.
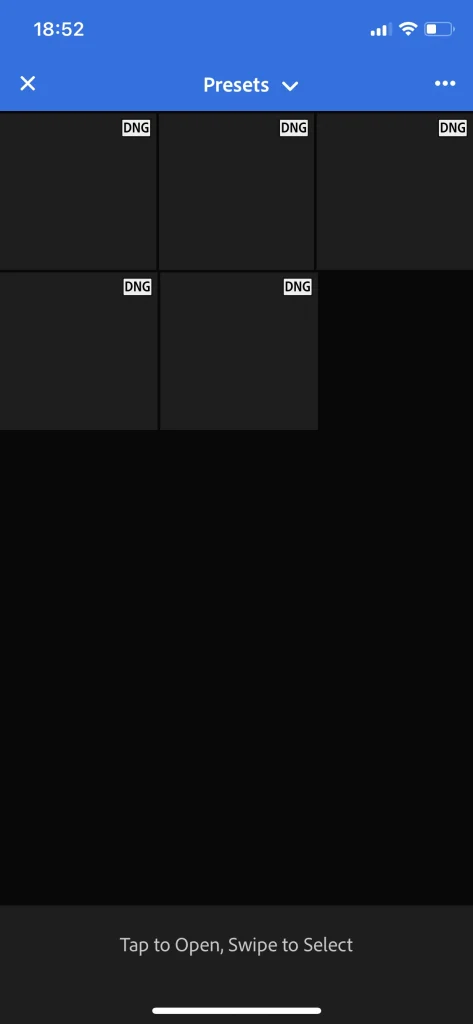
Import the photos from your camera roll. The images are going to appear black on your camera roll. It is normal since it can’t preview a DNG File.

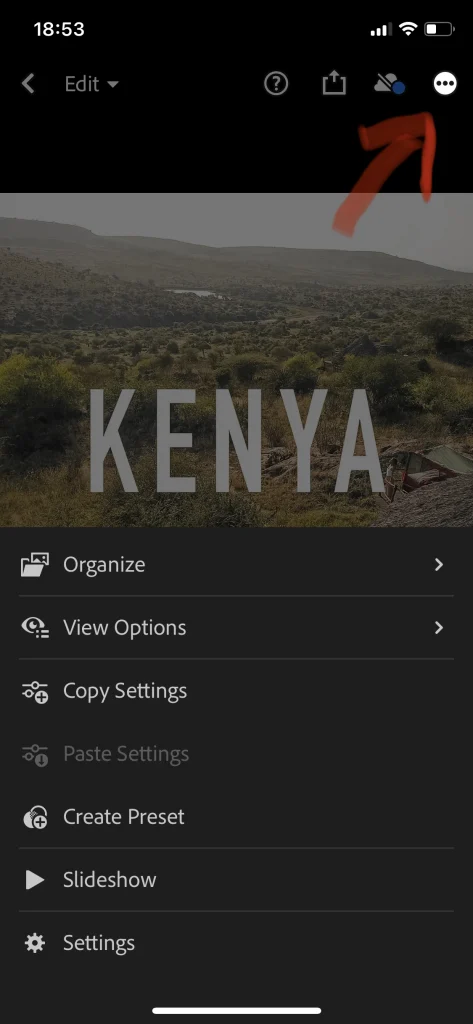
Once you import them, select a photo at a time and click on the 3 dots on the top right corner and click Create Preset.
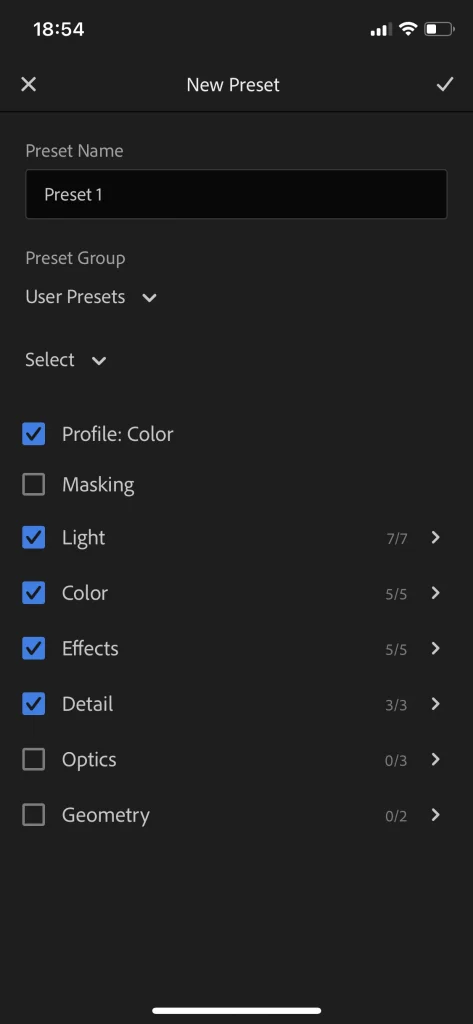
In the new window, type a name you want to give to the preset and click on the top right hand corner.
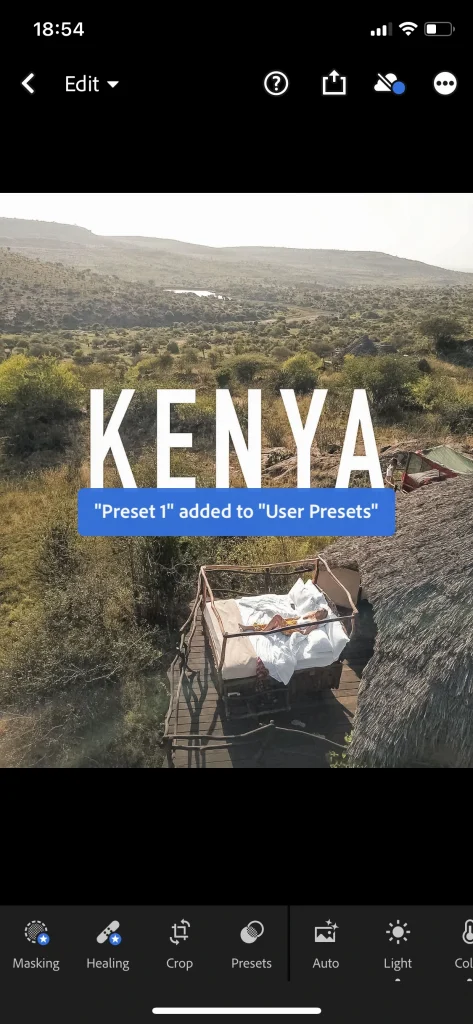
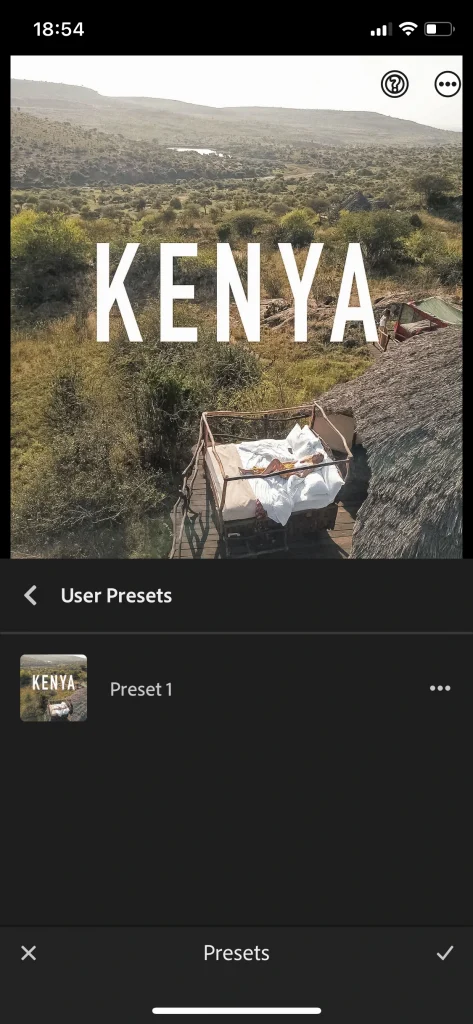
Now you have created a new Lightroom preset! Do the same process for every photo and you will have all the presets in the app under the User Presets Folder.
Remember to Restart Lightroom if you don’t see the presets in Lightroom app right away.
Done! Now you have all of your presets on your Lightroom mobile app!
Conclusion
I hope you have found this short guide easy to follow and especially useful! If you run into any kind of problems please comment below and I will guide you personally on how to fix it.
FAQ – How To Add Presets to Lightroom
Where can I get Lightroom presets?
You can easily find Lightroom presets on the internet or through your favorite photographer. You can try using a website such as Filtergrade.com to browse thousands of Lightroom presets.
Is it difficult to Install Lightroom Presets?
The installation process for Lightroom presets is very similar on both desktop and mobile and it is very straightforward. With the guide that we provide, we show you step by step how to exactly do it.
Is the Lightroom Mobile App Free?
The Lightroom mobile app is free but you can upgrade to a premium version as well.
What is the difference between Lightroom cc and Lightroom Classic?
Lightroom CC is the cloud-based application that works across desktop, mobile, and web. Lightroom Classic is the independent desktop version of the software.