You know how it is: You are out shooting the day, and everything is going great. The light is amazing, the scenery is gorgeous, and your camera is capturing it all in glorious detail. But then you look at the photos, and they all seem a little too similar.
You’re not even sure where to start to make your images pop a little more. You already have the camera. It’s time to learn how to use it and learn how to take better pictures.
The best way to learn is by doing.
Let’s dive in!
Learn to Master the Fundamentals of Composition
One of the most difficult parts of photography is learning how to compose a good image. It can be difficult to know where to place the subject in the frame, or how to balance the composition.
However, with a little practice, you can learn to master the fundamentals of composition. This will help you take better photographs and ultimately result in better images.
The Rule of Thirds
The rule of thirds is a useful compositional tool that will help you get a more balanced photo. It’s a simple compositional rule which states that you should place the main subject of an image no more than three-fourths of the way along the length of an imaginary grid over the image.
In other words, the center of interest will be placed no more than three-fourths of the way across the image, and likewise for the top and bottom thirds of the image.
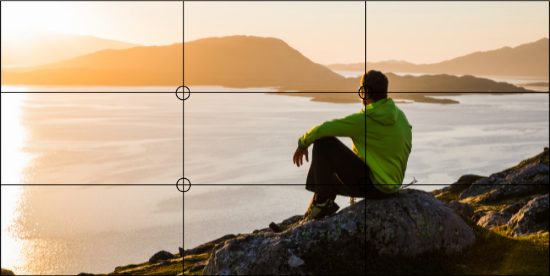
The rule of thirds is a very simple rule of composition, which can be applied to any subject in almost any photography situation. Using the rule of thirds allows you to break up your subject into 9 equal parts, and divide your image into 3 horizontal, 3 vertical or both in order to make a more visually-pleasing image.
One of the most obvious uses of the rule of thirds is in landscape photography. Landscapes often feature a wide sky, small details of nature, and a horizon line.
By applying the rule of thirds to a landscape photo, you can divide the image into thirds horizontally and vertically, placing the horizon line and the main subject (the foreground and middle ground) along the lines. This simple compositional principle creates a more balanced image and also helps to create a sense of depth.
Use of Leading Lines

Another compositional tool is the use of leading lines. This refers to the lines that run across the image, and which act as the ‘roads’ for the viewer’s eye to follow.
In a landscape, for example, the road of the horizon line and the road of the main subject (the mountains in this case) will lead the viewer’s eye to the photo. You can use leading lines to draw the viewer’s eye into a specific part of your image.
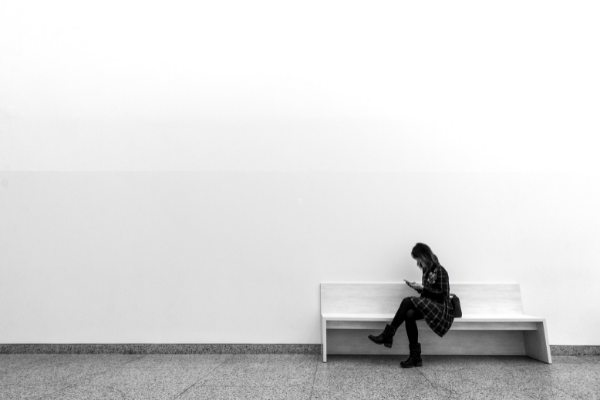
Negative Space
Another compositional tool is the use of negative space. This refers to the parts of an image that are left empty to allow the main subject to ‘pop’ out of the image.
You can use negative space to draw the viewer’s eye into a specific part of your image, drawing the viewer in and ‘capturing their attention’.
Using negative space in a landscape, for example, you could use the space in the foreground to lead the viewer’s eye into the photo, drawing their attention to the mountains, while leaving the background empty to ‘remain in the moment’.
One of the most effective ways to use negative space is to simply leave certain parts of your image empty.
For example, if you were photographing a landscape, you might leave the space in the foreground (where you are) and background (where the landscape is) empty to draw the viewer’s eye into the photo and ‘remain in the moment’.
This creates a sense of anticipation, which will then lead to the viewer looking at your image and ‘seeing’ the landscape.
Use Bokeh to bring more focus to your subject

Bokeh is a photography term that refers to the background of an image being out of focus while the subject is in focus.
It can be used to produce a range of different effects, from soft, dream-like background highlights to dramatic separation of foreground and background elements. It is becoming one of the most sought-after effects in photography, with new and experienced photographers alike experimenting with bokeh in their images. But just like anything in photography, there is more than one way to achieve a similar effect.
The Bokeh technique is a relatively easy way to produce a bokeh effect. It consists of using a large aperture (small f-stop number) to allow as much light as possible to enter the camera. This can often produce very soft and dream-like image results.
Make sure to have good lighting
The first thing you can do to improve your photography is to make sure you have good lighting.
Lighting can make or break a photograph—it can make a scene look bright and cheery or dark and moody. The right lighting can make a scene come alive, while the wrong lighting can make a scene look flat and boring.
You don’t need to invest a lot of money to achieve good lighting—in fact, the best lighting is usually the natural lighting that comes from the sun.
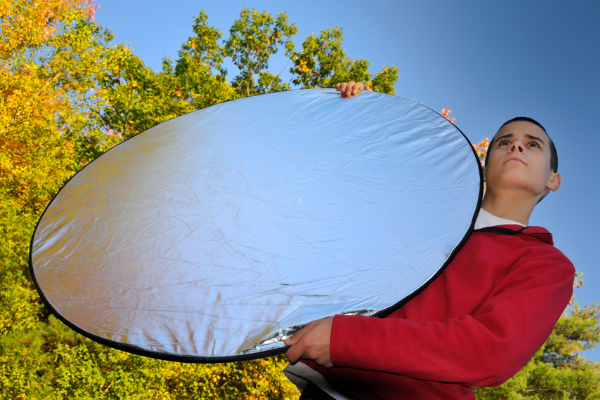
One of the best ways to create good lighting is to backlight your subject. Backlighting makes your subject look lighter and more vibrant because it draws the viewer’s attention to them. Backlighting is easiest when the sun is behind your subject.
Most of the time you might have to compensate the light coming from the front in order for your subject not to be underexposed. One way to solve this problem is to use a 5 in 1 round reflector. With this tool you will be able to bounce the sunlight back to your subject face, bringing the exposure up.
Learn how to edit like a Pro
Have you ever wondered how to make your photos look like they were taken by a professional?
Whether you are a beginner or have been taking pictures for years, everyone wants to learn how to edit photos like a professional. The good news is that it’s not rocket science, and you can learn how to edit photos like a pro in no time.
All you need is some basic knowledge about how to use photo editing software such as Adobe Photoshop or Adobe Lightroom, and you’re good to go.

If you are not familiar with these softwares, there are a lot of step by step tutorials either on Youtube or on Adobe’s website.
If you don’t have access to Photoshop or Lightroom, there are several free alternatives you can choose from. One of the most famous and easy to use is GIMP.
Get Familiar with Your Camera Settings
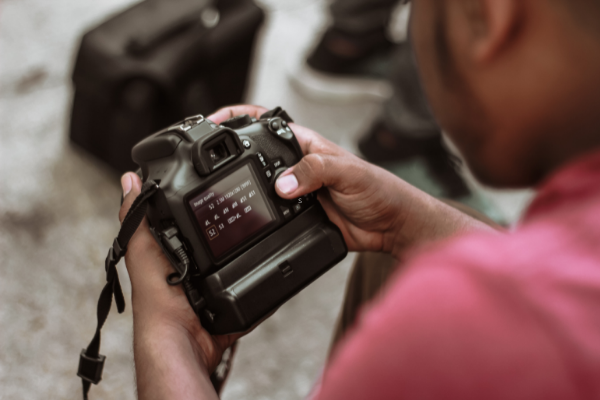
Your camera is a powerful tool, but it’s also a complicated one. To get the most out of it, it’s a good idea to spend time learning about its settings and how they affect your photos. Spend a few minutes reviewing your camera’s manual or reading the online tutorials. Then, when you’re out and about, try experimenting with different settings to see how they affect your photos.
If your camera has a Manual Mode, use it. Most cameras have some sort of automatic mode, but your photographs will be much better if you learn to use the manual mode. You can use the manual mode to take pictures that are exactly the way you want them to be, without any unwanted effects.
In manual mode, you can change a variety of settings, such as Aperture, Shutter Speed, and ISO. These settings affect directly the exposure and depth of field in your photo and put you in control of everything that’s happening in your photos.
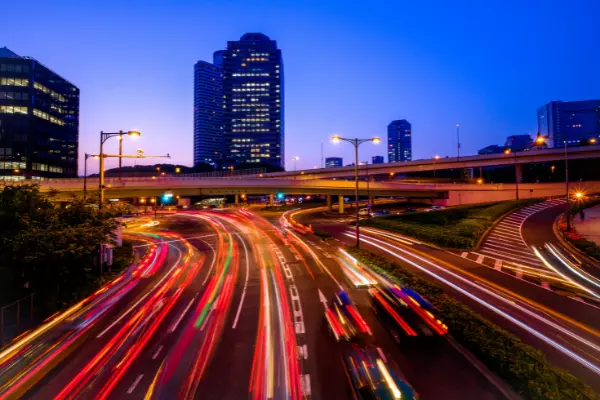
Use a Tripod and Experiment with Long Exposure Photography
One of the most important things you can do to take better photographs is to use a Tripod.
A tripod is a device that ensures your photographs are as steady as possible. This means you can take photographs in low light without the camera shaking, photograph at a slow shutter speed without the subject moving, or take a long exposure photograph without the picture being blurry.
You can buy a cheap tripod that can be used with your smartphone, or you can invest in a more expensive tripod that can support heavy SLR cameras.
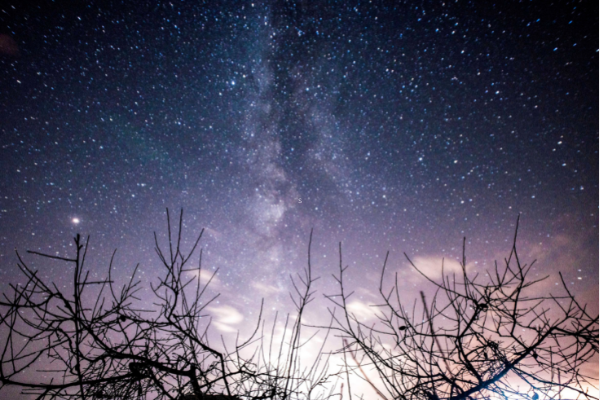
Long exposure photography is a photography technique that uses exposure times of several minutes or longer.
This allows light to be captured in the shadows and dark areas of a scene, giving your photograph a more interesting feel. You can take long exposure photographs in low light, which prevents the scene from being too bright, making it easier to capture interesting scenes.
You can also use a long exposure to capture star trails, which is the movement of the stars across the sky as the night sky changes.
Conclusion
I hope you have found this article interesting and especially helpful. I have summarized in bullet points all the topics we talked about above so you have it in an organized way.
5 practical tips on how to take better pictures starting today:
- Learn to Master the Fundamentals of Composition
- Make sure to have good lighting
- Learn how to edit like a Pro
- Get familiar with your camera settings
- Use the tripod and start experimenting with Long Exposure Photography
Comment below any questions, doubts, or clarification and I will definitely reply as soon as possible! And if you are interested in filmmaking, read this article on how to make better videos.