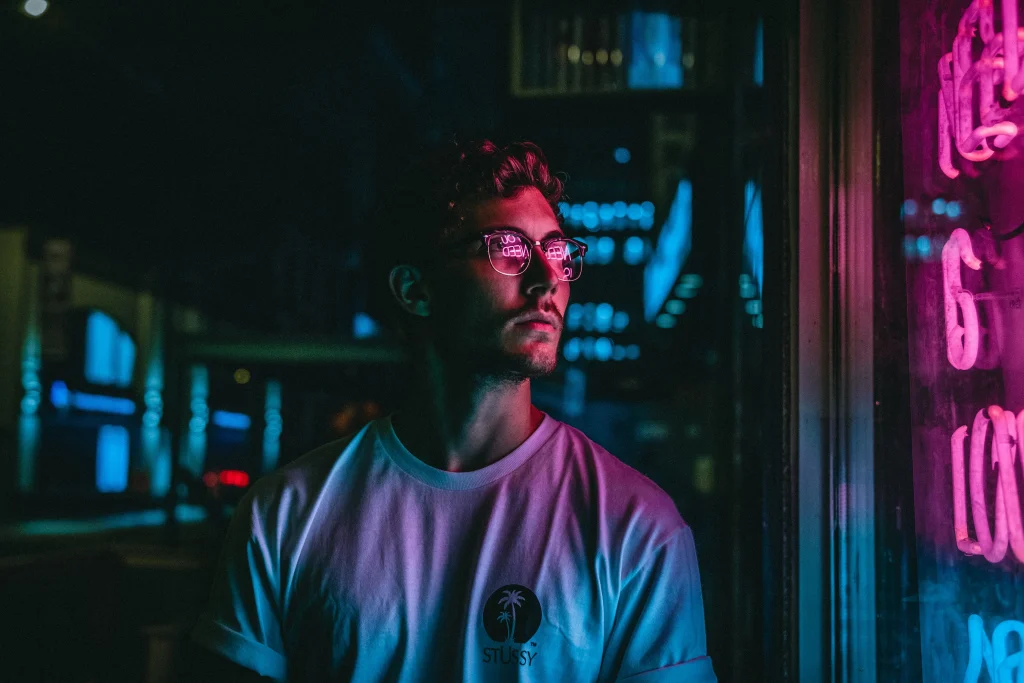
There’s something magnetic about wandering city streets after dark with a camera in hand. The glow of neon signs, the shadows cast by streetlights, the quiet energy of people moving through the night—it all makes for some seriously compelling images.
Over time, I’ve spent a lot of late nights experimenting with different techniques, gear, and settings to get the most out of nighttime street photography. In this post, I’m sharing 7 practical tips that have genuinely helped me capture better photos after the sun goes down.
Let’s dive in and make the most of the night.
What is Night Street Photography
Night street photography is the art of taking photos of people and scenes in a cityscape setting at night. It can be a lot of fun, and it’s a great way to practice your skills and capture some amazing images.
There are a few things you need to keep in mind when shooting at night:
- Make sure you have plenty of light! This means looking for well-lit areas, using a flash if necessary, and/or increasing your ISO.
- Pay attention to your shutter speed. You’ll want to make sure it’s fast enough to avoid any blurriness from camera shake.
- Be careful with noise levels – especially when shooting at high ISOs. Noise can often be reduced in post-processing, but it’s best to try and keep it to a minimum in-camera.
- Use slower aperture settings to capture more detail in your photos.
- Be aware of your surroundings and stay safe! Night photography can be a bit dangerous, so always be aware of what’s going on around you.
Now that we’ve covered the basics, let’s take a detailed look at 7 great tips for taking incredible night street photos!
What are the best Cameras for Night Photography
Features to keep in mind
When it comes to night street photography, there are a few things to keep in mind. One of the most important is your camera’s ISO.
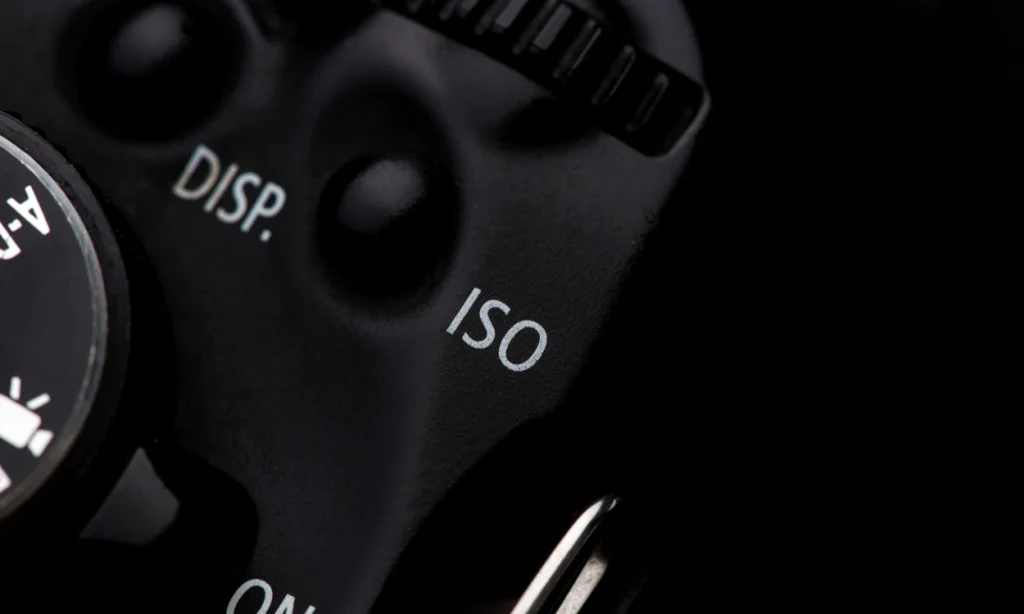
Your ISO is how sensitive your camera’s sensor is to light. The higher the ISO, the more noise you will get in your photos. This means that it’s important to find a camera with a good high-ISO performance.
Some cameras offer a dual Native ISO option which allows you to switch between a lower iso and a high one without loosing any detail or getting more noise.
This is a great option when it comes to night street photography because we want to preserve the details and quality of an image without having to use too many lights.
Best cameras for night photography
Some of the best cameras for night photography are:
All of these cameras have great high-ISO performance, meaning you’ll be able to get clear, noise-free photos even in low light conditions.
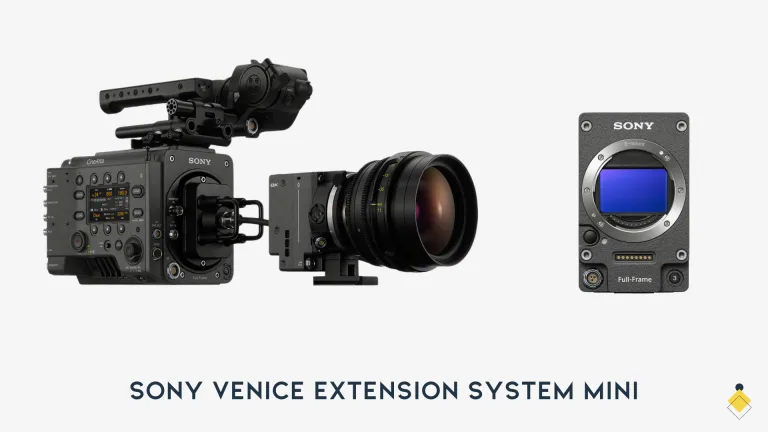
Another aspect to take into consideration when deciding what camera to use for night street photography is the sensor size.

A larger sensor will give you better quality photos, especially in low light. This is because a large sensor can gather more light than a small one.
Cameras with a full-frame sensor are ideal for night street photography, but they can be expensive. If you’re on a budget, consider cameras with an APS-C or Micro Four Thirds sensor.
Whatever camera you decide to use, make sure it has a fast shutter speed and a good high-ISO performance.
What are the best lenses for Night Photography
When it comes to night street photography, a fast lens with a large aperture is ideal. This will allow you to capture as much light as possible and create a brighter image.
Why do you need a fast aperture?
Aperture is how wide the lens opens up to let in light. The wider the aperture, the more light that will be allowed in.
This is why lenses with a large aperture are ideal for night photography – they let in more light and create a brighter image.
Another feature to look for is a lens with image stabilization. This will help to keep the camera steady when shooting in low light conditions.
A wide angle lens can also be helpful for night street photography, as it will give you more of the scene to work with.
Some of the best lenses with a large aperture are:
- Sigma 14-24mm f/2.8
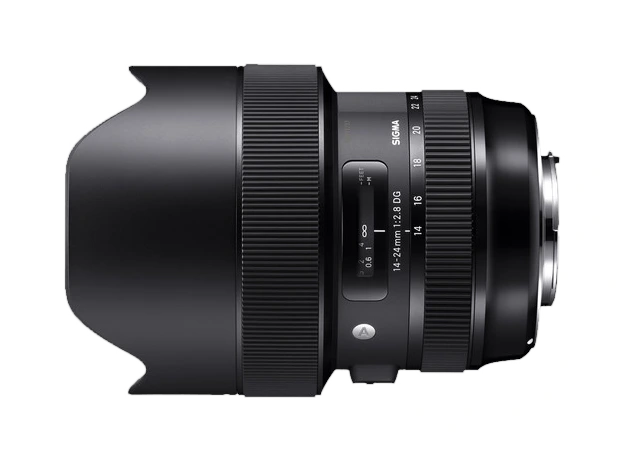
The Sigma 14-24mm f/2.8 is a great lens for night photography. It has a large aperture of f/2.8, which allows in a lot of light.
It also has image stabilization, which helps to keep the camera steady when shooting in low light conditions.
The wide angle zoom lens gives you more of the scene to work with.
- Canon 24-70mm f/2.8 L II USM

The Canon 24-70mm f/2.8 L lens is a great choice for night street photography.
When shooting at night, it’s important to use a fast lens. The Canon 24-70mm f/2.8 L II USM lens is a great choice for night street photography because it’s fast, has a great focal range, and is compatible with a variety of camera bodies.
- Canon 85mm f/1.2
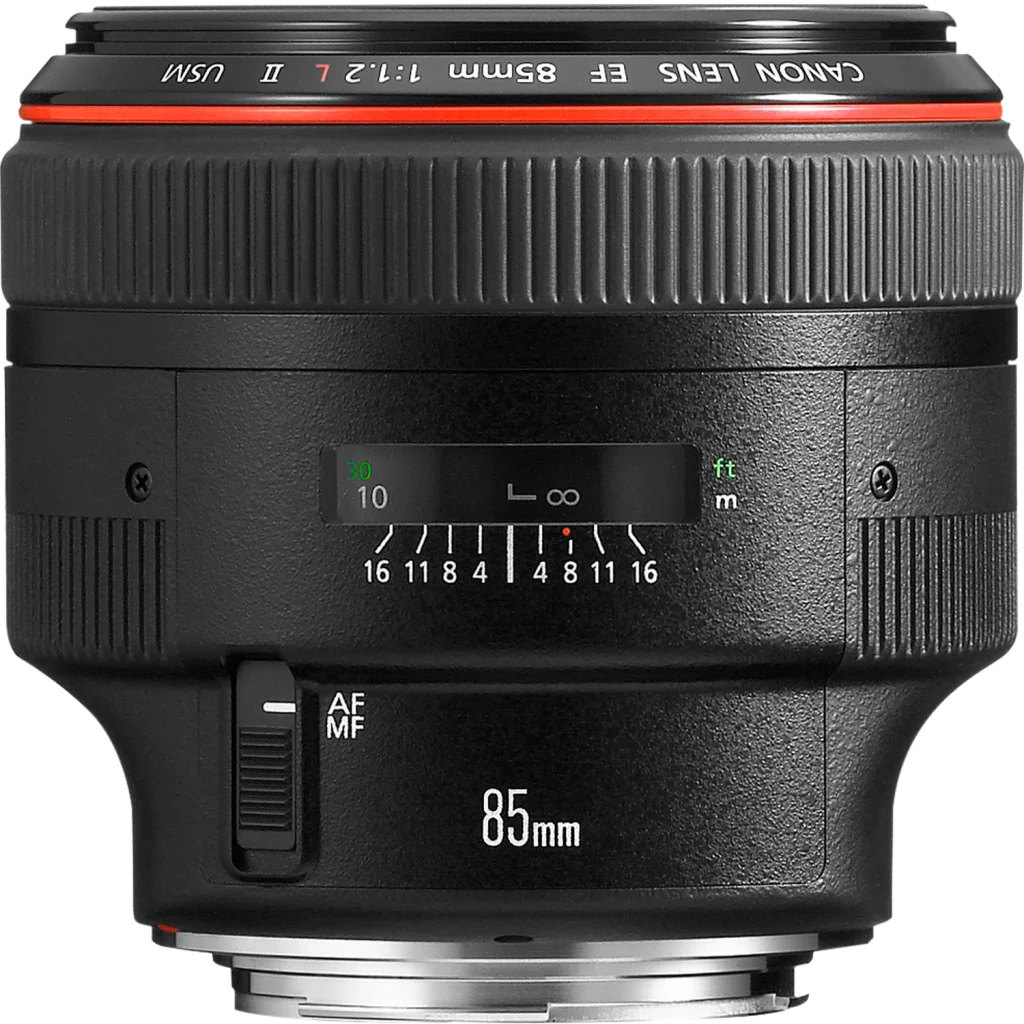
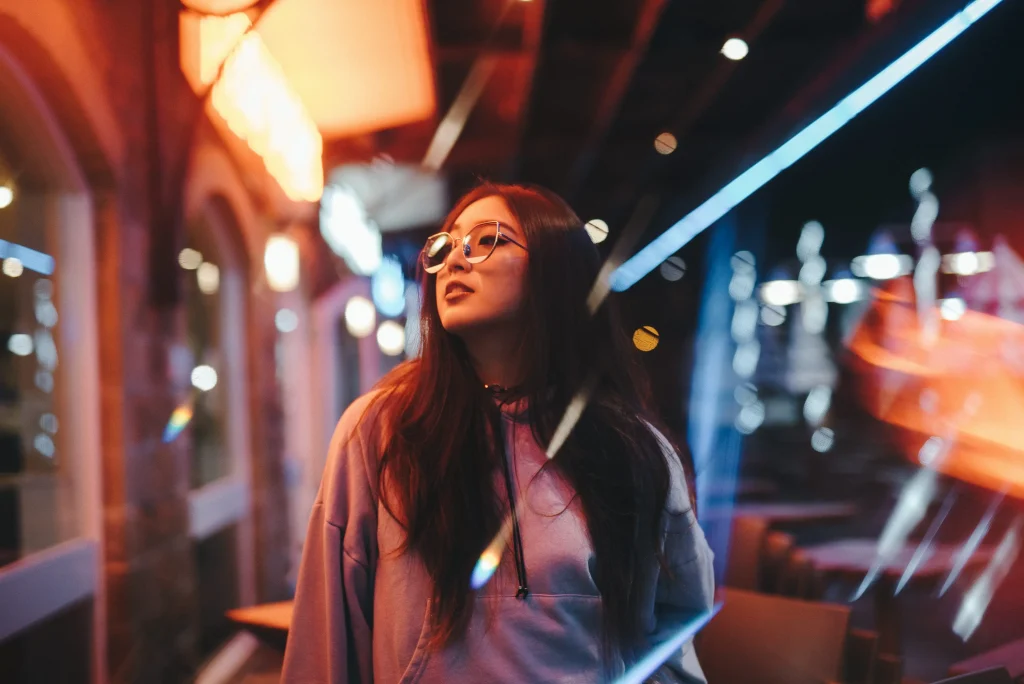
This lens is an amazing option if you are more interested in taking portraits at night.
It allows you to create incredible bokeh which works perfectly with portraits. Since it is a fast prime lens, it pushes you to physically move around the space to choose the right perspective.
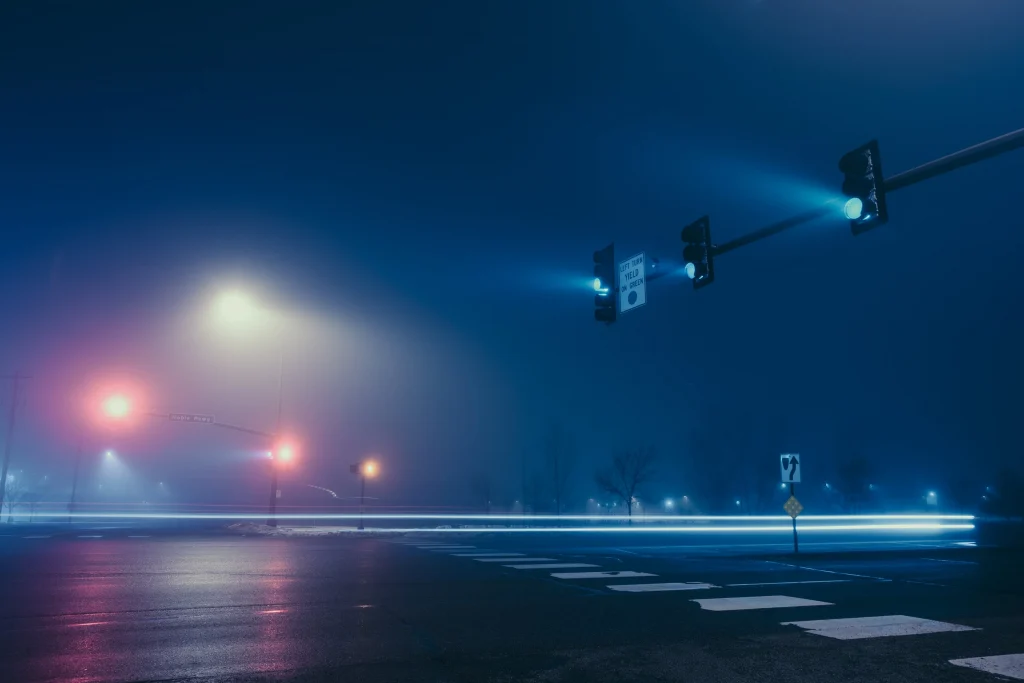
Look for the right light sources when shooting street photography
When shooting street photography, it’s important to find the right light sources. This will help to create a more interesting and well-lit photograph.
Some of the best light sources for night photography are:
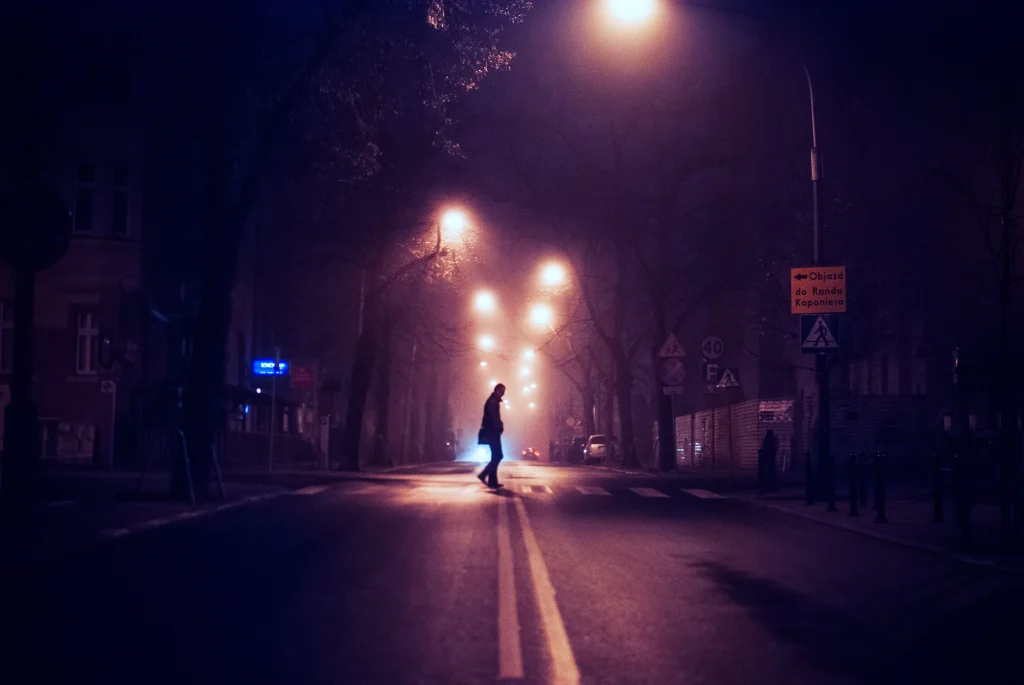
- Streetlights
- Storefronts
- Car lights
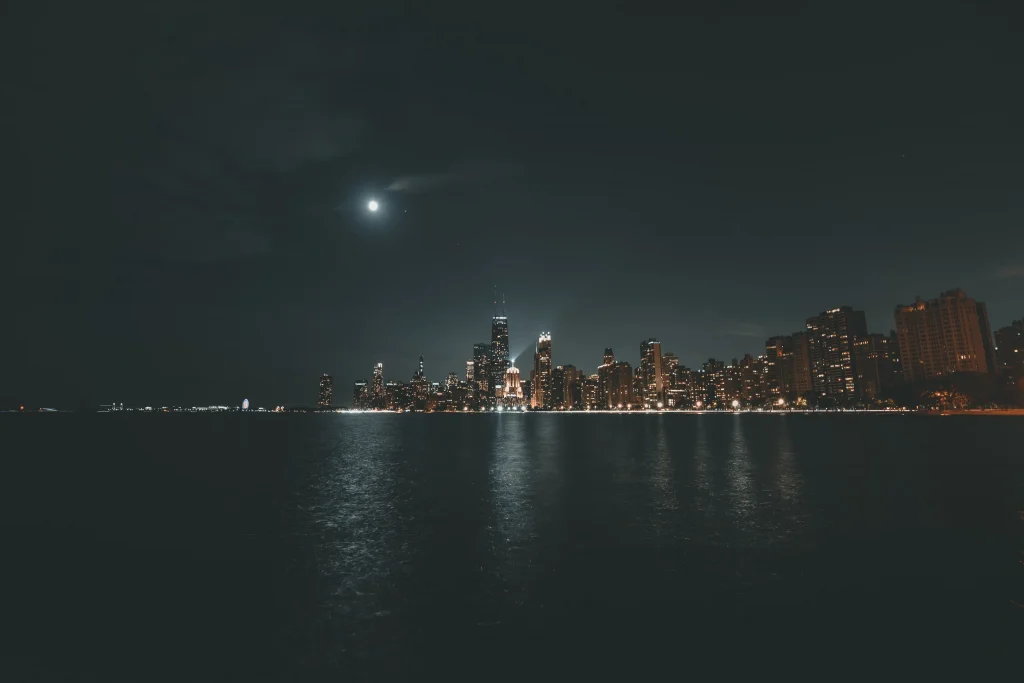
- Moonlight
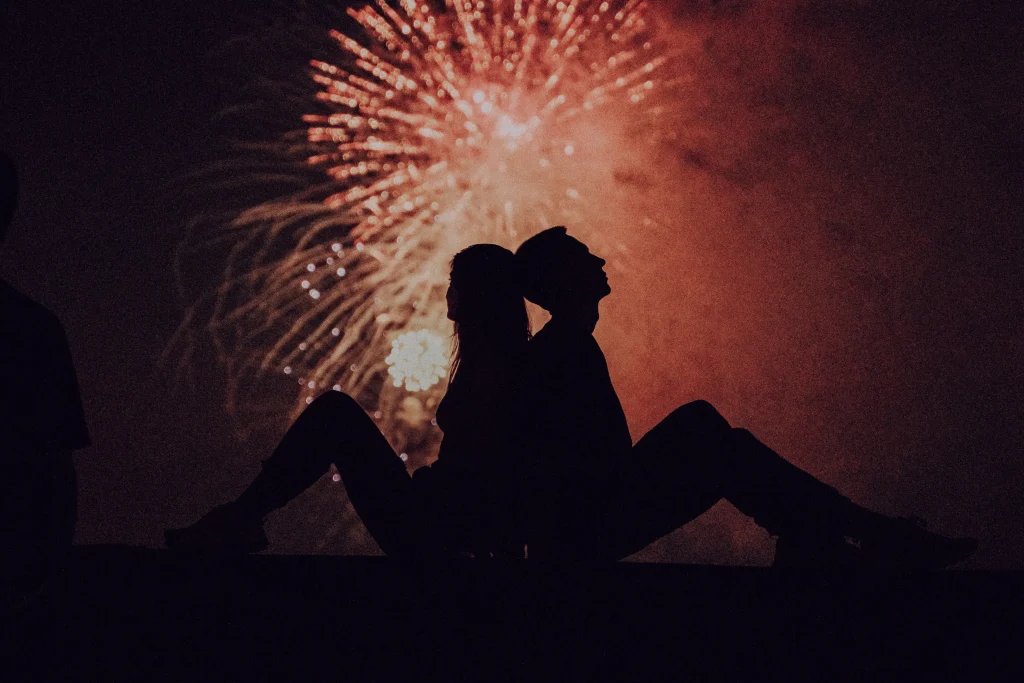
- Fireworks
Each type of light source can create a different mood and feeling in a photograph.
Street Lights are the most common light source used in street photography. They create a bright, artificial light that can be quite harsh.
Storefronts are another great option for night photography. They emit a warm, yellow light which can add to the atmosphere of a photo. Sometimes they have also neon lights hanging that create a really great light on people’s faces.
Car lights can also be used to light up a scene. They create a bright, white light that can contrast with the darkness of night.
Moonlight is a softer light source that can add a romantic feeling to a photograph.
Fireworks are a great option for adding color and excitement to a photo.
Choosing the right light source can help to create the mood and feeling you want in your photograph.
Experiment with different light sources to see what works best for you.
When to use a flash light
One of the great things about Night Street Photography is that you have the opportunity to experiment with different lighting techniques.
Using a flash can help to add light to a scene and create more interesting photographs.
However, it’s important to know when to use a flash and when not to.
Using a flash can help to add light to a subject that is in deep shadows. It can also help to freeze motion and capture fast-moving subjects.
However, using a flash can also create unwanted glare and reflections. It’s important to experiment with using a flash and see what works best for you.
In general, it’s best to avoid using a flash if possible. If you do use a flash, make sure that you are not causing any unwanted glare or reflections. Experiment with different lighting techniques to see what works best for you Night Photography.
How to deal with camera noise
What it noise in photography
Noise is a common issue that can occur when shooting in low light conditions. This is because the camera sensor is trying to capture as much light as possible, which can result in a grainy or noisy image.
There are a few ways to avoid or fix camera noise:
– Use the right ISO setting: This will help to capture more light and reduce noise. However, it’s important to not use too high of an ISO setting as this can also result in a grainy image.
– Use a faster shutter speed: This will help to freeze any movement and reduce the amount of light that is entering the camera sensor.
– Use a wider aperture: This will help to let in more light and reduce the amount of time that the sensor is exposed to light.
– Use noise reduction software: This can be helpful in reducing noise after you have already taken the photo.
How to fix and adjust noise in post production
Lightroom is a great tool to handle noise reduction and it does a great job most of the time.
Here are 6 easy steps on how to use Lightroom to reduce noise in your photos:
1) Open the photo that you want to edit in Lightroom.
2) Go to theDevelop module.
3) Find the section titled “Noise Reduction.”
4) Adjust the Amount and Radius sliders to find the best settings for your photo.
5) Click on the “Preview” checkbox to see how the noise reduction will affect your photo.
6) Once you’re happy with the results, click on the “Apply” button.
Lightroom is very easy and intuitive software to use and it can help you improve your photos and sometimes even fix some mistakes.
Use the right shutter speed
Shutter speed is an important factor to consider when shooting night street photography. A slow shutter speed will help to get more light in the sensor , which is important in low light conditions.
However, it’s important to not use too slow of a shutter speed as this can result in blurry images. Experiment with different shutter speeds to see what works best for you.
Usually as a rule of thumbs, in order to get sharp images, the shutter speed should not exceed the focal length of the lens you are using. For example, if you are using a 85mm lens, the shutter speed should be 1/85th of a second or faster in order to get sharp images.
This rule does NOT apply if we have placed the camera on a tripod. Since it will be still throughout the whole process, even if the shutter speed is slower compared to the focal length of the lens, we will still get sharp photos.
It’s important to experiment with different shutter speeds to see what works best for the scene that you are photographing.
Night photography can be a lot of fun and it’s important to experiment with different settings to find what works best for you.
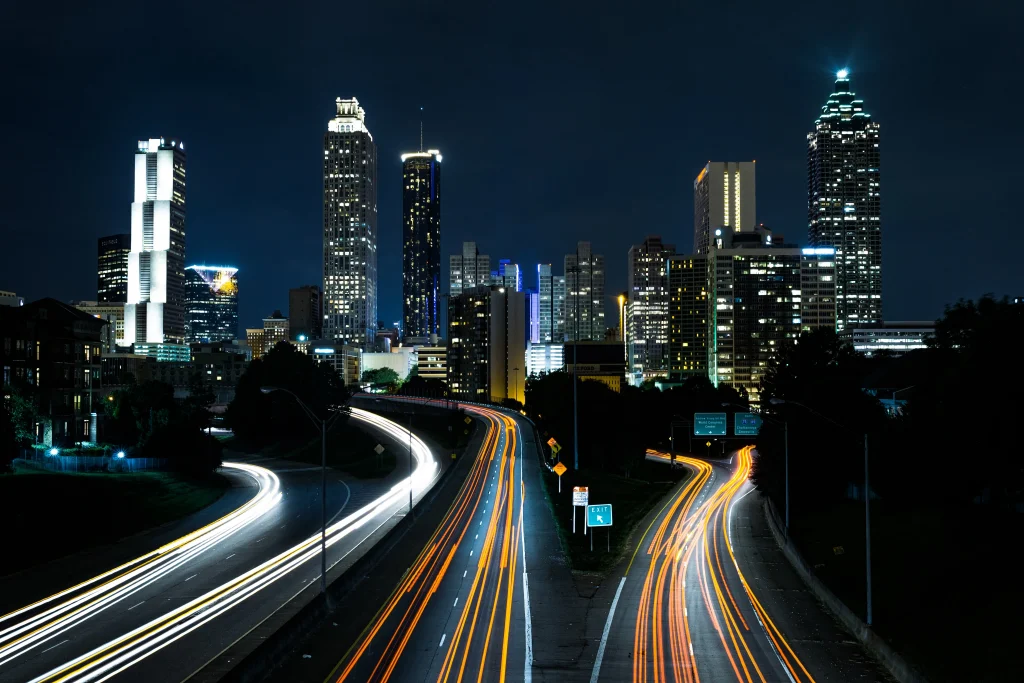
Experiment with Long Exposure
Long exposure photography is a technique where the camera shutter is open for a long period of time, usually several seconds or even minutes. This allows the photographer to capture light trails, moving water, and other interesting effects.
Night street photography is the perfect time to experiment with long exposures. The low light conditions mean that you will need to use a longer shutter speed to get enough light into the camera sensor.
This can result in some interesting effects, such as light trails from cars or stars.
There are a few things to keep in mind when doing long exposure photography:
- Use a tripod: This will help to keep the camera still during the long exposure.
- Use a remote shutter release: This will help to reduce camera shake and keep the image sharp.
- Keep the ISO setting low: This will help to reduce noise in the photo.
Long exposure photography can be a lot of fun and it’s a great way to experiment with your night street photos. Try out different shutter speeds and see what effects you can create.
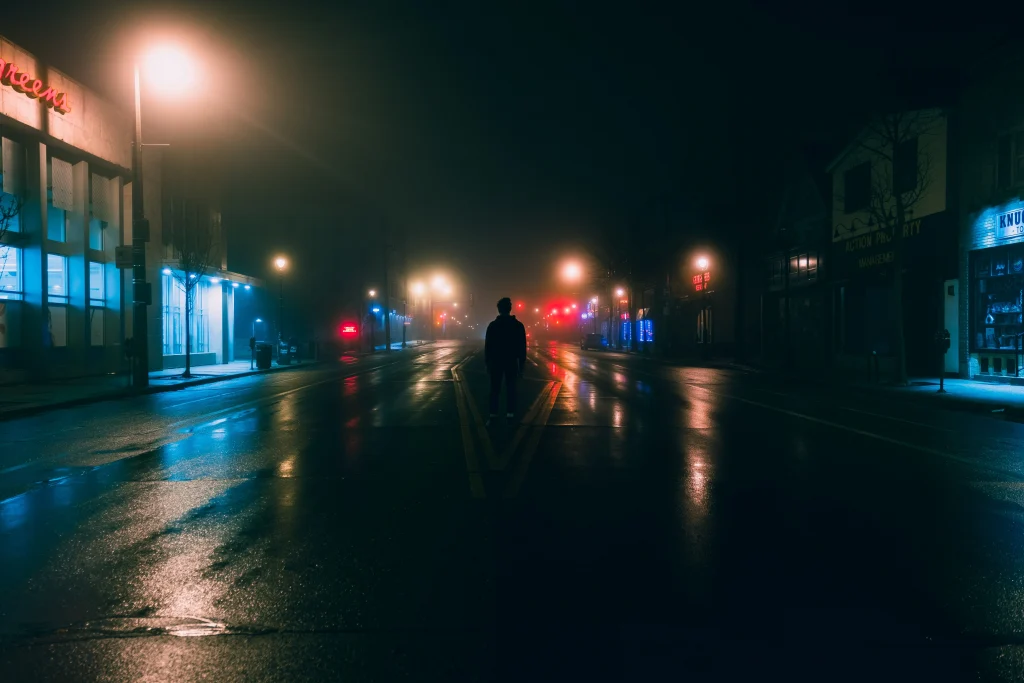
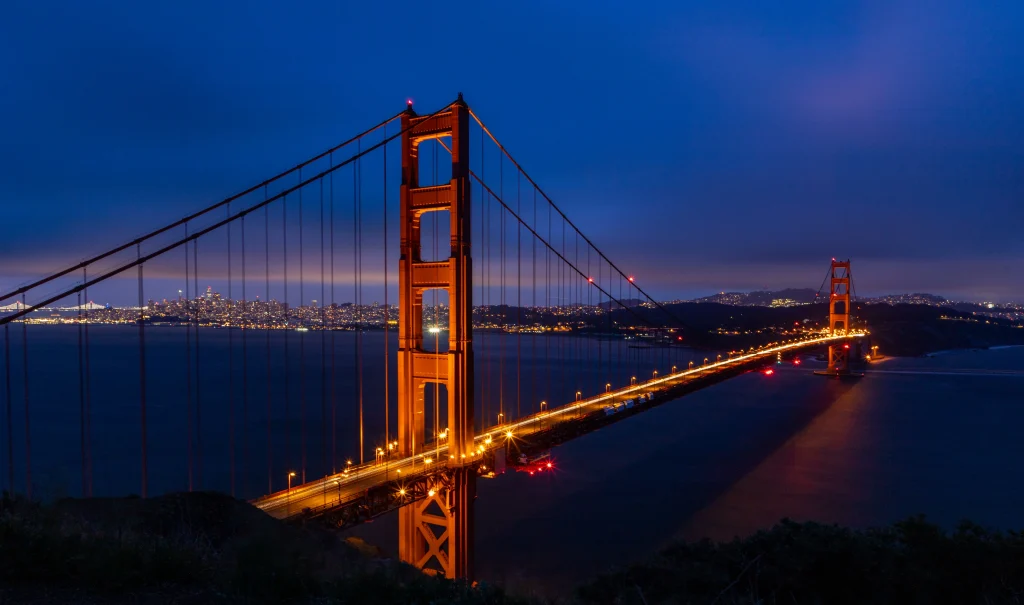
Choose the Right Location
Night street photography can be a lot of fun, but it’s important to choose the right location.
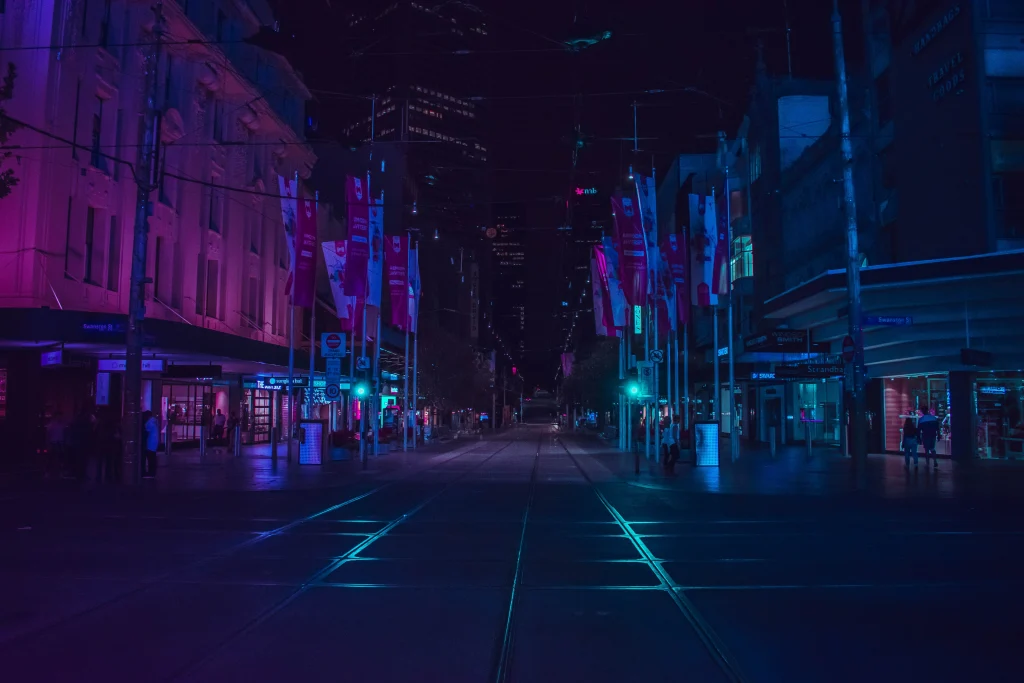
The best locations for night street photography are well-lit areas with interesting architecture or features. Look for areas with lots of light sources, such as streetlights, neon signs, or even lit windows. These light sources will help to create interesting and dramatic photos.
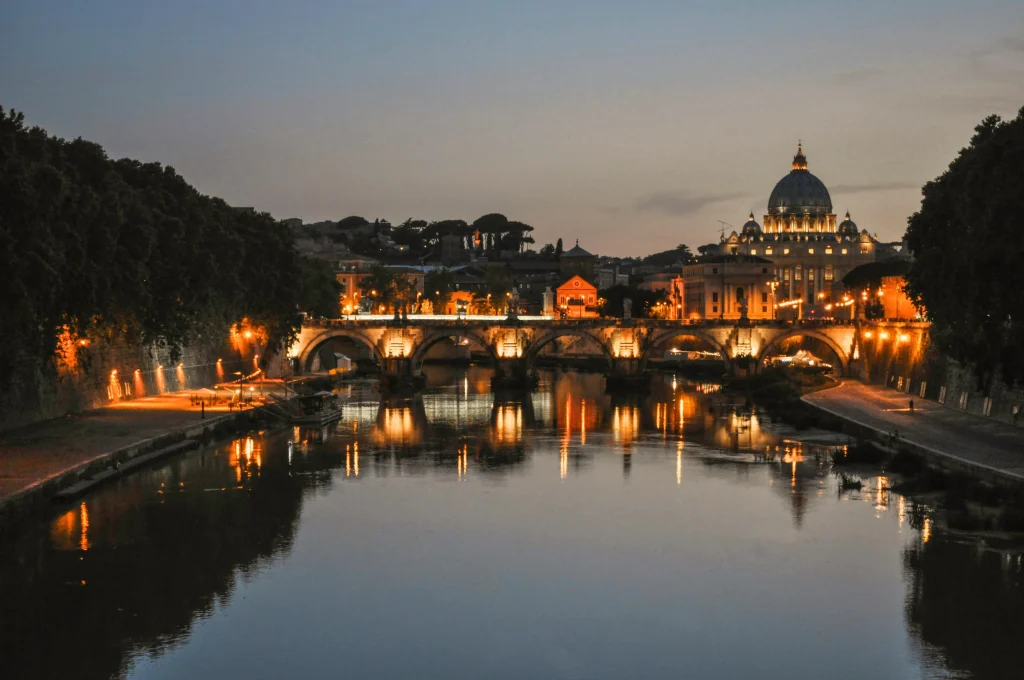
Avoid photographing busy streets with lots of traffic. This can be difficult to capture in a photo and it’s often more interesting to photograph the architecture or features of the city instead.
When choosing a location for night street photography, take your time to explore and find the best spot that will help you create the best photos.
Night photography can be a lot of fun, and choosing the right location is an important part of capturing great photos.
Conclusion
Night street photography can be a lot of fun and it’s important to experiment with different settings to find what works best for you.
Try out different shutter speeds and see what effects you can create.
When choosing a location for night street photography, take your time to explore and find the best spot that will help you create the best photos.
Night photography is a great way to capture the beauty of the city at night.
If you have any questions feel free to comment below!
Thanks for reading!
Frequently Asked Questions – Night Street Photography
What are the best camera settings for night street photography?
The best camera settings for night street photography typically include using a high ISO (around 6400), a slow shutter speed to capture more light, and a wide aperture to achieve a shallow depth of field. Experimenting with manual mode can help you find the perfect balance for your shots.
How can I avoid blur in my night street photos?
To avoid blur in your night street photos, consider using a tripod or monopod to stabilize your camera. If shooting handheld, use a faster shutter speed or increase your ISO to allow for quicker exposures. Additionally, using manual focus can help you get a sharp image in low light conditions.
What are some effective street photography tips for shooting at night?
Effective street photography tips for shooting at night include scouting locations with good street lamps for lighting, using a prime lens for better low-light performance, and adjusting your white balance to match the ambient light. Also, consider underexposing slightly to retain details in highlights.
Is it better to shoot in manual mode or priority mode for nighttime street photography?
While both manual mode and priority mode can be effective, shooting in manual mode gives you complete control over your camera settings, which is crucial for night street photography. However, if you’re more comfortable, aperture priority mode can also work well by allowing you to set the aperture while the camera adjusts the shutter speed.
How does using a full-frame camera benefit nighttime street photography?
A full-frame camera typically performs better in low light due to its larger sensor, which allows for higher ISO settings with less noise. This can be particularly beneficial for capturing stunning night street photography with greater detail and clarity.
What role does white balance play in nighttime street photography?
White balance is crucial in nighttime street photography as it affects the color temperature of your images. Adjusting the white balance can help you achieve more accurate colors, especially under artificial lighting like street lamps, which can cast a yellow or orange hue.
Can I use autofocus for street photography at night?
While autofocus can be useful, it may struggle in low light conditions. For better results, consider using manual focus to ensure you get a sharp image, especially when shooting street portraits or detailed street scenes at night.
What are some tips to get stunning night street photography shots?
To get stunning night street photography shots, try to incorporate dynamic elements like moving cars or people on the street. Use a slow shutter speed to create motion blur for added effect, and experiment with different angles and compositions to capture the urban night atmosphere.
How can I effectively use a tripod for night street photography?
When using a tripod for night street photography, set it up in a stable position and use a remote shutter release or the camera’s timer to avoid camera shake. This allows you to use slower shutter speeds without worrying about blur, enabling you to capture more light and detail in your night images.