Making silhouette pictures is a great way to add some flair to your photos. In this easy guide, we will show you how to make silhouette pictures in camera, without the need for any post processing tools.
With just a few simple steps, you can create stunning silhouettes that will impress your friends and family!
What is Silhouette Photography
Silhouette photography is a type of photography that involves capturing the outline or shadow of a person or object.
It differs from regular photography in that it does not require any lighting, since the subject’s dark silhouette will be against a bright background.
This makes for an eye-catching and unique effect that can add drama and interest to your photos.
Silhouette Photography 101
Silhouette photography is not complicated to create but does take a bit of practice to get the hang of it.
There are some things to keep in mind when trying to capture the perfect silhouette and in this article we are going to see them all.
Where to shoot
Some of the best places to shoot silhouette photography are against a bright background such as the sky or the ocean.
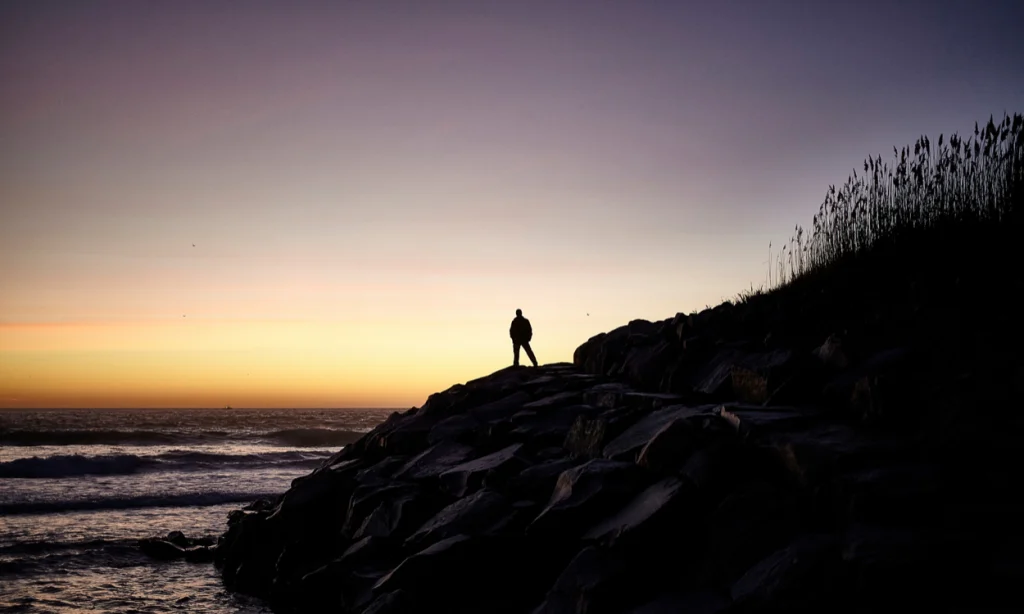
If you can find a location where the sun is setting or rising, this will create an even more dramatic effect.
Another thing to keep in mind is that you want your subject to be in front of the background, not too close to the camera.
This will help to create a more defined silhouette.
When to Shoot
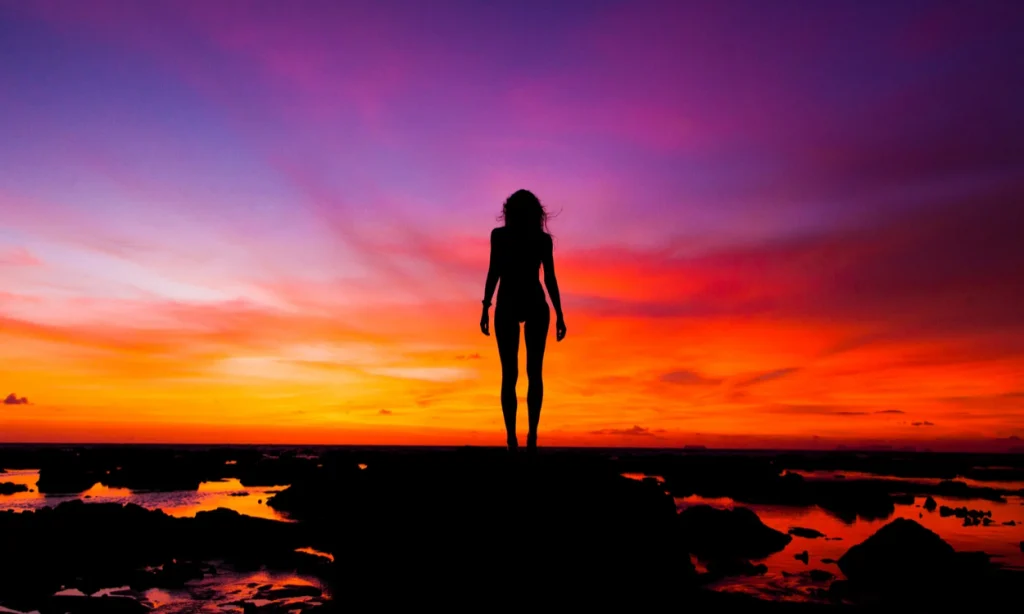
The best time to shoot silhouette photography is during the golden hour, which is the hour before sunset and the hour after sunrise.
During this time, the sun is lower in the sky and casts a beautiful orange light that will create stunning silhouettes.
If you can’t shoot during the golden hour, don’t worry!
You can also create beautiful silhouette photography during the blue hour, which is the hour before sunrise and the hour after sunset.
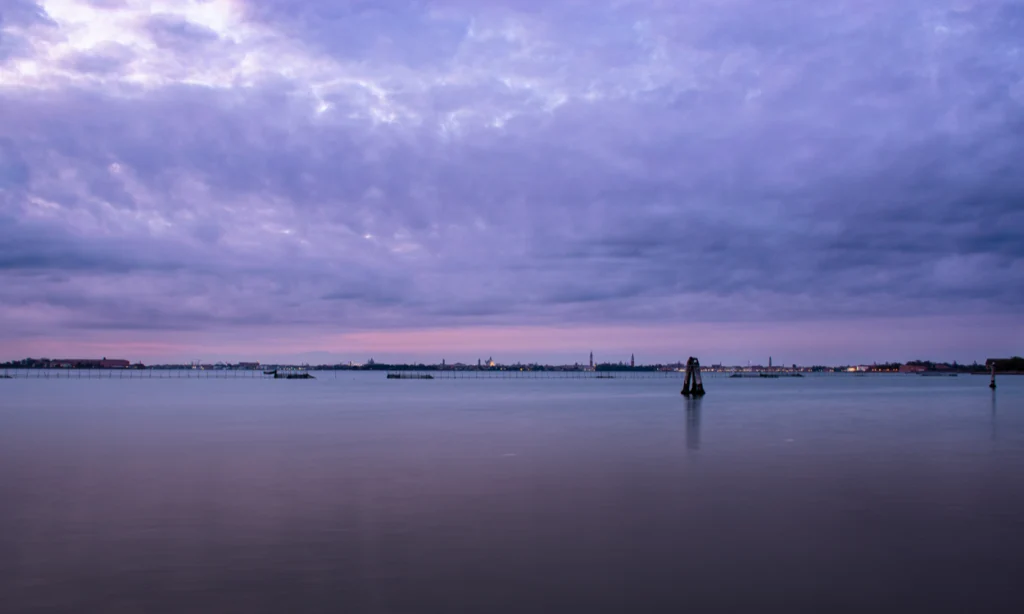
During this time, the sun casts a soft blue light that will give your photos a serene and ethereal look.
Keep in mind that you’ll need to shoot in a location where there is a lot of natural light, as silhouette photography requires very little artificial light.
How to Pose Your Subject
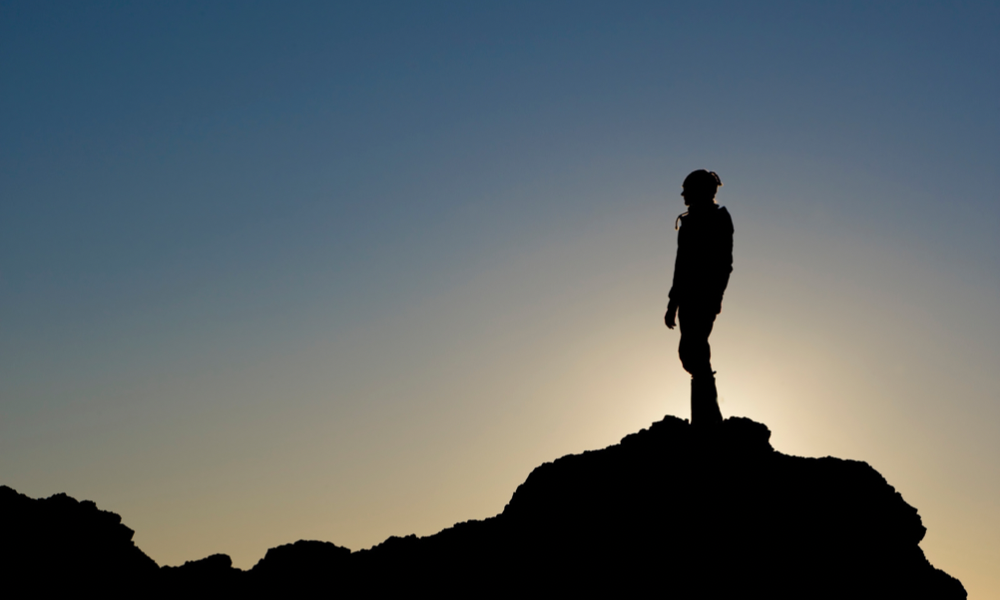
When posing your subject for silhouette photography, you want them to be front and center against the bright background.
You don’t need to worry too much about their expression or how they look, since the focus will be on their outline.
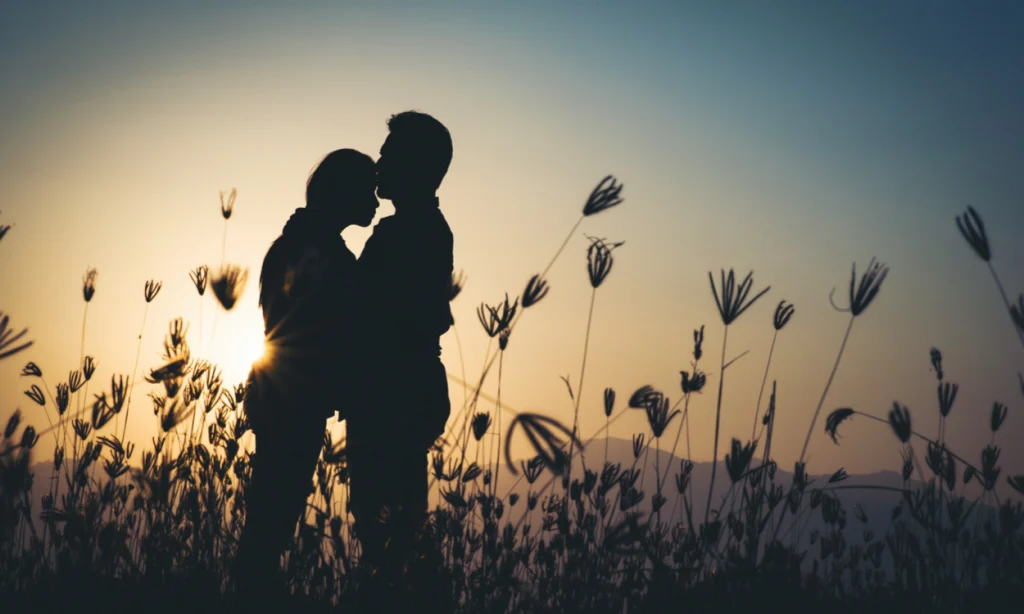
However, you may want to ask them to raise their arms or legs so that their silhouette is more interesting.
You can also have them hold props such as umbrellas, balloons, or flags to add some extra interest to the photo.
The most important part is that you place your main subject between the camera and the light source.
Best Camera Settings
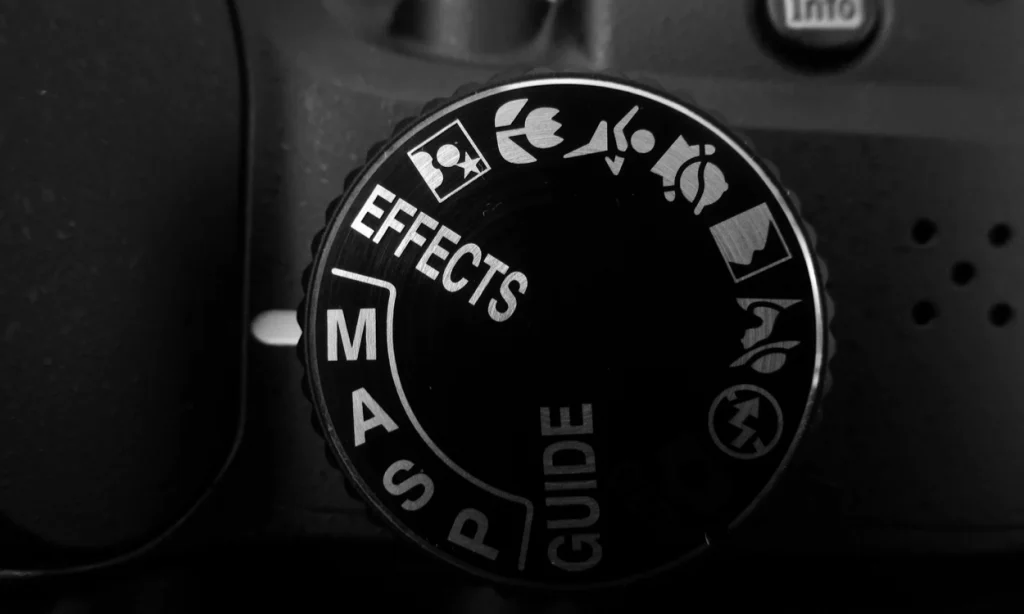
The first thing to do when shooting silhouette photography is to switch your camera to manual mode. This is a great idea because it will allow you to have full control to what the finished product is going to look like.
To get the perfect exposure for silhouette photography, you will need to underexpose your subject.
This means that you will need to set your camera to a low ISO, a high aperture, and a slow shutter speed.
For example, you may want to set your ISO to 100, your aperture to f/16, and your shutter speed to 1/50.
You always want to expose for the background because doing so will underexpose the subject creating the silhouette effect.
You may need to experiment with different settings to find what works best for you.
Always do a test shot to make sure everything works properly before you start shooting.
Framing & Composition
When it come to framing and composition there is always a lot of room for experimenting, but if you are just starting out, it might come handy to know the basics of composition.
The Rule of Thirds
If you don’t have a lot of experience and want to start taking more appealing photos, the first thing you can work on is composition.
One of the best way to start is by applying the rule of thirds to every photo you take.
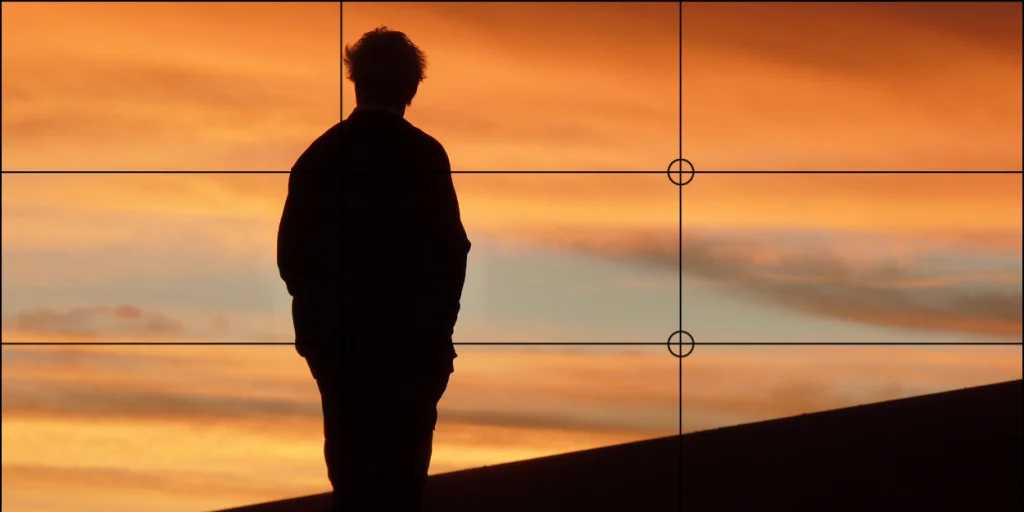
The rule of Thirds is a simple compositional rule that can help you make your photos more interesting.
It states that you should imagine a grid on top of your photo and that the important elements in your photo should fall on one of the intersections of those lines.
This will help to create a more balanced and pleasing photo.
By applying this rule to your silhouette photos, you will end up with an incredible final silhouette picture to share with everyone!
Partial Silhouette Photography
Partial silhouette photography is a great way to add some extra interest to your photos.
It is very similar to what a normal silhouette image would look like but the difference is in the exposure of the subject. With Partial Silhouette Photography the subject is still going to be underexposed in relation to the background, but we will still be able to see some details.

It is very simple to do and can be achieved by adjusting the camera settings slightly.
All you need to do is expose for the background, which will underexpose the subject and then adjust it looking at your subject.
If you have a light meter this process can be a little but more fast and precise.
- Set the light meter with the right setting to match what you are shooting on with your camera.
- Select the spot metering mode.
- Take a reading of the background.
- Adjust your exposure in your camera setting the aperture to a stop above your subject’s reading.
Post Processing in Photoshop
With Silhouette Photography there isn’t much post production required. Actually, if we did everything correctly in camera we are ready to go with no photoshop required!
But, if you feel like adjusting the colors and the contrast a little bit to improve you photos, then using an editing program like Photoshop or Lightroom is the right move.
A normal adjustment to do on a silhouette image, is to increase a little bit the contrast to create even more separation between the subject and the background.
To increase contrast in photoshop just go to Image->Adjustments->Brightness/Contrast and slide the contrast up.
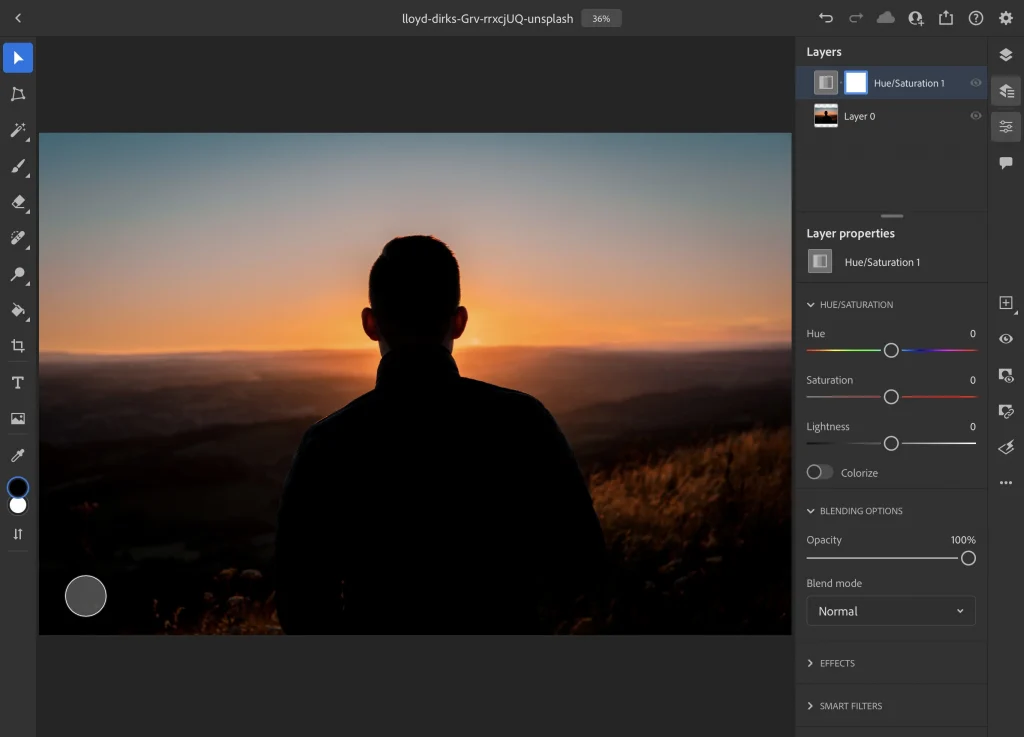
If you want to take it a step further, you can also adjust the color and saturation of your picture by going to Image->Adjustments->Hue/Saturation.
This is a great way to add some extra interest and drama to your photograph, especially if you have shot your silhouette on the beach against an awesome sunset.
If you are using Lightroom, it can be really fun to experiment with different LUTs to see if you find something inspiring for your photos. You can find several online for free and there are super easy to install!
Conclusion
As you can see, silhouette photography is a great way to add some extra interest and drama to your photos.
It is very simple to do and can be achieved with just a few simple steps.
So go out there and start taking some amazing silhouette pictures! Thanks for reading!
If you have any questions feel free to leave a comment below!
Frequently Asked Questions
How to Silhouette a Photo
In order to create a silhouette with your camera, you will need to underexpose your subject. This can be done by adjusting the camera settings slightly or using a light meter.
Once your subject is underexposed, you will need to adjust the exposure looking at your subject. If you have a light meter this process can be a little but more fast and precise.
What Silhouette means in Photography
Silhouette is a type of photography where the subject is backlit and underexposed in relation to the background. This creates a dramatic effect and can be used to create some amazing photos.
How to take silhouette photos at home
To take a silhouette picture at home you can use a window as your background which is going to be brighter than the subject.
Then you will need to underexpose your subject, which can be done by adjusting the camera settings slightly.
Once your subject is underexposed, you will need to adjust the exposure looking at your subject.
How to Create a Silhouette in Photoshop
There are several steps you need to follow in order to create a silhouette effect in photoshop.
- Open image in Photoshop
- Duplicate Background layer by pressing Ctrl+J
- Change blend mode of duplicate layer to “Luminosity”
- Select the “Quick Selection Tool” from the toolbar or by pressing W
- Click and drag over the area you want to keep
- Go to “Select” > “Inverse” from the top menu or press Shift+Ctrl+I
- Press Delete on the keyboard
- Go to “Layer” > “New Adjustment Layer” > “Levels…”
- Drag the black input slider towards the right until your subject is completely black
- Click “OK”
- Go to “Layer” > “New Fill Layer” > “Solid Color”
- Choose a color for your background and click “OK”
- Change the layer blend mode to “Multiply”
Your final image should now look like a silhouette!