Using a green screen is a great way to transport your video to exciting new locations without ever leaving your studio. With some simple equipment, a bit of setup, and video editing software, you can create professional-looking videos using green screen compositing techniques. This comprehensive guide will teach you everything you need to know, from green screen basics to setting up your studio to shooting footage and editing in post.
What Exactly is a Green Screen and How Does it Work?

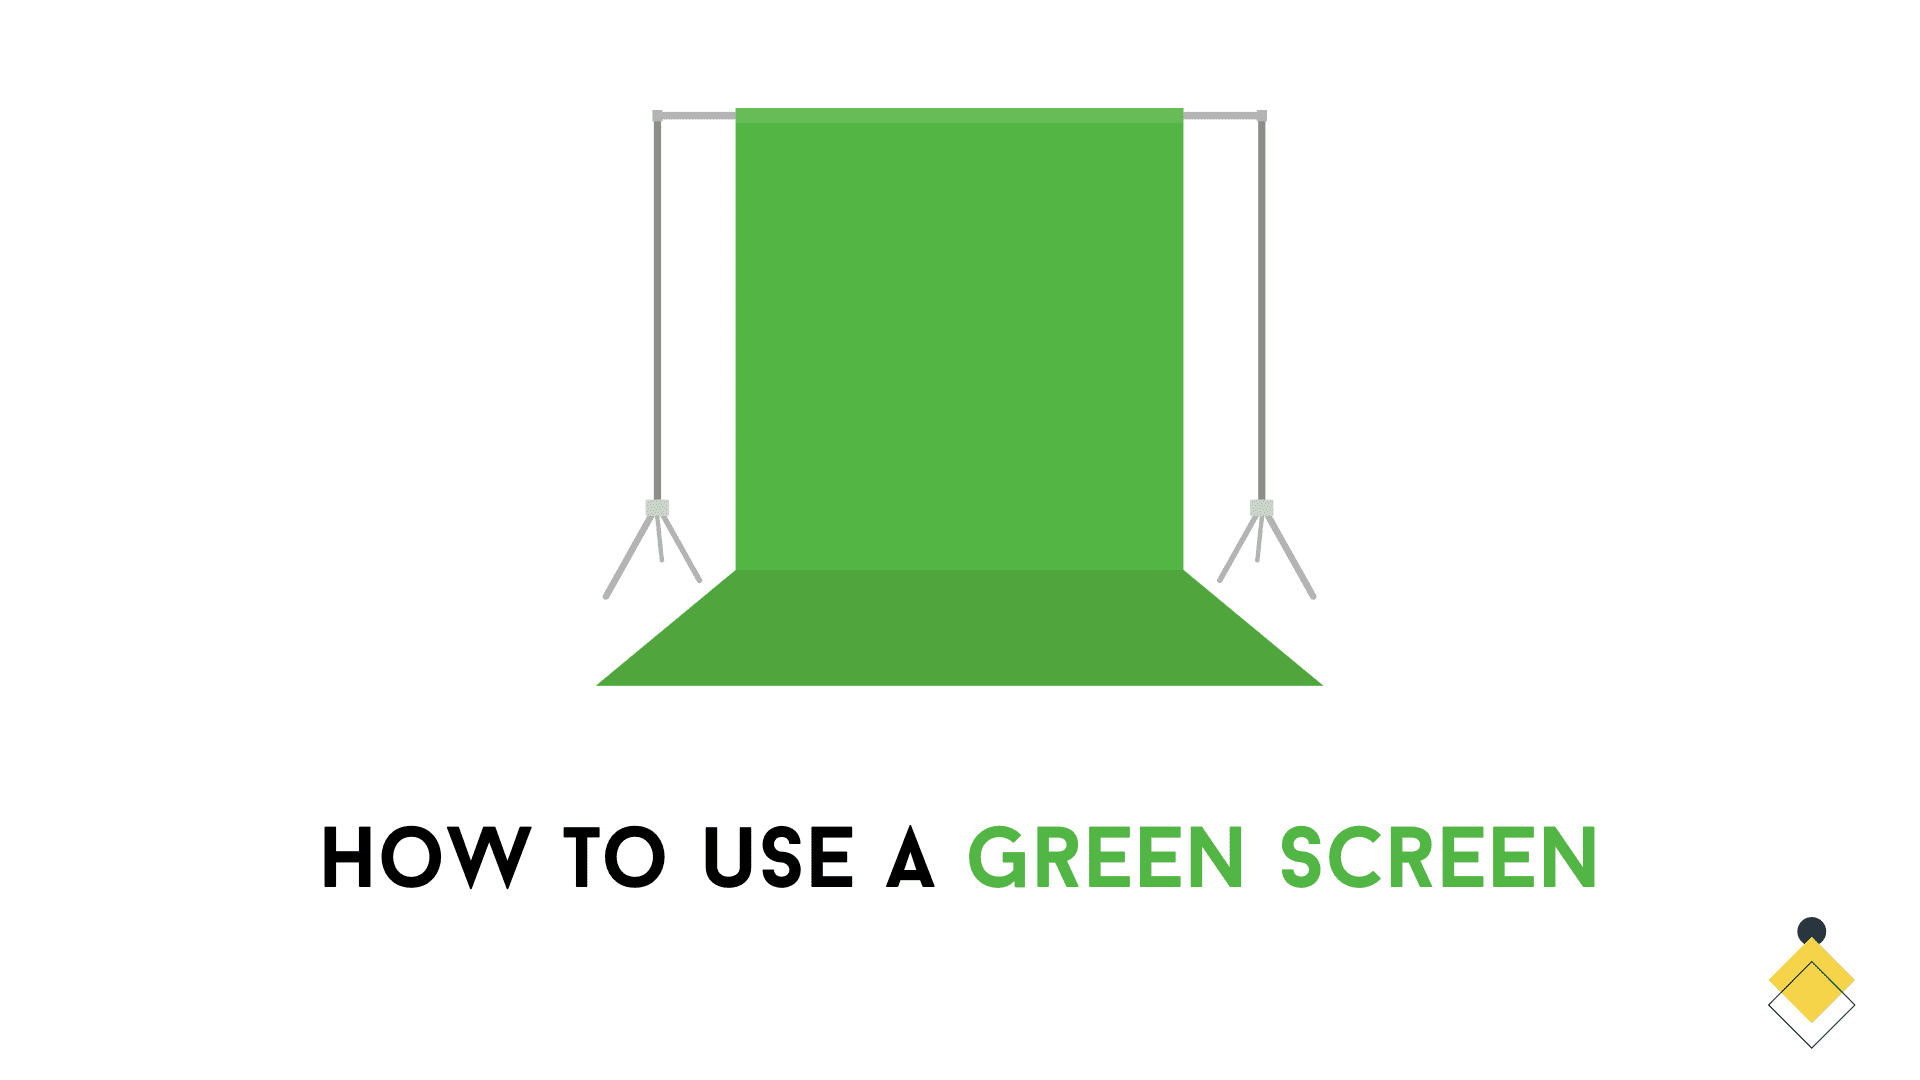
A green screen, also known as a chroma key or chroma keying, is a visual effects technique that allows video editors to isolate and remove a specific color from footage. It is typically a bright green backdrop used for video production and photography.
The green screen works by utilizing color keying technology. Video editing programs like Adobe Premiere Pro, After Effects, Final Cut Pro, and DaVinci Resolve have built-in chroma key effects that can key out a certain color value in the frame. The editor can specify the exact shade of green to remove, which isolates the subject from the background. This background area becomes transparent, allowing you to easily replace the green screen with another image or video clip.
This technique is commonly used in television, film, music videos, commercials, and more. It allows creators to digitally insert backgrounds, locations, environments and special effects that would otherwise be too expensive, dangerous or impossible to capture with a camera.
Green screens work so effectively because the stark green hue is the furthest color on the color wheel from skin tones. This makes it easy for editing software to distinguish the background from the foreground.
After keying out the green, editors can then isolate foreground subjects from the background. This is called creating an alpha channel matte, which contains transparency information. With precise isolation of the subject, they can then be composited on top of any new virtual background the editor chooses.
From exotic destinations, to fantasy worlds, historical eras and outer space, the possibilities are truly endless! Combined with a little creativity, green screen visual effects can transport your productions to breathtaking new locations.
Why Use Green and Not Blue or Another Color?

You may be wondering, why green? Why not use blue screens or another color for chroma keying? There are a few key reasons green screens have become the standard in video production:
- Distinct hue – The green hue sits isolated from most natural colors including skin tones, hair, and clothing making it easier to key out cleanly.
- Reflectiveness – Green contains more reflectance and luminance than blue, providing a brighter surface to illuminate the subject.
- Digital sensors – Digital camera sensors are twice as sensitive to green light versus blue light, yielding a stronger chroma key.
- Better compositing – Green spills and reflections are easier to clean up when compositing the final scenes.
For these technical and practical reasons, bright green screens have become the dominant color of choice for chroma key work.
However, blue screens do offer some benefits depending on your production:
- Highly saturated blues – A narrow blue hue can be isolated well for compositing.
- Better with blue objects – Blue screens key out blue objects better than green does.
- Smaller studio spaces – Blue screens reflect less green spill issues in smaller spaces.
So while green reigns supreme for most studio work, blue screens do still have their purposes in the right settings.
Green Screen Equipment Needed
To set up a basic green screen studio, you’ll need just a few key pieces of equipment:
Green Screen Backdrop

The actual chroma key backdrop is the most essential element. These come in different materials, sizes and features:
- Fabric – Muslin or canvas cloth backdrops are lightweight and portable though more prone to wrinkles.
- Paper rolls – Long rolls of paper can provide yards of seamless background.
- Vinyl – Heavier duty vinyl sheets are reusable and more wrinkle-resistant.
- Size – Get a backdrop wide enough to fit your entire scene and subjects. 9×12 feet is a common starting size.
- Stand – Sturdy support stands or crossbars mount the backdrop tightly.
- Portable Kits – All-in-one portable kits provide compact green screens with stands.
Video CameraVideo Production
Any video camera can work, but higher resolution digital cameras will yield best results:
- DSLR cameras – Top of the line DSLRs like Canon, Nikon, or Sony models provide sharp HD footage.
- Mirrorless cameras – Compact yet powerful mirrorless cameras are ideal for green screens.
- Camcorders – Long recording times make camcorders well-suited for chroma key work.
- Cinema cameras – For professional studios, cinema cameras like Red or Arri rigs provide unrivaled quality.
- Smartphones – While limited, smartphones can work in a pinch with proper lighting.
Tripod
A sturdy tripod is crucial for keeping your camera steady and level during filming. Consider these factors when selecting one:
- Height – Ensure it extends high enough to frame your shots well.
- Load capacity – Select one that handles your camera and accessories weight.
- Fluid head – The best tripods have smooth, adjustable heads for controlled pans.
- Portable – Folding tripods are easier to transport between locations.
Lighting Kits
Proper lighting illuminates the green screen evenly and accurately. These lights work best:
- LED panel lights – LEDs provide bright, even light ideal for green screen work.
- Florescent light kits – Portable florescent tubes or softboxes evenly cover larger areas.
- Ambient room lights – Turn on all overhead lights for added fill illumination.
Avoid harsh unfiltered lights as they create uneven hot spots and shadows on the backdrop.
Sturdy Stands, Clamps and Sandbags
You’ll want sturdy grip equipment to securely position your backdrop, lights and camera:
- Light stands – Adjustable stands with boom arms position lights effectively.
- Backdrop/frame stand – Specialized stands stretch and mount the green screen.
- Sandbags – Weigh down stands to keep them stable and prevent tipping.
- Clamps – Various clamps attach backdrops, lights and reflectors to supports.
This affordable grip equipment helps create a professional, controlled studio setup.
How to Set Up the Green Screen Studio
With the right equipment, setting up a green screen studio is straightforward:
Prep the Green Screen Backdrop
- Unroll and mount your green screen onto the stand. For larger backdrops, you may need multiple stands spread across.
- Wrinkles are the enemy, so take time make the backdrop as flat, tight and wrinkle-free as possible. Ironing the fabric is ideal.
- Position the screen at least 4-5 feet from surrounding walls and objects to avoid reflecting green light back onto your subject.
Position Subjects and Camera

- Place your subjects at least 6-8 feet in front of the screen to avoid shadows and green spill contamination.
- Use tape marks to consistently position your subjects in ideal spots across multiple takes.
- Set up your camera on a tripod, ensuring proper white balance, focus, exposure and resolution settings.
Light the Green Screen Evenly
- Position your key light (the brightest) at a 45 degree angle towards the subject to evenly illuminate them and the backdrop.
- Position fill lights on the opposite side to fill in shadows. Backlights behind the subject can help separate them from the background.
- Use ambient room lights, reflectors or additional lights to ensure the screen is evenly lit edge-to-edge.
With these steps, you should have a smoothly lit, professional green screen studio ready for shooting!
How to Shoot Green Screen Footage
When filming against the green screen, follow these tips and techniques for best results:
Wardrobe Considerations
Subjects should avoid wearing:
- Green or reflective colors – Solid greens will be tough to key out. Stick to neutral greys, blues and blacks.
- Busy patterns and prints – Complex textures complicate the keying process. Wear plain, solid colored wardrobe.
- Reflective objects – Jewelry, watches, glasses that reflect green can contaminate and spill onto the subject.
The right wardrobe choices make isolating the subject much easier.
Directing Actors
When directing your talent:
- Have them stand fully in frame avoiding hands or limbs along edges.
- Encourage expressive movement and actions for dynamic shots.
- Remind them not to look directly into the lights which causes squinting.
- Avoid casting shadows on the backdrop by staying positioned properly.
Good direction keeps shots well-framed and visually interesting.
Filming Techniques
Additional tips for shooting:
- Zoom in closer on subjects to avoid showing surrounding studio space.
- Leave some distance between the subject and backdrop to allow for effects compositing.
- Record 10-15 seconds clips of only the green screen as clean plates to aid with keying later.
- Use camera settings with higher resolution, framerate and bitrates when possible.
- Turn on focus peaking and zebras in camera to ensure focus and exposure aredialed in.
Getting usable footage comes down to solid camerawork and shooting techniques.
How to Key Out the Green Screen in Post Production

The real post-production magic happens when you composite your clips over new backgrounds by keying out the green screen:
Import Footage to Video Editor
- Import your green screen footage into your preferred video editing software such as Adobe Premiere Pro, After Effects, Final Cut Pro, DaVinci Resolve, etc.
- Create a new sequence and add your green screen clips to the timeline by dragging or importing.
Apply Chroma Key Effect
- Go to the Effects panel and find the Chroma Key effect. Drag and apply it onto the clips with green screen (often called Chroma Keyer or Ultra Key).
- In the effect settings, use the eyedropper to sample the backdrop green hue. Select Screen Color or Background Color.
Tweak Chroma Key Settings
- Scrub through the footage, adjusting settings like Threshold and Color Range to cleanly isolate and cut out the green hue.
- Soften edges by increasing Feather and Smoothing settings to blend the edges for a natural composite.
- Use Spill Suppression to neutralize any green spill reflecting onto the subject.
Composite with New Background
- Create a video track under the keyed clips and add the new virtual background footage or image.
- Tweak the background placement, scale, position, timing and perspective until it lines up realistically.
- Add any other effects like color correction, camera shake, glows, etc. to blend the final composite.
Following these chroma key steps, you can credibly transport your subjects anywhere imaginable! With some practice, you’ll be compositing Hollywood-level green screen scenes.
Give green screens a try for your next creative video project! With the right studio tools and setup, you can take your video productions to the next level with Hollywood visual effects.
FAQ – How to use a green screen
Using a green screen, also known as chroma key editing, involves several steps. First, you set up your green screen, making sure it’s evenly lit without any wrinkles or shadows. Then, place your subject a few feet away from the green screen to avoid casting shadows. Finally, using green screen software, you’ll remove the background color green from the photo or video, and replace it with a different background image or video of your choice.
Green screen technology works by isolating a particular color, in this case the color green, and then removing it from the video. This “green screen effect” can then be replaced with any photo or video, allowing the screen and the subject to appear as though they are in entirely different locations.
Using a green screen background gives you creative green freedom during post-production. It allows you to place your subjects in a variety of settings without having to physically go there. Whether you’re making a fantasy movie or a TikTok video, having a green screen can add variety to your projects.
To avoid casting shadows while shooting with a green screen, the subject should be at least 6 feet away from the green screen. You should also be mindful of lighting; the green screen and subject should both be evenly lit to prevent shadows and ensure a clean key.
When choosing green screen software, think about your needs in terms of flexibility, simplicity and affordability. Some green screen software offers a range of advanced features like movement tracking, whilst others focus on ease of use. Therefore, do your research and use what fits your skill level and budget. I recommend using software that includes the chroma key tool.
To setup your green screen, hang it upright and smooth out any wrinkles. It’s important to light the green screen evenly to ensure color consistency, therefore, you might want to use a green light. The distance between the screen and the subject should be around 6 feet to prevent shadows. Remember to shoot the subject under the same lighting condition for the best result.
Yes, you can definitely use a green screen for TikTok videos. In fact, TikTok has a built-in green screen effect that lets you upload a photo as your background. To use it, just click on ‘Effects’, then select ‘Green screen’.
Despite its name, you don’t have to use a green background all the time. Generally, you can use either a green or blue screen. The idea is to use a color that’s different from and not present in the objects you’re filming.
The term “green screen” refers to the use of a single, highly-saturated color, often green, as a backdrop. Green is commonly used because it’s less likely to match any natural color in the foreground, hence it’s easier to isolate and replace with a different background image or video in post-production.
There are many creative ways to use a green screen in video production. For example, you could use it to make your subjects look like they are flying, teleporting, or even transforming into something else. Use it to inject humor into your videos, add depth and dimension, or to create a stunning, otherworldly backdrop. Always experiment and have fun with it!