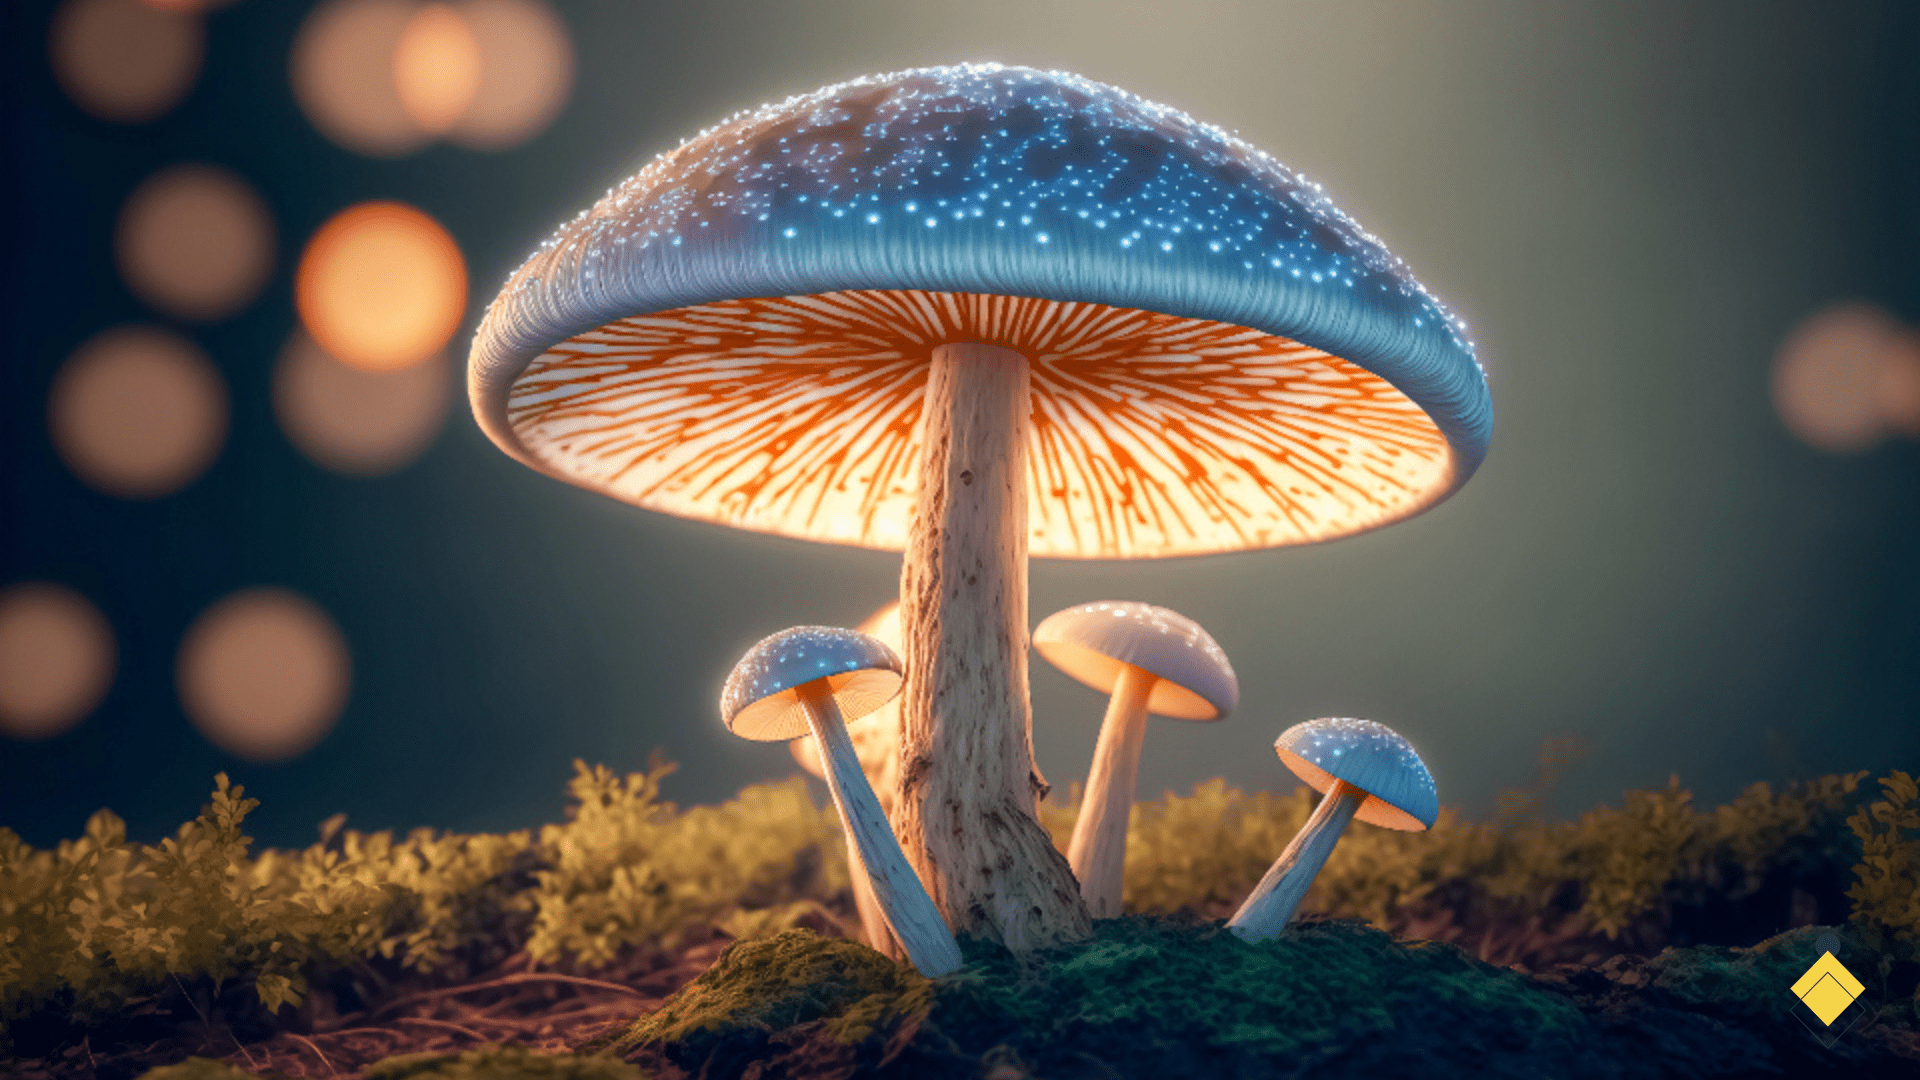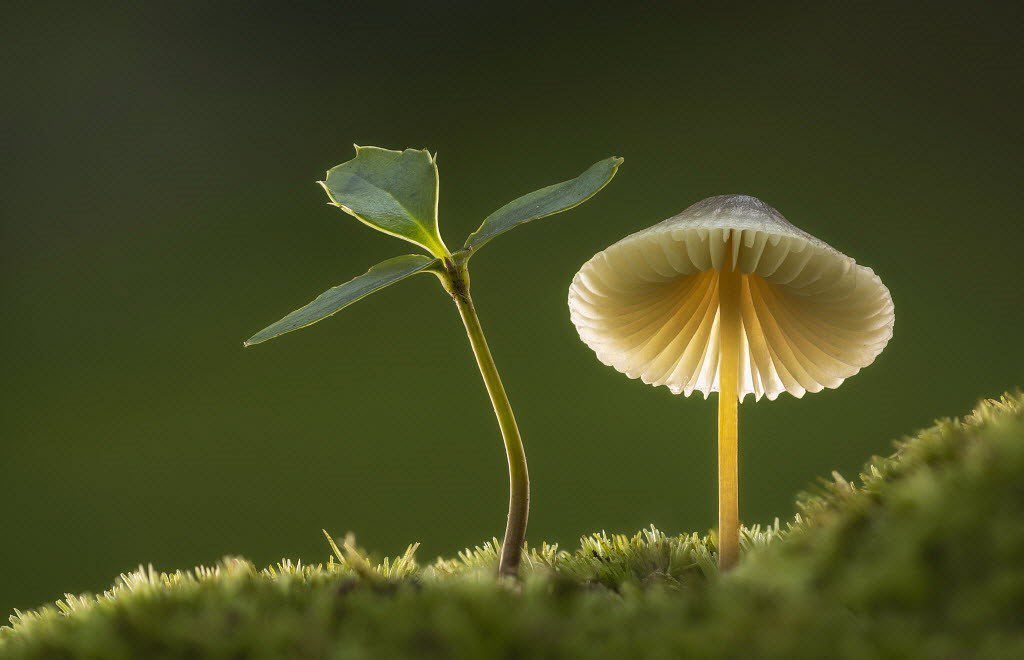
Mushrooms are one of nature’s most unusual creations. Though often overlooked, photographing mushrooms and other fungi can lead to stunning images that showcase their intricate beauty. In this complete guide to mushroom photography, learn how to find photogenic mushrooms, use macro lenses and camera settings to capture detail, and take your mushroom photos to the next level. With some practice and the right techniques, you’ll be able to reveal the tiny wonders of the mushroom world.
Here’s some background on mushroom photography to explain why it’s a favorite subject for nature and macro photographers. Mushrooms and other fungi are complex organisms that showcase an endless variety of shapes, textures, and colors. They make perfect photographic subjects, allowing creative photographers to get up close and capture intricate details unseen by the naked eye.
Finding Photogenic Mushrooms
The first step to great mushroom photography is finding mushrooms to photograph. While some types of fungi can be found year-round, autumn is an especially fruitful season for fungi photography with many species in season.
- Walk in damp, shady woodland areas with decaying stumps, fallen branches, and leaf litter to discover mushrooms. Fungi often appear after rainfall.
- Look for mushrooms growing on living trees, from the trunk to high up in the canopy. Tree fungus comes in a rainbow of colors.
- Inspect lawns, meadows, and grassy areas. Mushrooms like places with short vegetation.
- Explore when there is moisture. Early morning dew and after rain provide ideal conditions.
- Use a small trowel to gently move leaves and debris to uncover hiding mushrooms.
Many types of edible mushrooms are sold in markets and grocers. Store-bought fungi photograph just as beautifully as wild specimens.
Using a Macro Lens for Mushroom Photography
The key to stunning mushroom photography is getting close and capturing all the tiny details. To really showcase fungi, you need a macro lens. This type of lens allows you to focus at very short distances and reproduce your subject at a 1:1 ratio or larger on the camera sensor. Macro lenses come in different focal lengths, typically 50mm to 200mm. Shorter focal lengths allow you to get super close to your subject. The longer the focal length, the further back you can position your camera while still filling the frame with a tiny subject. Here are some guidelines for macro lenses:
- Use at least a 90mm or 100mm macro lens. This allows a good working distance from your subject.
- A 150mm macro lens is ideal for mushroom photography. It provides greater working distance and focal length for enhanced magnification.
- Don’t have a dedicated macro lens? Consider extension tubes or close-up filters that allow a regular lens to focus closer.
- For super tiny mushrooms, try placing a wide-angle macro lens nearly touching the cap for huge magnification.
Aperture and Depth of Field
With macro photography, depth of field becomes extremely shallow, even at moderate apertures like f/8 or f/11. You’ll want to use the narrowest aperture possible (highest f-stop number) to get more of the mushroom in focus.
- Use apertures of f/16 or narrower to maximize depth of field. This ensures sharp focus from cap to stem.
- If you want only a portion in focus, try larger apertures. This detaches the mushroom from its background.
- Because of the narrow apertures required, use a tripod since shutter speeds will be slow.
- For full mushrooms extra sharp from cap through stem, try focus stacking multiple frames together.
Lighting and Exposure
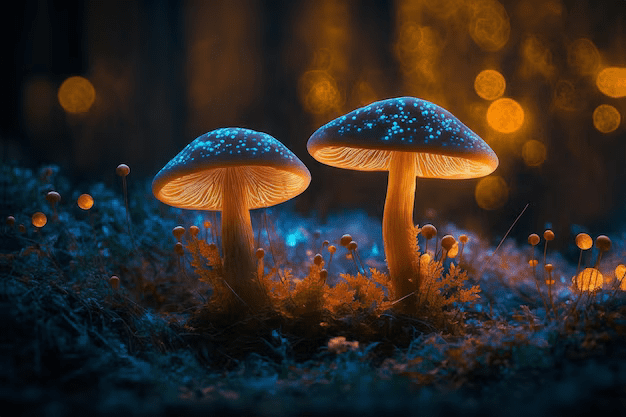
Look for mushrooms growing in shaded areas surrounded by foliage. Dappled lighting through leaves creates an ideal setting. Front or backlighting enhances translucency. Low side lighting accentuates shape and texture.
- For side-lit subjects, use a reflector to bounce light back into shaded areas. White cards or fabric work great.
- On overcast days, use a flash with diffuser to fill in flat lighting. Keep flash power low to avoid overexposure.
- Photograph in early morning or late evening for glowing directional light and long shadows.
- Exposure can be challenging with white mushrooms against busy backgrounds. Spot meter on the cap and increase exposure to render true-to-life brightness.
Composition Tips
- Fill the frame with your mushroom subject by getting as close as possible. By excluding distracting background elements, you emphasize the shape and details of the fungus.
- To tell a story, compose environmental portraits of mushrooms by including elements of their habitat like mossy logs, fallen leaves, surrounding plants and trees.
- Shoot from the mushroom’s eye view, placing the camera at ground level aiming up at backlit mushrooms. Adds drama.
- For variety, capture the gills underneath caps by positioning mushrooms at creative angles.
- Isolate sections and carved-out details for abstract images. Fill the frame with tender stems, frilly edges, or colorful pores.
Post-Processing
- Use noise reduction and sharpening to compensate for high ISO and narrow apertures required.
- Careful burning and dodging enhances the shape and details captured in challenging lighting.
- Convert to black and white to draw attention to form, texture, and lighting patterns.
- Try alternate color treatments like sepia, complementary colors, duo-tones, and saturated hues.
10 Tips for Shooting Fantastic Mushroom Photos
- Use a dedicated macro lens for maximum magnification and enlarging small details. The 100mm, 150mm, or 180mm macro lens is the best choice for mushroom photography.
- Stop down the aperture as much as possible, up to f/16 or f/22, to increase depth of field and keep more of the mushroom in focus from front to back.
- Compose and focus precisely on the most important part of the mushroom, like the edge of the cap or the stem junction.
- Adjust the point of focus incrementally through the mushroom for later focus stacking to ensure sharpness throughout.
- Get low to the ground and fill the frame with your mushroom subject by composing tight and excluding distracting backgrounds.
- Use window light, open shade, or flash to evenly illuminate mushrooms and show their subtle contours.
- Add fill flash even in daylight to boost exposure and allow narrower apertures for extended depth of field. Keep flash power low to balance with ambient.
- Shoot in the golden hours of early morning and late afternoon when sunlight is warm, soft, and raking across the scene.
- Bring a small soft brush to gently remove bits of dirt, leaves, or debris surrounding the mushroom to simplify compositions.
- Take your time pressing the shutter to critically ensure perfect focus, lighting, and framing. Slow down and shoot thoughtfully.
Conclusion
Photographing mushrooms and fungi provides a creative, fun way to capture nature and see intricate details often missed. Use a macro lens or close-up accessories to open up a world of mushrooms in your photography. Pay attention to lighting, composition, and camera settings to take your images to the next level. With some practice and an artistic eye, you can reveal the small wonders of mushrooms in your unique photographs.
FAQ – Mushroom Photography
Mushroom photography is the art of capturing the beauty and intricacies of various fungi through the lens of a camera.
Essential equipment for mushroom photography includes a digital camera, a macro lens, a tripod, and a flashlight or off-camera flash for lighting.
You can improve your mushroom photography skills by experimenting with different angles, lighting techniques, and camera settings. Additionally, learning about the various types of fungi and their habitats can also enhance your photography.
When photographing fungi in nature, it’s important to approach them with care and respect for the environment. Using a macro lens and a shallow depth of field can help create stunning, focused images of the tiny fungi.
You can identify different types of mushrooms for photography by studying field guides, attending mushroom identification workshops, and consulting with experienced mycologists or mushroom enthusiasts.
Techniques for capturing compelling mushroom photos include utilizing a wide-angle lens to capture the environment, experimenting with focus stacking for intricate details, and using off-camera flash to control lighting and shadows.
Common mistakes to avoid when photographing mushrooms include using harsh or unnatural lighting, neglecting the background, and disturbing the natural habitat while setting up for a shot.
Creative ways to photograph mushrooms in their natural environment include using a groundsheet or beanbag to get low to the ground, and incorporating natural elements such as twigs and foliage to add interest to the composition.
To become a successful mushroom photographer, it’s important to develop a deep understanding of fungi, hone your photography skills, and showcase your work through various platforms to build a strong portfolio and gain recognition as a mushroom photographer.
Inspiration for mushroom photography can be found in the intricate details of different mushroom species, the diverse environments they inhabit, and the magical atmosphere of the forest floor where these tiny fungi thrive.

