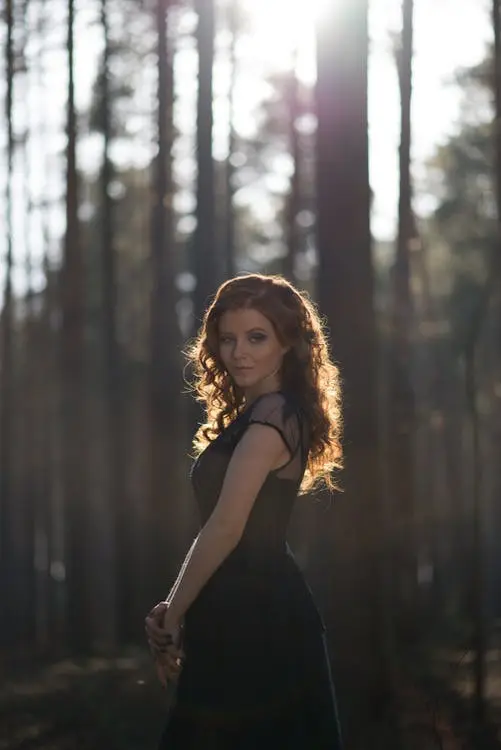
Rim Light Rim Light Rim Light. What is it? How do you create it? Why is it so great for photography?
In this blog post, we will answer all of those questions and more! Rim light is a fantastic way to add depth and drama to your photos. It can make your subject really stand out against the background.
In this article, we will teach you how to create the perfect rim light effect every time!
Let’s get right into it!
What is Rim Lighting
Rim light is a technique used to add depth and drama to your photos. it can make your subject really stand out against the background.
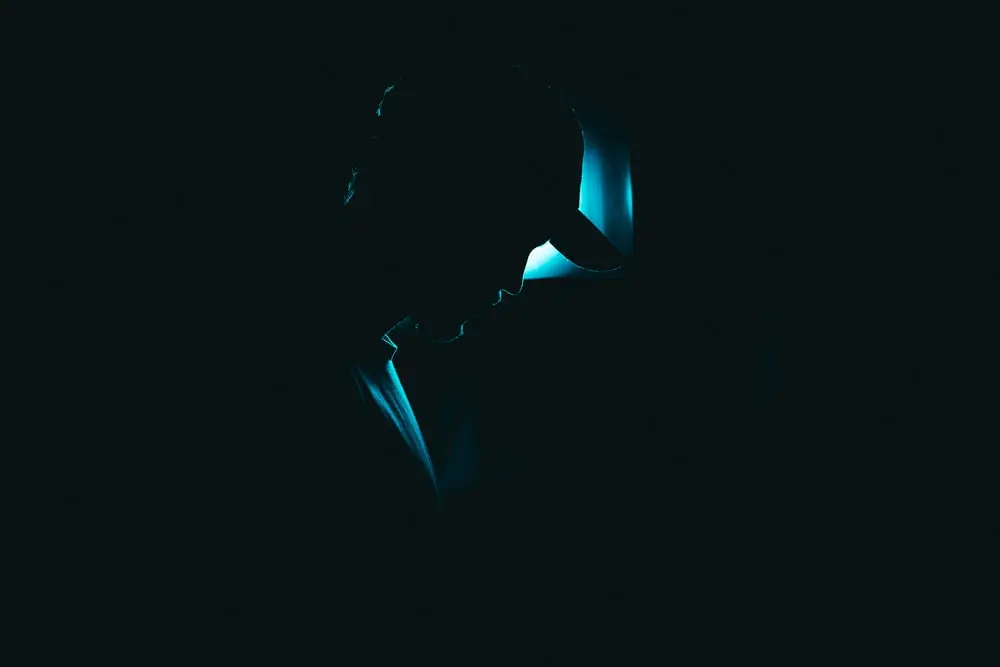
Rim Light is created when you have a light source behind your subject, hitting them from the side. This creates a beautiful rim of light around their body that makes them stand out from the background.
Rim Light is also known as hair light, because it is great for highlighting your subject’s hair and therefore creating separation with the dark background.
Rim light is often used in portrait photography, but can be used in any type of photo as we are going to see later in this article.
How does the Rim Light work in the three point lighting
Rim Light can be used by itself to create some very edgy effects or it can be use in other lgihting schemes such as the three point lighting.
What is three point lighting
Three point lighting is a common studio lighting setup that uses three lights to create well-lit photos. It can be used for portraits, product shots, and any other type of photo you can think of!
The three points in the name refer to the positions of the lights: one light at the front (the key light), one light at the back (the rim light), and one light to the side (the fill light).
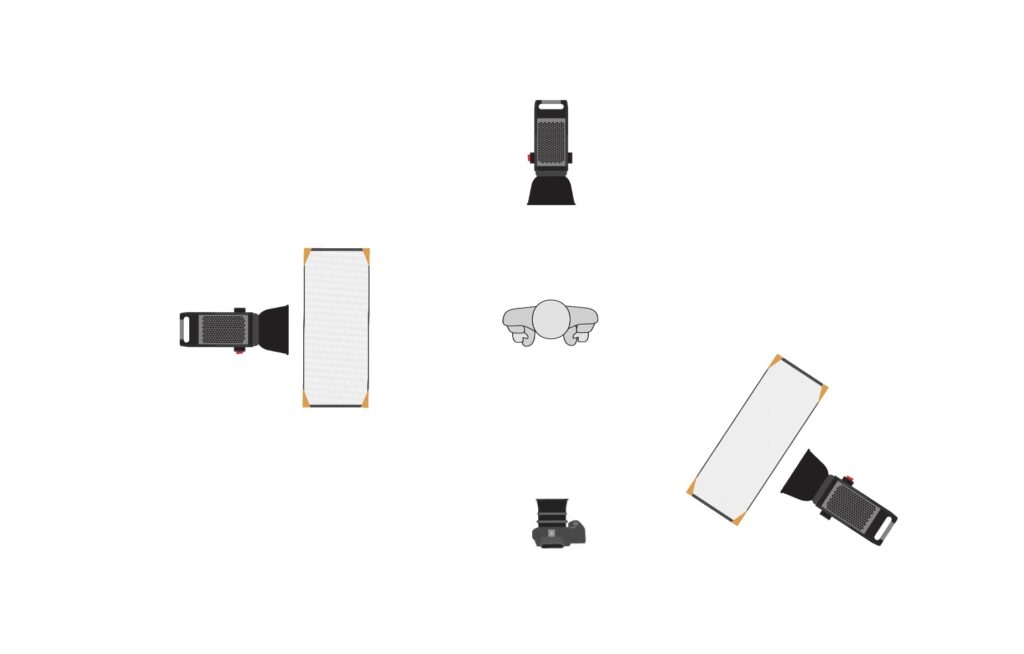
The rim light is used to create a beautiful halo of light around your subject’s body, while the key light provides the main source of illumination. The fill light fills in any shadows created by the other two lights.
Rim light role in three point lighting
It always serves the same purpose of hair light but in different ways.
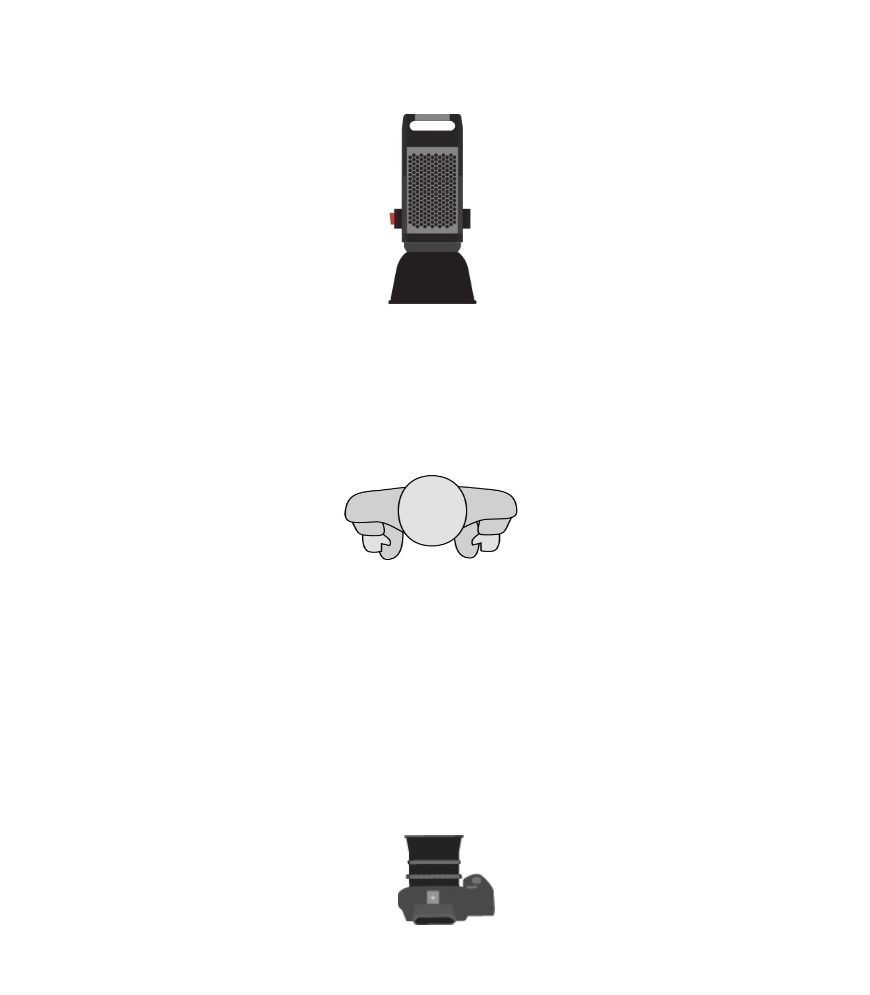
In the three point lighting, rim light is usually used as a backlight. This means that it is placed behind your subject and pointing towards them.
The rim light is usually the second or the last light to be added in the three point lighting set up. This is because it is used to add depth and drama to the photo.
In the three point lighting is good practice to always start by setting up your key light.
The rim light should be a very low power light, otherwise it will overpower the other lights and you will lose the effect.
How does Rim Lighting help for storytelling
Lighting and storytelling need to work together in order for the story to work.
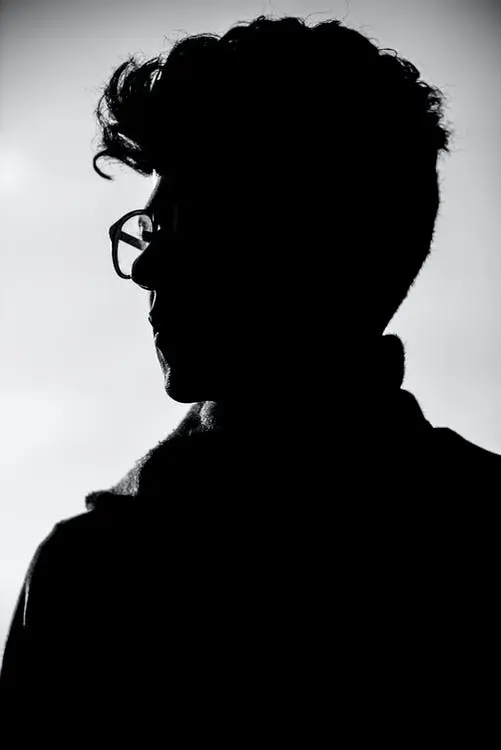
If you think about it, if you are trying to tell a story about a happy woman talking in the phone with the guy she likes but the lighting is dark and gloomy, it won’t serve storytelling at all but it would actually confuse the audience.
That’s why we need to put close attention to lighting and storytelling as a whole and not two separate things.
What is storytelling and why it is important
Storytelling is the process of capturing and conveying ideas, emotions, and experiences through the use of narrative techniques in art. It has been used for centuries to entertain, educate, and engage audiences.
Why is storytelling important
Storytelling is one of the most powerful tools we have as humans. It allows us to connect with each other, to share experiences and emotions, and to learn from each other.
It is the way we communicate our ideas and beliefs, and it is essential for building relationships and connecting with others.
In photography, storytelling is just as important as in any other form of art. It allows us to capture moments and emotions that would otherwise be lost.
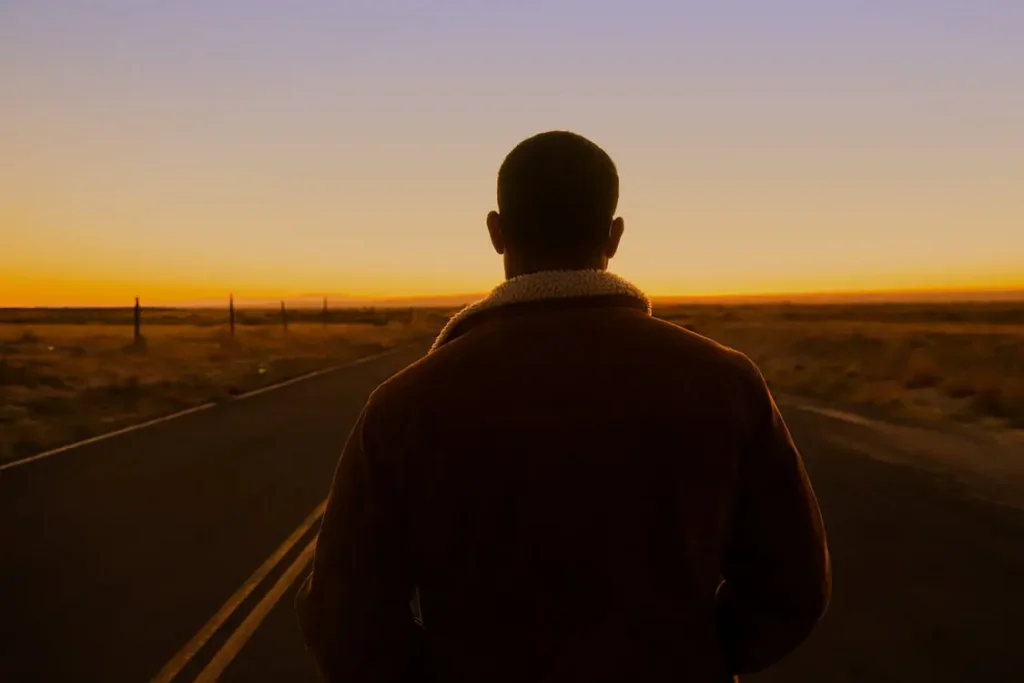
A good photograph tells a story, and it can convey a message or an emotion that words alone cannot.
Rim Lighting and Storytelling
Rim lighting is a great way to add depth and drama to a photograph, and it can be used to tell a variety of stories.
For example, rim lighting can be used to create a sense of mystery or suspense in a photograph. It can also be used to highlight the emotions of a character or to create a sense of beauty and elegance.
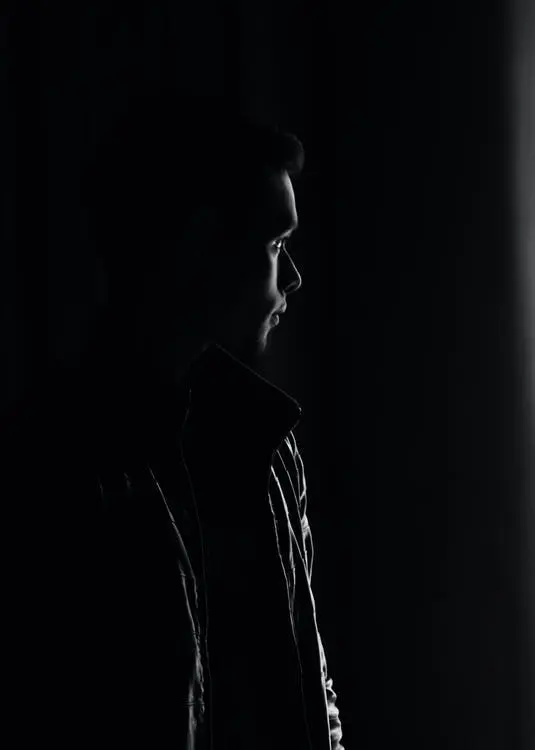
In addition, rim lighting can be used to create visual interest in a photograph. When used correctly, rim lighting can add a three-dimensional quality to a photograph. It can also help to create a sense of movement or energy in a photo.
Overall, rim lighting is a great way to add drama and visual interest to your photos, and it can be used to tell a variety of stories. If you’re looking for a way to add some extra depth and interest to your photos, rim lighting is a great option.
How to properly set up a rim light
The rim lighting setup is pretty easy, but there are a few things to keep in mind.
We have created a three easy steps process of things to keep in mind during the rim lighting setup to get the best rim light effect possible.
Here is a step-by-step guide on how to set up a rim light:
1) Decide where you want to place the light. The light placement behind your subject and pointing towards them.
Usually it is placed behind and above the subject, in a way that if you are photography the subject in front, you won’t see any light stands in the back.
2) Choose the right power setting for the light. The rim light should be a very low power light, otherwise it will overpower the other lights and you will lose the effect.
3) Make sure that the light is not too bright or too dark. You want the rim light to be visible, but you don’t want it to be so bright that it overpowers the other lights in the scene.
By following these steps, you should be able to set up a rim light that will help add depth and drama to your photos.
This lighting technique can be a great way to add interest and visual storytelling to your images, so make sure to experiment with it and see what effects you can create.
Rim light photography
The Rim light technique has been used by photographers for years as a way to add depth and drama to their images. It can be used in a variety of ways to create different effects, and it is a great way to add interest and visual storytelling to your photos.
Among most common types of photography to use rim lighting we can definitely see it in portraits and silhouette photography.
Rim light can be used in a variety of ways to create different effects in each of these genres, and it is a great way to add interest and visual storytelling to your photos.
In portraits, rim light can be used to create a sense of depth and dimension. It can also be used to highlight the emotions of a character or to create a sense of beauty and elegance.
Usually with beauty portraits the key light is a soft light and the rim light that creates the halo light behind the subject, tends to be a tiny bit of a harder source.
In case your subject is placed in front of a black background, this halo lighting will highlight the subject’s shape and separate il from the background creating more depth and make the overall portrait much more dynamic and interesting.
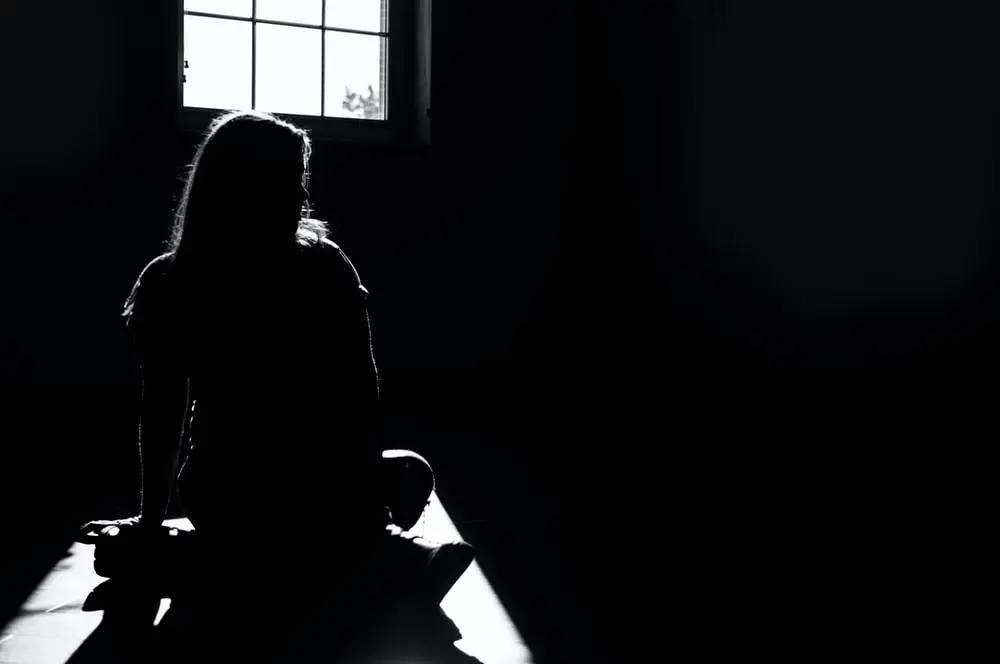
In silhouette photography, rim light can be used to create a sense of mystery or suspense, especially highlighting all the edges of the subject with a bright rim of light (coming from just one light).
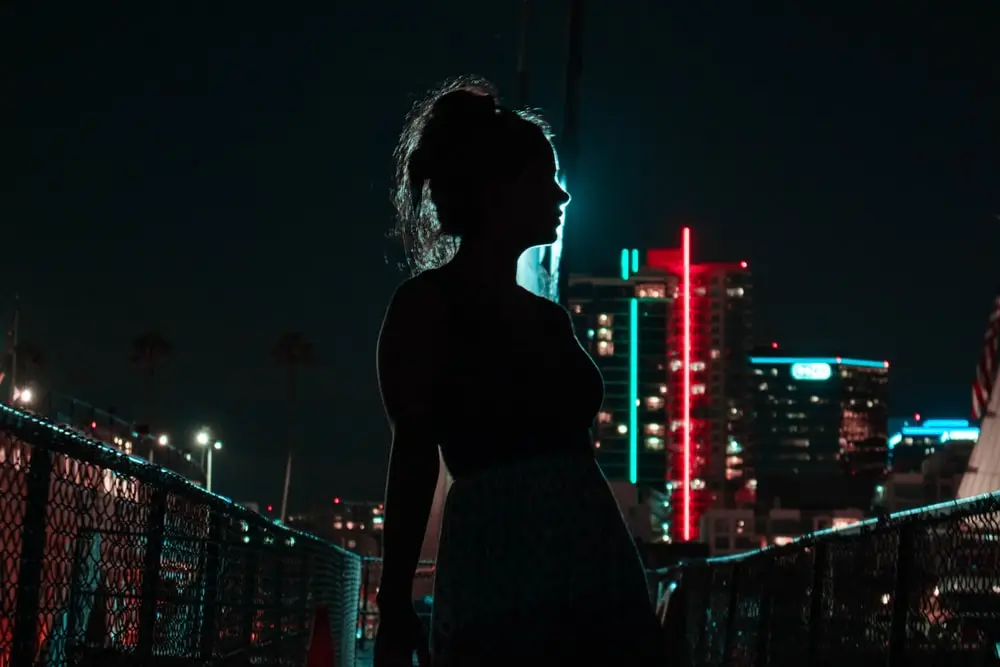
It can also be used to create a sense of beauty and elegance.
What lights and light stand can you use
In Rim Light Photography, the light source you would use the most, is a off camera flash light. This only light allows you to create just a bright rim behind the subject’s head.
When it comes to rim lights, I always try to put them on a light stand or on a c-stand hidden behind the background. In this way you won’t have any problems moving around while shooting.
If you don’t have any budget or lights available, you can look for a location with a big window and use natural light as a rim light.
I would probably try to diffuse it with some gray sheers so it doesn’t overexpose but it can be a great way to start experimenting with rim light photography.
Rim light in Cinematography
Rim light is an important tool in cinematography, as it can be used to create a sense of depth and dimension. It can also be used to highlight the emotions of a character or to create a sense of beauty and elegance.
The relationship between cinematography and storytelling is extremely important. A film’s cinematography should support and enhance the story being told.
Every lights placed in a scene should be in support of the story.
Rim light in movies is more commonly known as backlight.
When placed correctly, rim light can be an extremely powerful tool in cinematography.
It has the same purpose with described in photography but the execution is different, since the lights used are different and Most of the times the camera is moving as well.
One effect that sometimes the cinematographer want from as backlight, is to create a lens flare in camera.
A lens flare is an optical effect that occurs when light reflects off the surface of a lens.
This can be done by using a special backlight filter, or by using a backlight with very high intensity.
What lights can you use
In Cinematography a good brand of light that I personally use a lot for backlight is Aputure. They offer a big variety of lights in term of color temperature, quality and power.
They are very versatile light that you can use to achieve really incredible effects.
Shooting dramatic portraits
Dramatic Rim Light Portraits are a beautiful way to capture your subject and add a feeling of depth and power to the photograph.
With this type of portraits most part of the subject remains dark, highlighting just the edges and a small portion of the face.
This light setup is incredibly powerful to portrait important figures or to give a feeling of mystery to your photos.
Edit your rim lighting in Lightroom
What is Lightroom
Lightroom is an incredible tool when it comes to edit and improve your photos.
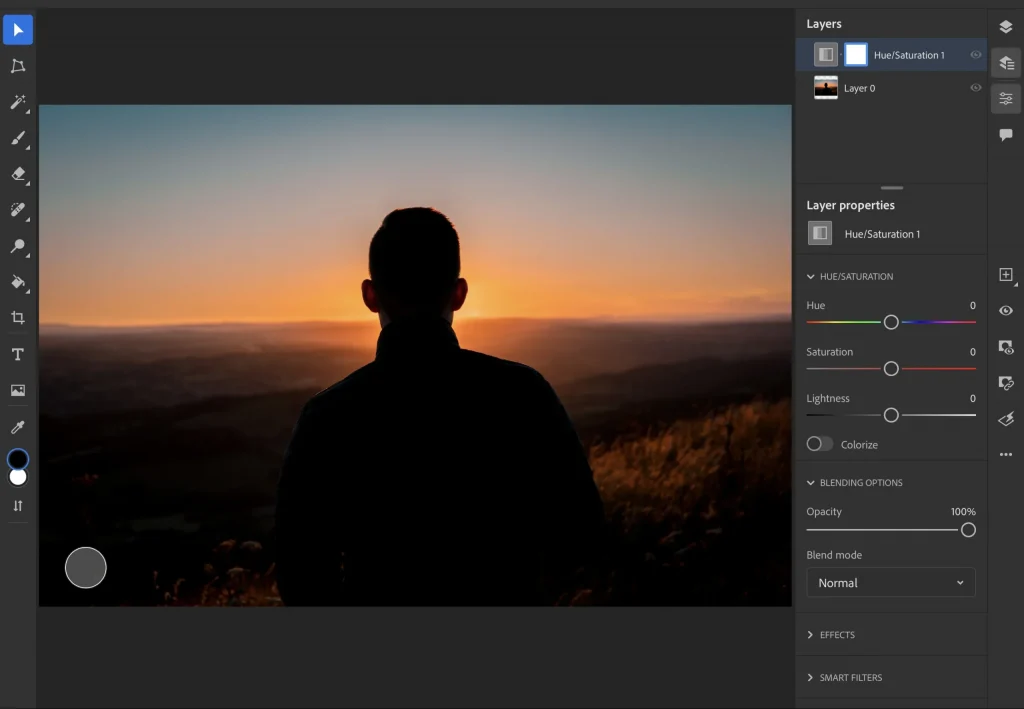
It’s a software created by Adobe that offers a big set of features to help you achieve the best possible results with your photos.
It’s very popular among photographers and rim light is one of the many things you can enhance with Lightroom.
Most common practices to edit rim light photography
With Lightroom, you can edit specific portions of your photo without affecting the rest.
This is incredibly useful when you want to enhance just the rim light without touching anything else.
This is very powerful especially if you want to adjust the exposure, color temperature and the saturation of the rim light.
Lightroom allows you to use presets to quickly and easily edit your photos.
There are a lot of presets that have been created specifically for rim light photography, so you can find the perfect preset to edit your photos in just a few seconds.
Remember that a presets is just a starting point since every photo is different and requires different adjustments.
Conclusion
Rim Light Photographyis an amazing technique that can be used to create beautiful and powerful photos. With the right tools and a bit of practice, you can create rim light photos that will wow your friends and family.
Thanks for reading!
Frequently Asked Questions
Rim light should be used when you want to create a sense of depth and power in your photo.
It can also be used to highlight the emotions of a character or to create a sense of beauty and elegance.
Rim light is also known as backlight. It is a type of lighting that is placed behind the subject.
The rim light is positioned behind the subject and is used to highlight the edges of the subject.

