Plan Tokyo photography in neighborhood groups and confirm each venue’s rules before you travel. The eight choices below combine specific viewpoints with access checks. Tokyo Disney Resort is in Urayasu, Chiba, and deserves a separate trip rather than being treated as a central-Tokyo stop.
Evidence note: This is a researched guide based on the linked documentation. It does not claim an Artistic Hive hands-on test or ownership history.
This is researched planning guidance, not a claim of local scouting or personally tested access. Lens ranges below are suggested full-frame-equivalent starting points, not settings from original photographs. Download the neighborhood route sheet (ZIP; open the HTML file inside) includes map links for each location and space to record current entry and photography rules.
West: Shibuya, Harajuku and Shinjuku
| Location and viewpoint | Composition idea | Access check |
|---|---|---|
| Shibuya Crossing: public sidewalk near Hachiko, outside the pedestrian flow | 24–50mm equivalent for crossing geometry; inspect direction of light rather than promising a sunset view. | Stay out of the crossing when stopped. Elevated cafés and decks are private premises; a view is not permission to occupy a seat or use a tripod. |
| Harajuku: Takeshita Street from its public approaches | 35–50mm equivalent for shopfront patterns; seek consent for posed portraits. | Shop hours vary. Ask before photographing interiors or staff; avoid blocking the narrow street. |
| Shinjuku Gyoen: permitted garden paths around ponds | 35–85mm equivalent for layers, reflections and seasonal detail. | Paid, scheduled access. Check seasonal admission/reservation rules and the equipment restrictions linked below. |
Shinjuku Gyoen’s professional-equipment rules list an imminent restriction for November 1–15, 2026 in the Japanese Traditional Garden, and separate spring restrictions. Do not generalize that into a permanent citywide tripod ban. Commercial photography is governed by separate garden rules and is not automatically permitted because a visitor bought admission.

East and north: Asakusa, Skytree and Yanaka
| Location and viewpoint | Composition idea | Access check |
|---|---|---|
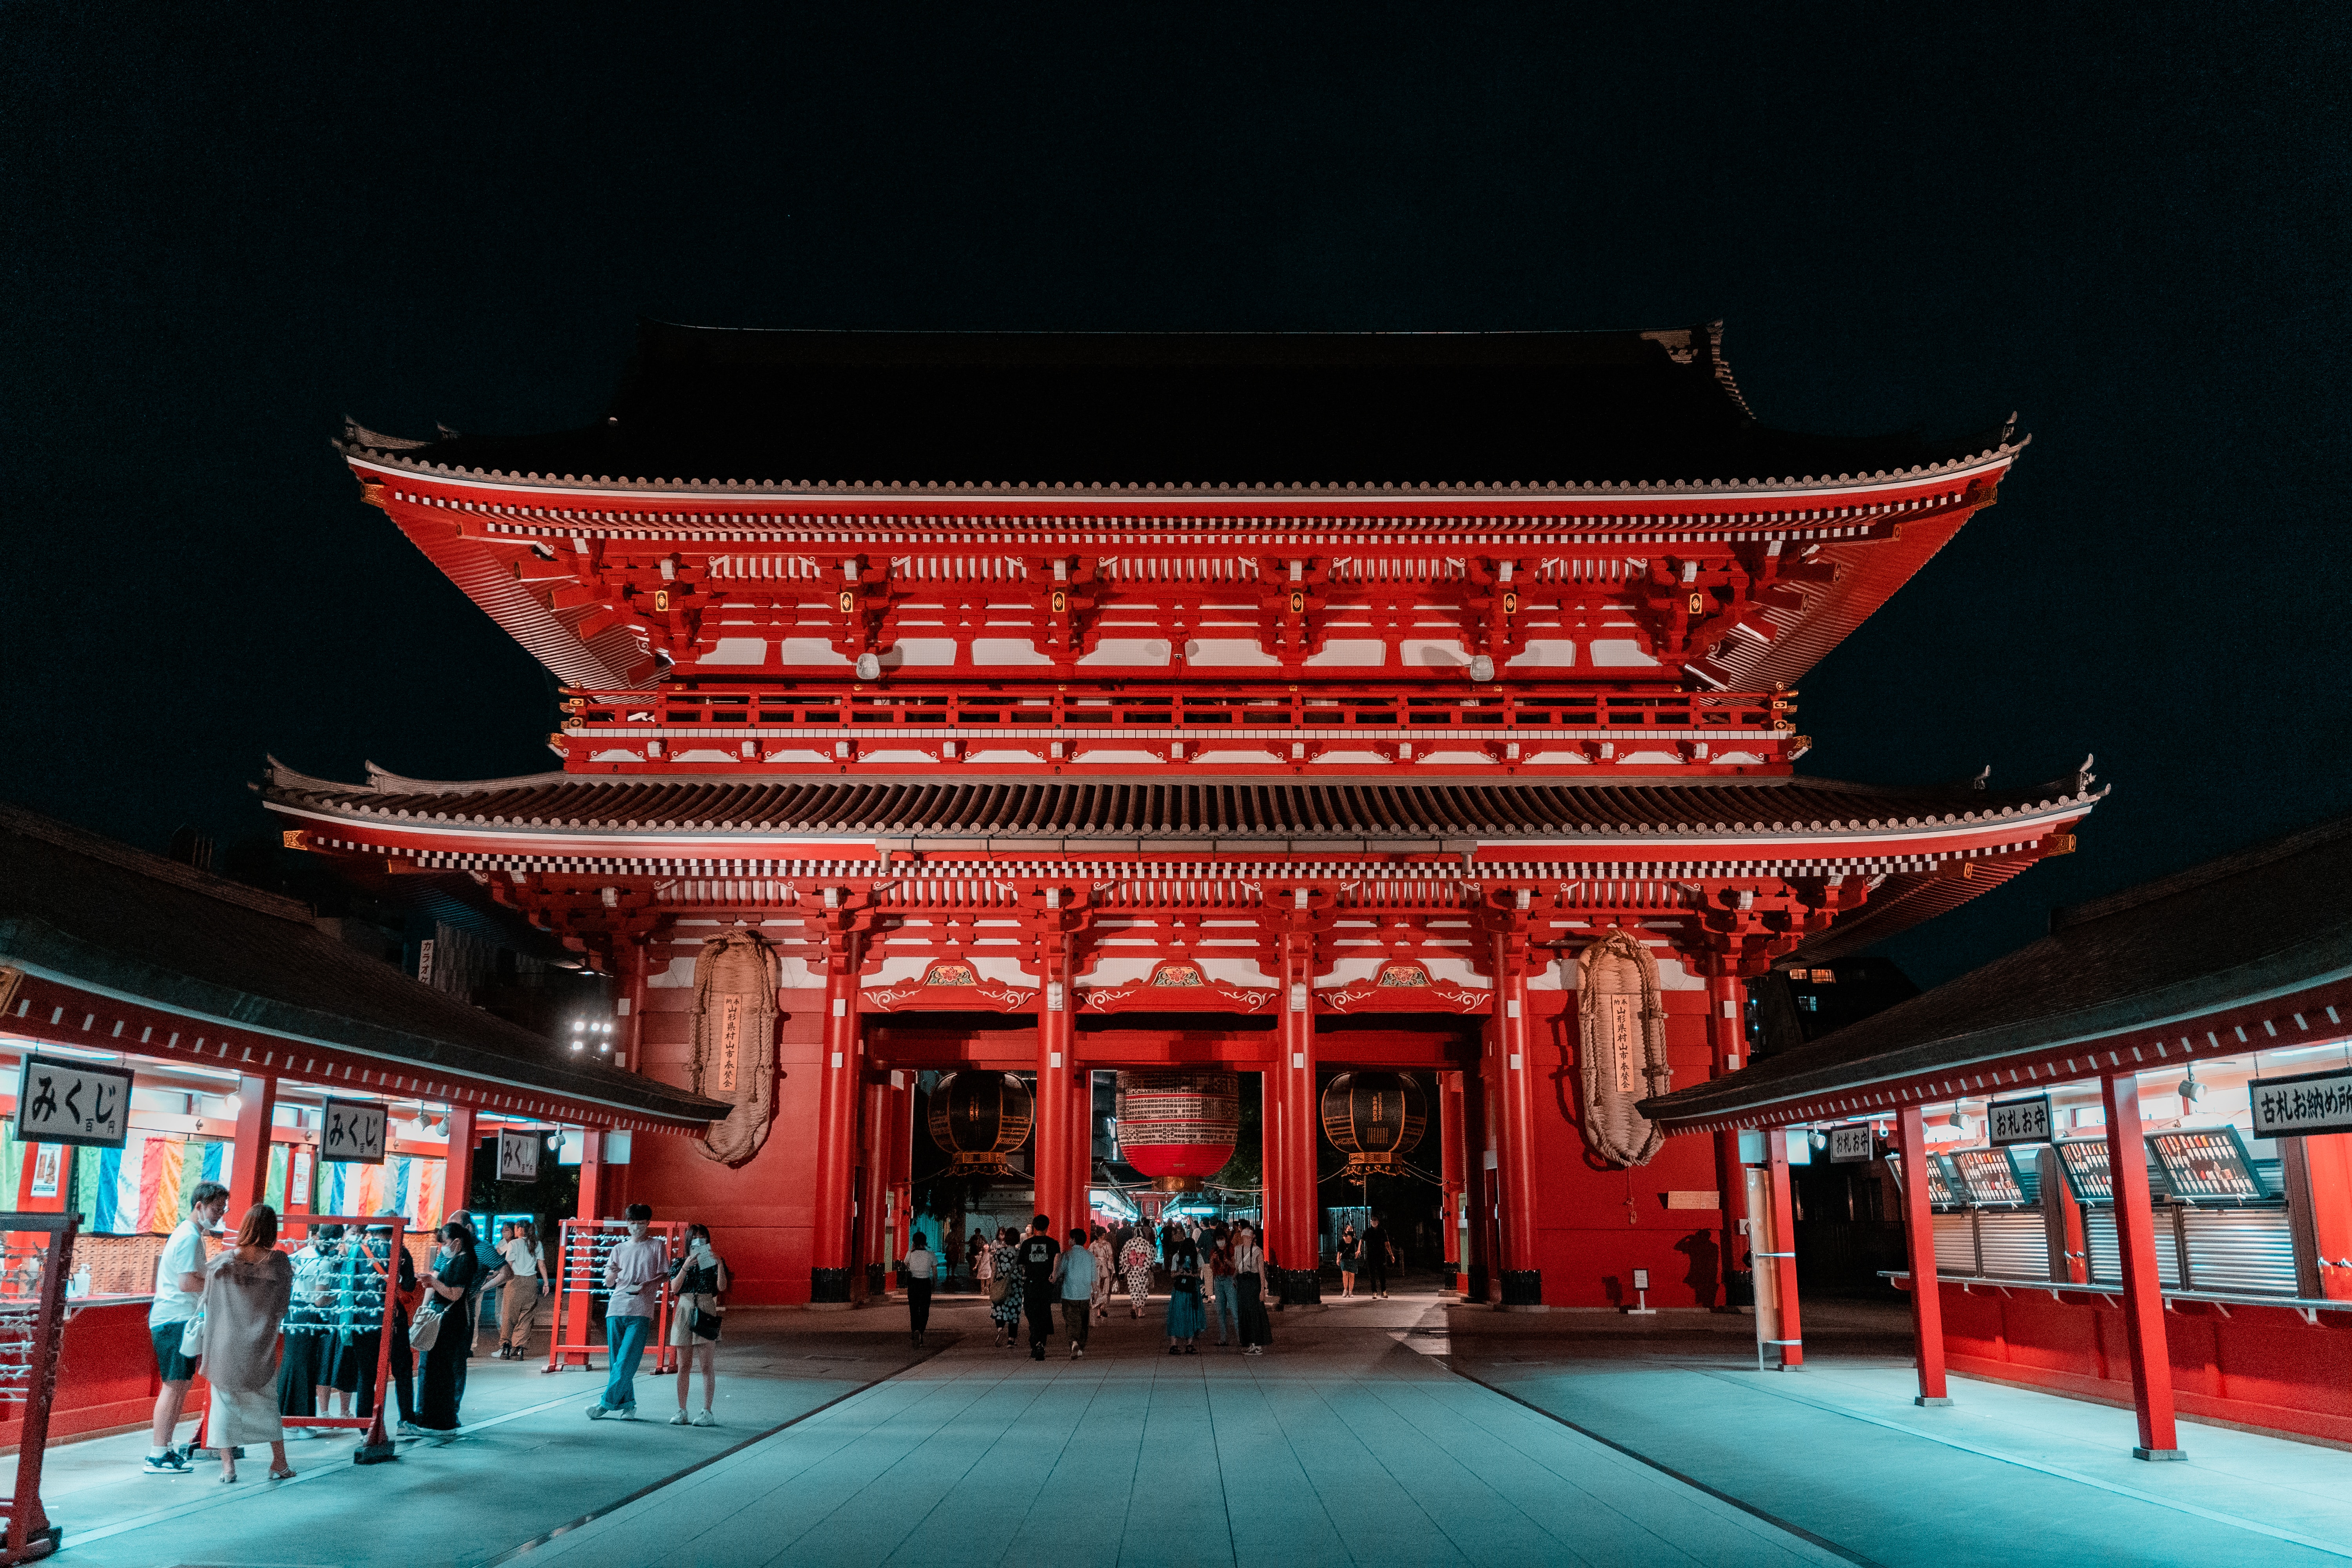
| Senso-ji: Kaminarimon and the public approach toward the temple | 24–50mm equivalent for the gate; longer views can simplify layered signs and roofs. | Respect worship and posted no-photo areas. Main Hall and shop access differ from the surrounding approach. |
| Tokyo Skytree: booked Tembo Deck or exterior near Oshiage | 24–70mm equivalent from the deck; check reflections in the glass. | Use the date-specific hours and ticket calendar. Equipment use is subject to staff and crowd restrictions; do not assume tripod permission. |
| Yanaka Ginza: shopping street and Yuyake Dandan approach | 35–85mm equivalent for details and layered streetscapes. | Individual shops set hours and interior photo rules. Keep entrances and steps clear. |
Use Senso-ji’s official overview for the exact location, Skytree’s date-specific opening page and visitor FAQ for the tower, and GO TOKYO’s Yanaka Ginza entry for neighborhood access. Skytree’s October 30, 2026 calendar showed 10:00–22:00, final entry 21:00; that is a dated example, not year-round hours. An indoor deck cannot provide a sunrise visit if it opens later.

Waterfront and a separate theme-park day
| Location and viewpoint | Composition idea | Access check |
|---|---|---|
| Odaiba Marine Park promenade facing Rainbow Bridge | 24–70mm equivalent; compare foreground shoreline and bridge placement. | Confirm park works, event closures and any permit requirement for a commercial session. Do not put a tripod across the path. |
| Tokyo Disney Resort: permitted public guest areas inside the ticketed park | A small general-purpose lens keeps the kit manageable. | Date-specific admission and attraction rules apply. Tripods, monopods and selfie sticks are prohibited under the park rules, subject to the limited hand-size grip exception. |
Disney’s terms of use prohibit commercial photography without permission and restrict equipment. Do not plan a tripod-based night session or promise a particular parade or fireworks program; schedules and operations can change. Check the park calendar before buying a ticket.

Equipment rules: check the exact property
Tokyo Skytree’s visitor rules prohibit non-folding tripods and luggage with a side exceeding 60 cm, and require prior permission for business-purpose filming or recording. A folding tripod is not thereby authorized for use: staff may stop obstructive or unsafe activity. The FAQ bans drones throughout Skytree Town, including small models outside the cited legal category. Checked October 30, 2026.
For orientation, GO TOKYO places Shibuya Scramble Crossing at Dogenzakashita by Shibuya Station and Odaiba Marine Park at 1–4 Daiba, facing the Rainbow Bridge waterfront. These records establish the destinations; they do not reserve an unobstructed camera position or permit a commercial shoot.
Choose a route by the photographs you want to bring home
A district-based plan gives you time to notice changing light. Decide whether the day is about street movement, architecture, gardens or a skyline, then keep one main subject and one nearby alternative. The sequences below are planning examples, not timed walks completed for this guide.
West-side sequence: layers, crowds and evening screens
Use Harajuku for a compact street story: an establishing frame, a detail of signs or storefront design, and a scene showing how people move through the space. Ask before making an identifiable person or a shop interior the main subject. A photograph from public pedestrian space does not grant access to private interiors or a reserved place to stand.
At Shibuya, decide whether the crossing is the subject or the setting. From an allowed pavement position, a wider frame can show screens, buildings and traffic patterns. A tighter frame can isolate layers of pedestrians, but avoid blocking the crossing while waiting. If you want an elevated view, verify access and the photography conditions of that specific venue; the crossing’s public status does not apply upstairs.
Fit Shinjuku Gyoen into a separate daylight block with enough time before its current closing and last-entry rules. It is not an automatic substitute for night street photography. Keep the dated equipment restrictions above with the plan, especially for a portrait session, crew or substantial support equipment.
East-side sequence: architecture and scale
At Senso-ji, make one wider photograph showing the approach before concentrating on a lantern, roofline or architectural repetition. Keep worshippers and access routes in mind. An early visit can change the amount of activity, but an empty scene is not guaranteed and shopping-street shutters create a different photograph from open storefronts.
For Skytree, choose between photographing the tower from the city and photographing the city from the tower. Those are different assignments with different opening and ticket constraints. A street-level frame can use nearby buildings for scale. A deck view rewards attention to haze, reflections and the direction of the light, not merely the tallest possible vantage point.
Adapt the photograph when weather or access changes
| Condition | Useful adjustment |
|---|---|
| Hazy distant skyline | Look for closer layers and stronger silhouettes; leave the distant-detail goal for another opportunity. |
| Rain at street level | Look for reflections from a safe, permitted position. Keep shelter entrances and walking routes clear. |
| Reflections in observation glass | Change your angle and reduce reflections from your own bright clothing. Do not press equipment against glass or install a hood without checking the venue’s rules. |
| Very crowded landmark | Compose with the crowd, isolate architectural details or return later. Do not treat pedestrians as obstacles you are entitled to move. |
| Closed garden or restricted setup | Use a verified public alternative or change the day’s subject. A photograph on a travel blog is not evidence of present access. |
For Odaiba, leave space around the bridge and skyline so water and sky become part of the composition. A brief visit can produce a daytime record; a longer allowed visit may reveal a different balance as lights come on. Check the official Odaiba Marine Park information and the date’s conditions before building the trip around a particular frame. Keep Tokyo Disney Resort as its own destination, with its separate admission and equipment rules.
Turn the list into a practical route
Group Shibuya and Harajuku, then treat Shinjuku Gyoen as a timed garden stop. On another outing, group Asakusa and Oshiage; add Yanaka only if transport and opening times leave enough room. Odaiba and Disney are separate branches. This grouping is a planning suggestion, not a timed walking route or guarantee that every stop fits one day.
Check season-specific foliage, bloom and event information near the visit. Use sunrise versus sunset planning to determine the desired direction, and night street photography when a handheld setup is more appropriate. For a separate New York trip, the Brooklyn Bridge viewpoints use the same access-first approach.