DaVinci Resolve, Shotcut and Kdenlive are useful free options to compare for color work. Choose around your source codec, computer and delivery format. “Free” does not mean every codec, effect, resolution and workflow is available without limits.
This is a documentation-based shortlist, checked October 30, 2026. We have not completed a same-clip benchmark in the current free edition of every application. A test in Resolve Studio would not verify the free edition’s limits.
| Tool | Color workflow | Scopes / targeted work | Decision check |
|---|---|---|---|
| DaVinci Resolve | Dedicated Color page, nodes and color-management tools. | Waveform, parade and vectorscope; qualifiers/windows for selective work. | Check free versus Studio features and the exact OS/codec support table. |
| Shotcut | Filter-based editing and grading. | Official features list histogram, RGB parade, waveform and vectorscope. | Check the source format, filter behavior and actual export on your system. |
| Kdenlive | Timeline effects and color-correction workflow. | The manual documents histogram, waveform/parade and vectorscope. | Check effect availability, preview performance and the export profile you need. |
Sources: Blackmagic Design’s Resolve overview, Shotcut features, and Kdenlive scope documentation. This table compares documented capabilities, not measured playback speed or image quality.
Resolve’s free version: qualify the headline limits
Blackmagic describes the free edition as supporting virtually all 8-bit formats up to 3840 × 2160 at 60 fps, with Studio expanding format and performance capabilities. That summary is not a promise that every 4K file decodes or every 10-bit file fails: container, codec profile, operating system and hardware support matter.
Do not treat HDR-format output, HDR grading tools, color management and a particular Studio-only effect as the same feature. Check the current edition comparison and codec documentation for the exact task. An effect marked Studio may require a license or show a watermark; a clean basic export does not prove every effect is free.
Run a five-minute compatibility check
- Import a short, representative source file with the same codec, bit depth, frame rate and audio as the real project.
- Set the intended timeline and input/output color interpretation.
- Balance exposure and white balance, then make one selective correction.
- Export ten seconds using the intended dimensions, frame rate and codec.
- Play the result independently and inspect color, audio, watermark, dropped frames and file properties.
Record app version, edition, OS and hardware with the result. A proxy that plays smoothly does not prove the original media will export correctly.
Which free editor should you try first?
DaVinci Resolve: start here when learning color is the main goal
Resolve is the most relevant starting point in this shortlist if you want to learn a dedicated color workflow with nodes, primary controls, curves and selective corrections. Its Color page puts the grade and scopes together, and Blackmagic provides official training books and lesson media. That learning path matters when you want to move beyond applying a look.
The trade-off is setup and learning. You need to understand your footage’s input interpretation, the node you are changing and the output you are delivering. If you only need to brighten a few ordinary clips, that may be more structure than you need today. If you intend to match shots from different cameras or develop a consistent grading practice, learning the structure can pay off.
Shotcut: start here for a visible sequence of filters
Shotcut’s documented tools include three-way color wheels, white balance, a 3D LUT filter and video scopes. The filter-based approach makes it straightforward to ask, “What did this filter change?” and temporarily disable that step. Consult its feature list for the current processing and format capabilities rather than relying on an old review.
For a short sequence, begin with correction filters and add the creative treatment afterward. Test the order: a LUT receiving an already transformed image can behave differently from one receiving the input it was designed for. Shotcut is a sensible candidate when you prefer to keep ordinary editing and color adjustments in one filter workflow. That is a workflow recommendation, not a claim that it will play every file faster than Resolve.
Kdenlive: start here when the edit is the central task
Kdenlive is worth trying when you want a free timeline editor and color correction as part of assembling the film. Its manual provides practical explanations of the waveform and RGB parade and vectorscope. Use those tools while balancing clips, not only after a color problem appears in the export.
Try the same everyday task you expect to repeat: cut three clips together, correct their brightness, match their color and export the sequence. Choose the editor whose workflow you can understand and revisit. A long feature list is less useful than knowing which effect caused a problem.
A first grade: match three shots before adding a look
Use three clips of the same subject under similar light: a wide shot, a medium shot and a close-up. This is a practice recipe you can run in any of the tools above; it is not a benchmark we have already performed.
- Start with the intended output. For a standard SDR project, use an appropriate SDR workflow. If the source is log or HDR, establish how the editor converts that source before applying a creative LUT.
- Choose an anchor shot. Pick the image that best represents the scene. Balance its exposure and any unwanted cast without creating a stylized look yet.
- Match the other two. Compare the brightness of the subject and familiar neutral objects. Scopes help, but differently framed shots should not have identical whole-frame traces.
- Check the cut in motion. Play across the edit. A change that is subtle in separate stills may look like a flash or color jump at the cut.
- Add the creative treatment. Try a restrained contrast or color change across the sequence, then correct any shot that responds differently.
- Export and reopen. Check the finished file in a separate player at the intended viewing size. Watch both the first and last frame of each shot, not just a thumbnail.
Common traps when choosing free color software
A free download can still lead to a paid workflow
Check whether the product is a permanent free edition, an open-source editor, a limited account tier or a trial. Then verify the actual export you need. A trial that opens the project today may not support the same work later; an effect or template can have a separate entitlement from the editor itself. A plugin also needs a compatible host application, which may have its own cost.
A LUT is not a complete color-management system
Read the LUT’s intended input and output. A camera-log conversion LUT and a creative look are not interchangeable. Applying the same conversion twice can produce excessive contrast or saturation; applying a log-specific LUT to an ordinary phone clip can create a similarly misleading result. Keep a copy of the project before experimenting with transforms.
Proxies solve only part of a slow workflow
A smaller editing proxy may improve playback, but the final grade and export still need suitable originals and a supported output path. Test the end of the workflow before editing a long project. If the application cannot decode your camera file correctly, smooth proxy playback alone is not enough evidence that the final export will work.
Do you need the paid edition to learn?
Start with the correction and export tasks your free edition actually supports. Upgrade when you can name a missing capability that matters to your footage or delivery—rather than because a tutorial used an effect unavailable in your version. Basic balance, shot matching and deliberate color decisions remain useful without copying every effect in someone else’s node tree.
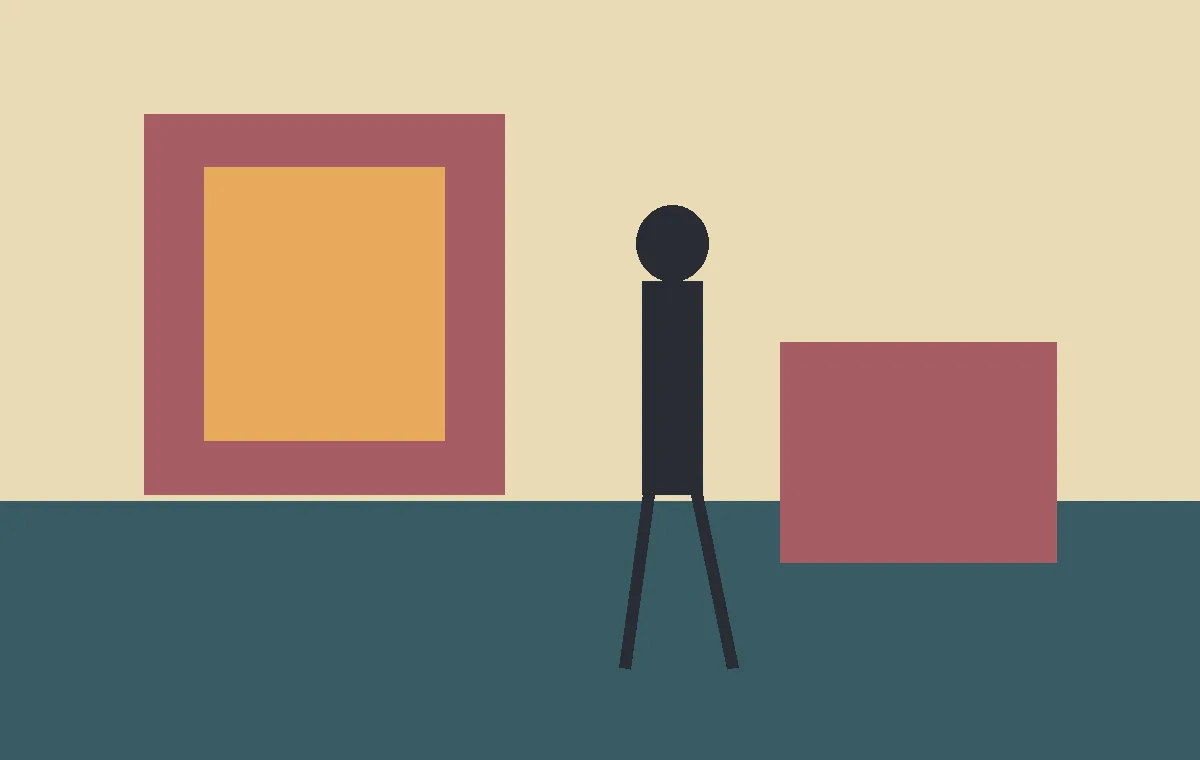
An original neutral practice image
Download the original illustrated practice image. It contains known flat colors and edges, so it can help you notice a global color or contrast change. It is a still illustration, not a calibrated camera chart or a neutral test clip. Do not use it to make claims about camera noise, skin reproduction or motion performance.
A simple grading recipe
First establish correct input interpretation. Balance neutral tones and exposure; inspect the scopes; apply a restrained creative adjustment; compare before and after; then verify the intended output transform. Keep the correction and the creative look separate so a change to one does not conceal a problem in the other.
The Resolve Offset guide explains a global balance control. The color-theory guide helps you choose the relationships you want before adding a look.