Making creative collages on my iPhone is one of my favorite hobbies – I just love combining photos into artful designs!
There are so many great collage making apps and tools available on iPhone. I’ve explored just about all of them, and figured out which ones work best for my different collaging needs.
In this post, I’ll share how I use the built-in Photos app, Shortcuts, PicCollage, and Canva to make cool collages that are perfect for Instagram, blogs, Facebook, and more. You’ll also get my top collage design tips, so you can create your own stunning iPhone photo collages!
Quick and Simple: The Photos App
Let’s start with the basics! The Photos app that comes standard on every iPhone offers a no-fuss way to whip up a photo grid collage in seconds.
I like to use the Photos app when I just need a quick and easy collage I can post on Instagram or Facebook. Here’s astep-by-step look at how I make collages with it:
Step 1: I open the Photos app and browse all my albums to pick the specific images I want to use – usually between 4 and 9 photos. I make sure to pick pics that have similar vibes or colors.
Step 2: Once I select my photos, I tap the Select button in the upper right corner. This lets me compile all the photos in one place.
Step 3: When I have all my photos selected, I tap the three-dot menu button in the bottom left. From the menu that pops up, I choose the “Create Collage” option.
Step 4: The Create Collage screen opens up, with my photos arranged in a grid format. I can tap and drag to rearrange where the photos are placed in the grid. I like playing around to find an arrangement I like.
Step 5: To adjust the zoom and cropping on any photo, I use pinch and zoom gestures on the image. I zoom in to focus on key elements or zoom out to fit more into the frame.
Step 6: When I’m all done arranging and have a layout I’m happy with, I tap “Done” to save the finished collage to my camera roll.
And that’s it! The Photos app makes whipping up a fast photo collage totally painless. I can go from picking my photos to sharing a collage on social media in under 5 minutes.
The biggest limitations with the Photos app are the lack of design options and collage templates. You can only use the basic square grid format, so there’s no customizing to make each collage unique. But I don’t mind the uniform look for my quick Instagram photo dumps or memory recaps!
Tailored Layouts with Shortcuts
If I want more personalized design options for my iPhone collages, I turn to the Shortcuts app.
The Shortcuts app lets you automate different functions on your iPhone using preset formulas called shortcuts. There are tons of handy collage-building shortcuts people have created, which offer more custom layouts than the native Photos app.
After browsing the selection, I found the “Create Photo Collage” shortcut to be my favorite. Here’s an overview of how I use it:
Step 1: I downloaded the “Create Photo Collage” shortcut from the Shortcuts app gallery. Now it’s ready to use whenever I need it!
Step 2: When I’m ready to make a collage, I open the Shortcuts app and tap the “Create Photo Collage” shortcut.
Step 3: The shortcut asks me to select my photos. I tap through all my recent albums and choose the photos I want to use, usually around 9 images.
Step 4: After I select my photos, it takes me to a screen where I can customize the layout. I can choose options like 2 rows and 4 columns or a heart-shaped grid.
Step 5: I also adjust the spacing between photos, corner rounding, background color, photo border, and more. I tailor it based on the vibe I want.
Step 6: When all my layout settings are dialed in, I tap the “Create Collage” button and the shortcut gets to work!
Step 7: My finished, customized collage is saved right to my Photos app. Then I can easily share it anywhere I want!
I love having the flexibility to customize the grid dimensions, spacing, and background when I want more design freedom. The Shortcuts collages feel polished and thoughtfully crafted thanks to the templates. This has become my go-to collage maker when I need something more than a basic grid but don’t want to get too complex.
Unleashing My Creativity with PicCollage
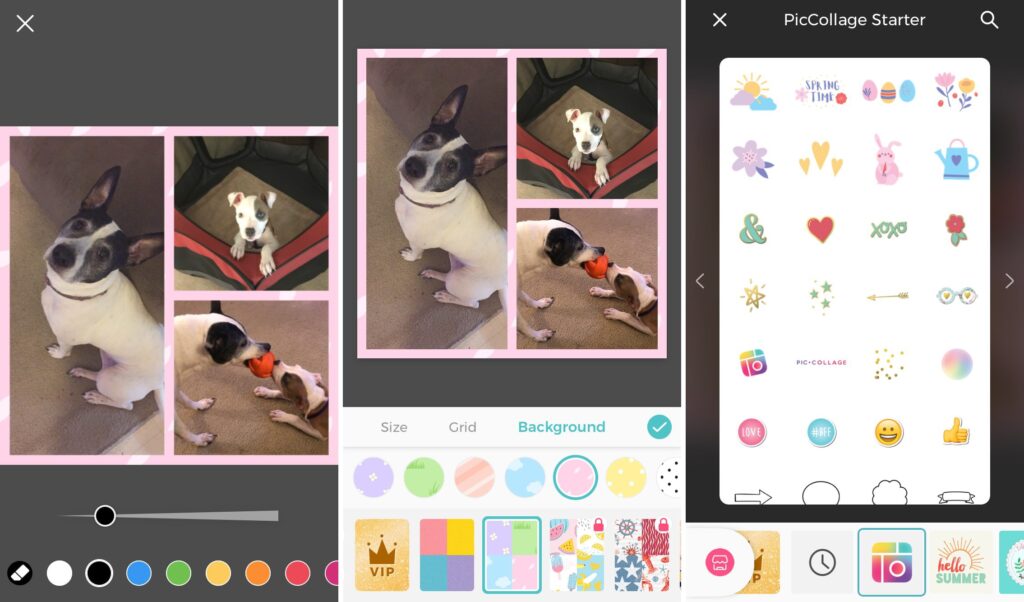
When I’m feeling extra creative and want to add colorful backgrounds, funky stickers, text overlays, and fun touches to my photo collages, there’s one app I turn to: PicCollage!
PicCollage has become my favorite collage making app when I want to add an artistic flair. The possibilities feel endless thanks to all the templates, grids, fonts, overlays and design elements you can work with.
Let me walk through my typical creative process when I use PicCollage:
Step 1: I start by browsing PicCollage’s extensive selection of canvas sizes, grids, and layouts. I look for one that fits the vibe and orientation of my photos.
Step 2: Once I choose my ideal layout, I start adding photos. I’m able to pinch, zoom, rotate, layer, and tilt each image to get the perfect arrangement.
Step 3: This is where things get fun! I start customizing by tapping the Overlays button, which lets me add colored backgrounds, funky borders, cool textures and patterns, and decorative stickers on top of my photos. I can also adjust opacity to create a layered, mixed media look.
Step 4: PicCollage makes it super easy to add text too. I’ll often put a word or phrase that sums up the collage in a cool font as the finishing touch.
Step 5: If I need to tweak the dimensions or positioning, I use the Crop icon to adjust and refine the overall canvas.
Step 6: When I’m satisfied with my artistic collage, I tap the checkmark to save it to my camera roll.
As you can see, PicCollage lets me fully embrace my creativity and craft one-of-a-kind collages from start to finish. I can literally spend hours exploring the extensive design options. If you love artistic projects and design, PicCollage is a must-try app!
The only disadvantage of PicCollage is the watermark they add on free collages. If you want to remove it, you have to upgrade. But for me, the cool features outweigh that con.
Elevating My Collages with Canva
When I need to create a polished, professionally designed collage for a blog header, Facebook post, or other “branded” use, Canva is my go-to.
Canva has a bit more of a learning curve, but once I got the hang of it, I was able to design beautiful, cohesive collages with a wow-factor.
Even though it’s an iPhone app, Canva gives you many of the same stellar features as the desktop version. Here’s how I use it:
Step 1: I start by browsing Canva’s extensive collage templates categorized by size and purpose. If I’m designing one for social media, I pick an Instagram or Facebook option. Or I might choose a bulletin template for my vision board.
Step 2: After I choose my template, I tap “Edit” which brings me to Canva’s editor. I delete any sample images and start adding my own photos.
Step 3: Just like PicCollage, I’m able to pinch-zoom, rotate, resize, and position my photos within the layout grid. I move them around until I’m pleased with the arrangement.
Step 4: Next I explore all the design elements – we’re talking hundreds of fonts, animated text options, shapes, lines, stickers, icons, and illustrations I can layer onto my collage. This is where it starts coming to life!
Step 5: I also take advantage of Canva’s backgrounds and filters to create an overall color scheme and style for my collage. This gives it a super polished, professional look.
Step 6: When every element looks perfect, I tap the blue Download arrow to save my creation to my camera roll.
Though it takes more time to learn, Canva gives me the tools to design truly stunning collages I’m proud to share and use to represent my brand online. The learning curve pays off in the end result!
The only Canva limitation is that they add their brand watermark to anything you design for free. You have to pay to remove it. But the rest of the amazing features make up for it in my book.
My Go-To Collage Design Tips and Tricks
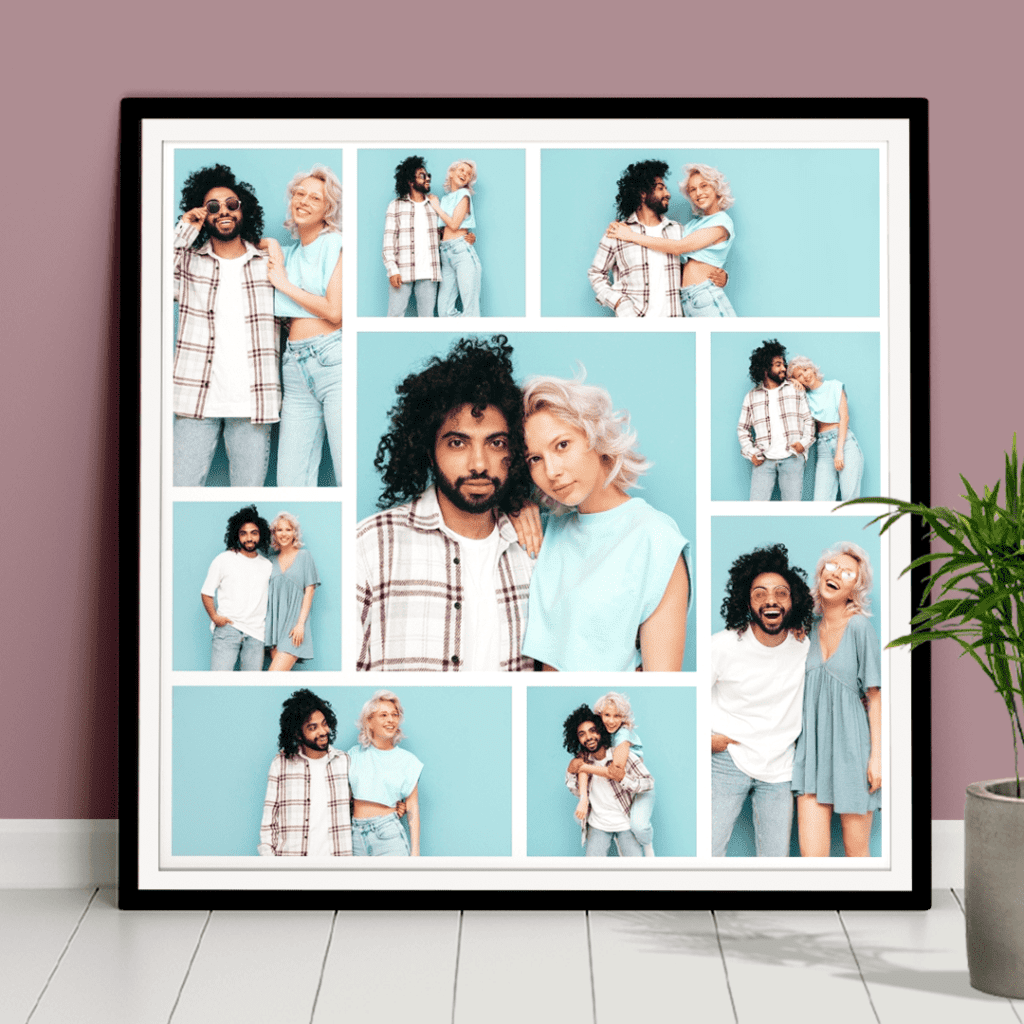
Creating cohesive, visually pleasing collages takes a bit of practice and planning. Over the years I’ve learned some key design principles and tips for making eye-catching collages that pop.
Here are my top collage design tips I keep in mind for iPhone and any collage project:
Pick a Color Scheme or Style
I start by choosing a cohesive color scheme or filter, then edit all my photos to match that look. Keeping the same tone and vibe ties everything together nicely. I love monochromatic and vintage filter collages.
Overlap Images Strategically
Layering images on top of each other adds awesome depth to collages. But I’m careful not to overdo it. I pick just a few photos to overlap in purposeful spots, usually off-center.
Frame Key Elements
Adding borders, backgrounds, or shapes behind focal points makes them stand out. I might frame a meaningful photo with a colored shape or white border to draw the eye.
Create Visual Flow
I arrange my collage components to guide the viewer’s eye on a visual path through the composition. Overlapping or strategic placement achieves this nicely.
Balance Large and Small
A mix of bleed images and smaller photos provides hierarchy and interest. I dot smaller shots throughout to break up big areas and lead the eye.
Limit Photos
Too many photos crowded together makes for visual chaos. I cap my collages at 12 images max, with simpler grids using only 4-6 photos. Negative space is important!
Mind the Margins
I avoid letting photos hit the very edge of the canvas. Having a little margin around the perimeter keeps it from feeling too crowded.
Add Written Words
Text adds emphasis and helps convey the story or meaning behind my collages. I overlay my title or descriptive words in an interesting font.
Align and Space Evenly
I keep images, text, and other elements aligned and evenly spaced for a clean composition that’s not distracting. Alignment creates cohesion.
By keeping these design principles in mind as I arrange my collages in different apps, I’m able to create polished pieces I truly love sharing on social media and my photography websites. They tell a visual story and elevate my images from snapshots to art.
I hope breaking down my entire iPhone collage process gives you some inspiration and tips to try it yourself! With so many apps and tools out there, you can unleash your creativity and start collaging in no time. I can’t wait to see what you make. Happy collating!
FAQ – Collage iPhone
To make a collage on your iPhone, you can use the built-in “Photos” app for simple collages or you can use third-party applications such as Google Photos, Canva or the Layout from Instagram app for more complex collages. These apps can be downloaded from the App store.
Yes, you can use Google Photos app to create a photo collage on your iPhone. This app lets you create collages easily with multiple photos. You can download Google Photos from the App store.
Yes, you can use your existing Photos app on your iPhone to make a simple collage. For example you can create an Instagram story using multiple photos. Alternatively, you can use iPhone Shortcuts to create a collage without the need for in-app purchases or third-party apps.
Here’s how to make a collage on your iPhone using Canva: Step 1: Download Canva from the App Store. Step 2: Open the app, and select a photo collage template. Step 3: Tap on the bottom of the screen to add your photos. Step 4: Arrange the photos in your preferred order and save the collage.
Yes, there are ways to create photo collages on your iPhone without making in-app purchases. You can use the iPhone Photos app, Google Photos, which is free, or you can use iPhone Shortcuts to create a collage.
To make a collage on your iPhone using Layout from Instagram, download the app from the App Store. Once installed, it will let you select multiple photos from your iPhone to create a photo collage. You can then rearrange the photos and save the image to your iPhone.
Some of the best photo collage apps for iOS include Canva, Google Photos, Layout from Instagram, and the native Photos app. These apps offer various templates and tools to help you easily create photo collages on your iPhone.
To make a collage with just one photo on your iPhone, you may need a third-party app that has a single-photo collage mode. Apps like Canva offer a variety of templates that can divide a single image into a collage-like layout.
You can use the native Photos app to make a simple photo collage on your iPhone. Also, you can make a collage through your iPhone Shortcuts. These are inbuilt features within your iPhone’s OS, so you won’t need to download a third-party app.
The iPhone’s native Photos app does not offer specific collage templates. However, apps like Google Photos, Canva, and Layout from Instagram, which are available on the App store, provide various photo collage templates that you can use to create unique and personalized photo collages.

