Sony OCELLUS (ASR-CT1) is a camera-tracking system for virtual production and augmented reality. It supplies camera position and orientation data so rendered imagery can follow a physical camera. Sony announced the system on March 18, 2025.

What the system contains
| Component | Job |
|---|---|
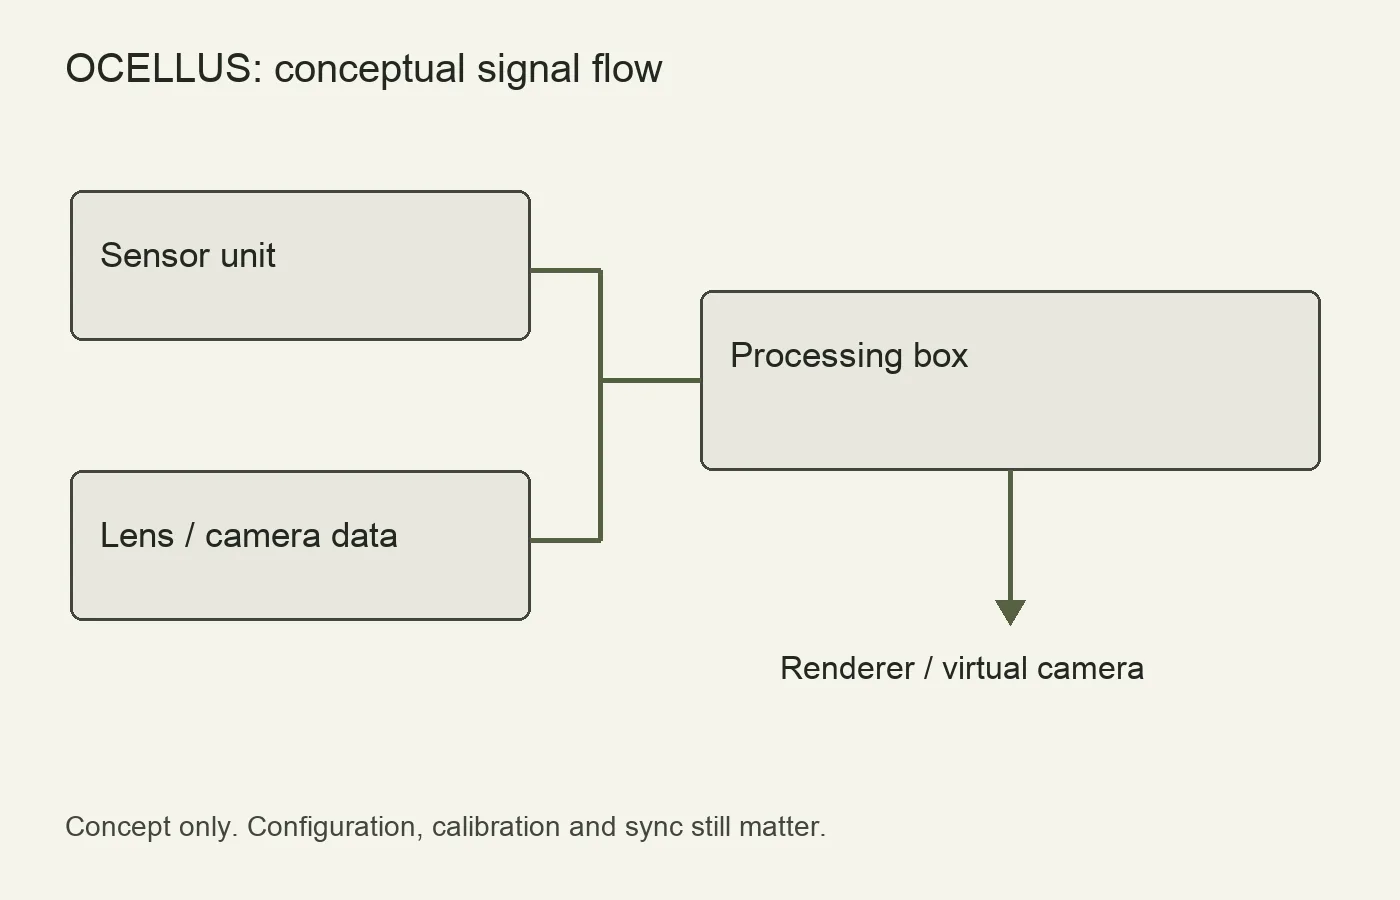
| Sensor unit | Uses multiple image sensors to observe the surroundings for tracking. |
| Processing box | Processes tracking information and connects it to the production workflow. |
| Lens encoder / lens metadata | Provides lens information needed to relate the virtual view to the real lens. |


Sony describes marker-free tracking using Visual SLAM. Marker-free means the tracking method does not depend on placing dedicated tracking markers throughout the set; it does not mean every surface, lighting condition or move is equally easy to track. See Sony’s OCELLUS product documentation for supported components and configuration.
Signal flow
- The sensor unit observes the set as the camera moves.
- The processing box produces camera-tracking data.
- Camera/lens metadata and calibration connect that movement to the virtual camera.
- The renderer uses the configured tracking feed to update the virtual view.
A practical use case
Imagine a presenter walking beside a virtual vehicle in a studio. As the camera moves sideways, the rendered vehicle must change perspective in step with the lens. Tracking supplies the motion; the rest of the production still has to manage lens calibration, coordinate alignment, synchronization and the render pipeline.

Separate live tracking from recorded tracking data
A live augmented-reality shot needs the renderer to receive usable camera and lens data during the take. A post-production workflow also needs saved data that can be matched to the camera clip. Plan both deliberately; an image that appears aligned on the stage monitor is not proof that the required tracking file has been recorded.
Sony’s March 2026 setup guide distinguishes free-d output from FBX recording. With lens encoders, actual focus, iris and zoom values require lens tables; ring-position percentages are not recorded as those values in FBX. Confirm the values in the interface before a test take, then open the saved file in the intended post application.

What marker-free tracking still needs
Marker-free operation does not remove mapping, a coordinate origin or the measured relationship between the tracking sensor and the image sensor. Those are separate setup tasks. If a virtual object looks correct in one camera position but slips during movement, examine calibration and synchronization as well as tracking status. A stable tracking indicator alone does not prove correct lens geometry.
- Finalize the physical package. Mount the sensor where it can see useful stationary features and is not routinely blocked by accessories or the operator.
- Map the intended movement area. Include the heights and positions used in the actual shot, not only a convenient walk around the middle of the stage.
- Establish a shared origin. Agree with the renderer operator how the physical reference corresponds to the virtual scene.
- Rehearse the camera and lens changes. A tracking test with a fixed lens setting does not check the result of a focus pull or zoom.
The setup guide provides the mounting, offset, mapping and origin procedures. Treat this sequence as a preparation overview and follow its diagrams for measurements. Do not substitute guessed offset values.
A useful acceptance test for an integrator
Place a virtual reference against a clearly defined physical reference, then record a static hold, lateral move, pan, tilt and the planned lens adjustment. Review the recorded composite at normal speed and frame by frame. Note whether an error is constant, appears only during movement, grows toward the edge of the frame or follows a change in zoom. These observations help distinguish alignment, timing and lens-model problems without pretending that one symptom proves a single cause.
Repeat under the production lighting, with the actual crew and accessories in position. Retain the camera clip, tracking file, lens configuration, software versions and setup notes. Sony’s Unreal Engine connection guide covers that specific integration route; a successful connection is the beginning of validation, not an end-to-end accuracy measurement.
Checks before committing a production
- Confirm the exact camera, lens and encoder configuration with the integrator.
- Check the renderer and tracking protocol configuration against Sony’s setup guide.
- Test the actual stage, lighting and intended camera moves.
- Verify calibration after mounting or lens changes.
- Record tracking stability and end-to-end delay in the actual system.
Sony publishes a setup guide and an Unreal Engine connection guide. Follow the versions that match your installation. A product announcement does not establish compatibility with every engine version.
For the visual work that tracking supports, see how CGI fits into production and the cinematographer’s responsibilities.