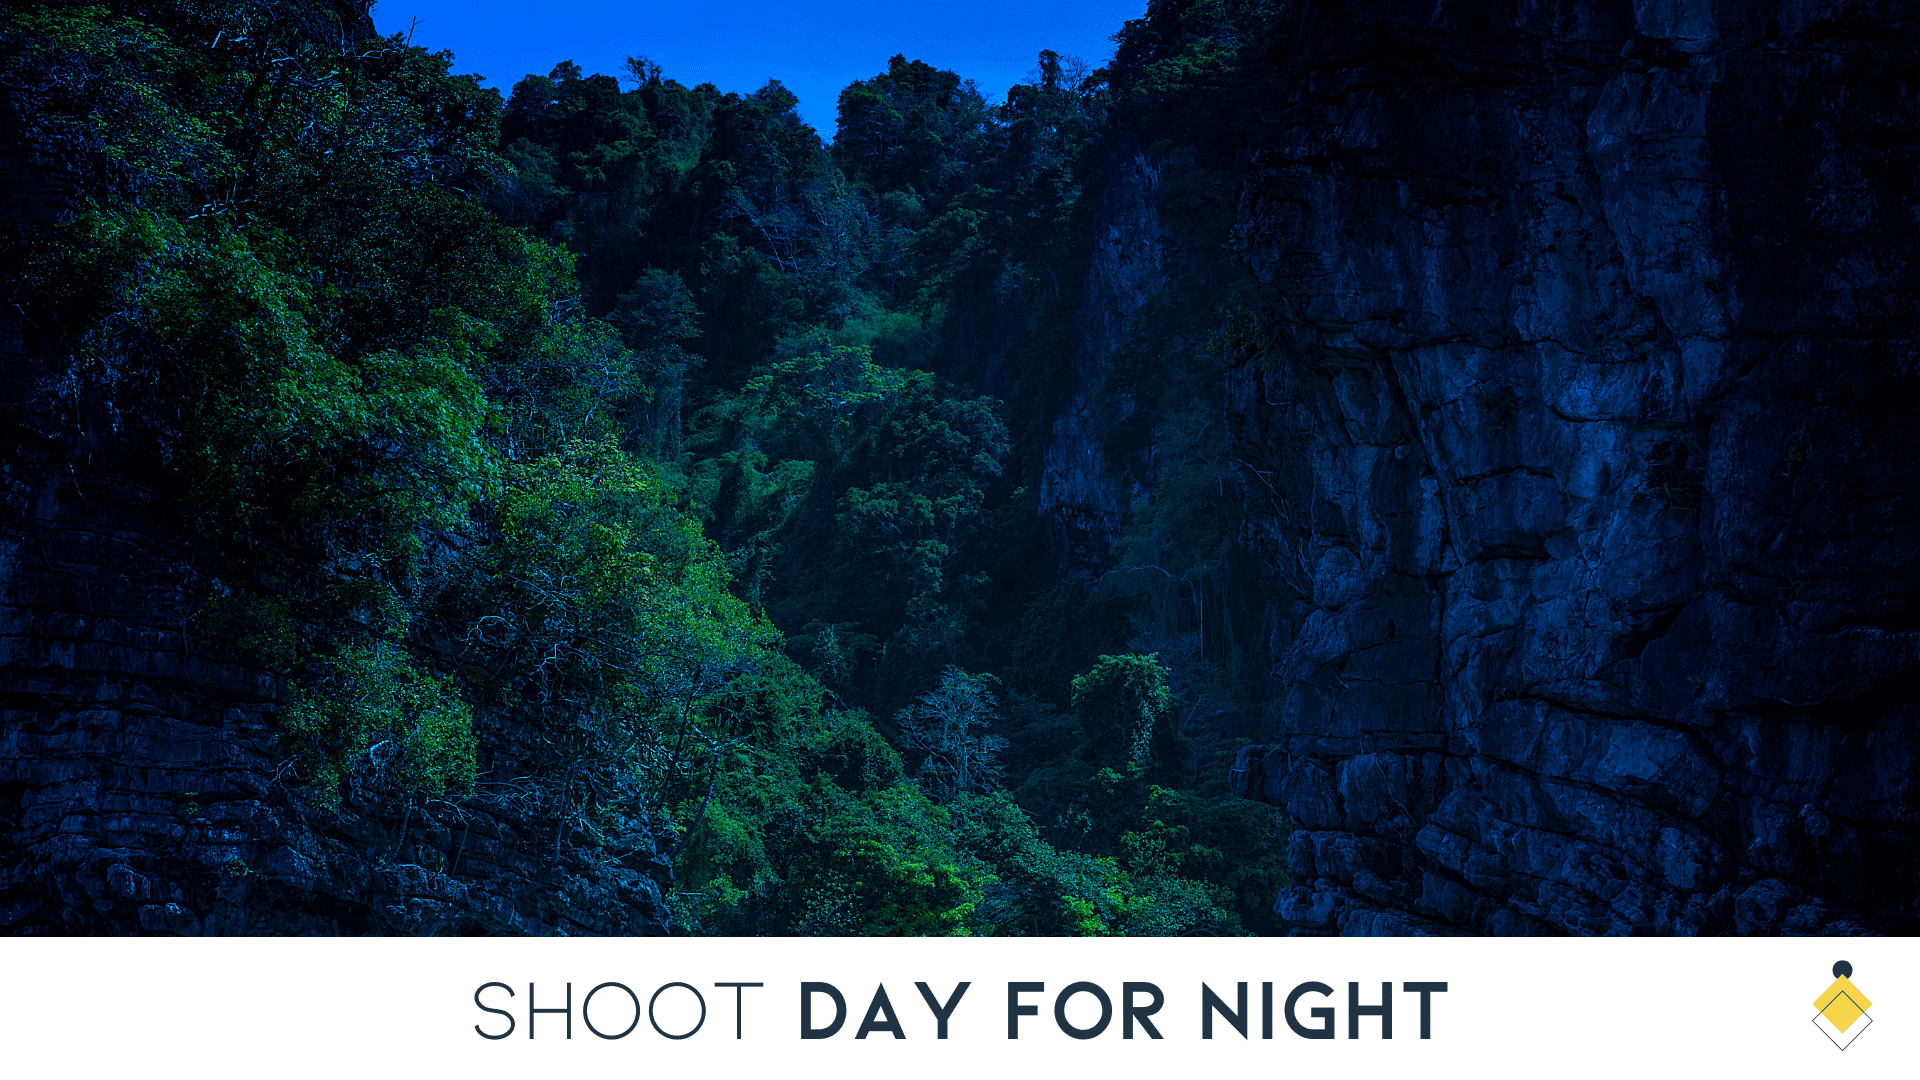
Shooting a night scene during the day is a common technique used by filmmakers. This method, known as day for night shooting, can save time and money on production. In this article, we’ll share key techniques and tips to help you create convincing night footage while filming in daylight.
Read on to learn how to shoot day for night like a pro.
Definition of Day for Night Shooting
Day for night shooting is a filmmaking technique that simulates a nighttime scene while filming during daylight hours. This cinematic method involves underexposing the footage and color grading it in post-production to create the illusion of darkness.
Filmmakers use day for night shooting to capture exterior scenes that appear to take place at night. They carefully choose the time of day, usually during the “golden hour” just before sunset or after sunrise, when the sun is low in the sky and casts long shadows.
The videographer adjusts the camera settings to underexpose the image, making it darker and more reminiscent of nighttime lighting conditions.
Benefits of Day for Night Shooting
Day for night shooting saves time and money. It also gives you more control over lighting conditions and increases safety.
Saving time and money
Day for night shooting offers significant advantages in terms of budget and scheduling. Producers can cut costs on equipment rentals, crew overtime, and location fees by filming daytime scenes that mimic nighttime settings.
This technique allows filmmakers to capture more footage within the limited daylight hours, reducing the number of shooting days required and keeping projects on track.
By carefully planning shots and employing post-production color grading tools like DaVinci Resolve, cinematographers can create convincing nighttime visuals without the need for expensive lighting setups or generator rentals.
More control over lighting conditions
Shooting day for night gives filmmakers greater command over illumination. They can pick the ideal time of day when the sun is at the right angle and intensity. Polarizing filters on lenses cut glare and reflections.
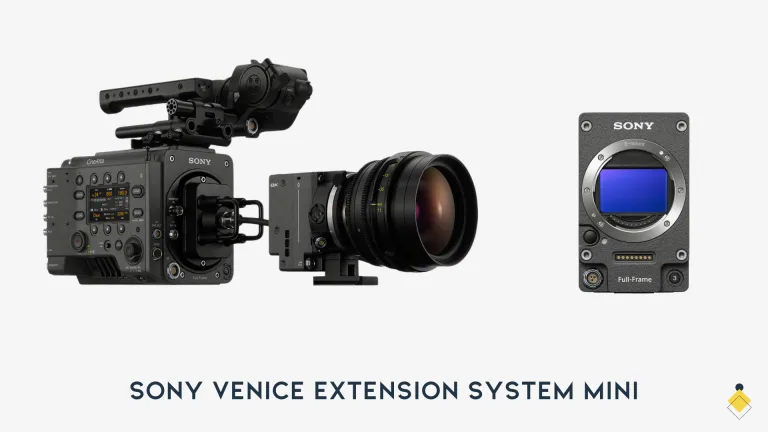
Cameras like the Alexa Mini provide more options for managing exposure in day for night scenes. Its compact size allows shooting in tighter spaces. The color science helps achieve the desired nighttime look in post-production.
Increased safety
Shooting in daylight also increases safety for cast and crew. Day for night shots cut risks that come with filming at night. Crews have better visibility to set up equipment and stunts safely.
They can spot potential hazards easier than under dark skies.
This is key for action scenes with dangerous moves. Stunt coordinators choreograph sequences with more confidence when they see clearly. Actors feel secure performing in well-lit areas versus dim sets.
Drawbacks of Day for Night Shooting
Day for night shooting may reduce realism, increase post work, and make it tough to get a convincing night look.
Reduced realism
Day for night shooting can make scenes look artificial and fake. The lighting is off, and the colors aren’t quite right. Shadows fall in the wrong places, and the sky is too bright.
These details give away that the scene was shot during the day, not at night.
Filmmakers must be careful with exposure and color grading to create a convincing nighttime look. Even with careful post-production work in video editing software, the footage may still lack the authenticity of a real night shoot.
Increased post-production work
Day for night shooting can lead to a lot more work in post-production.Color grading software like DaVinci Resolve is often used to change the color palette, adjust brightness, and manage midtones to make the footage look like it was shot at night.
Careful editing is also needed to handle practical lights and shadows in a way that maintains the illusion of nighttime.
All of this extra effort in the editing room can negate some of the benefits gained from shooting day for night in the first place. While you may save time on set by not having to wait until dark to film, that time gets shifted to the back end of the filmmaking process instead.
Challenges in achieving a convincing night look
Achieving a convincing night look while shooting in daylight presents several challenges. The biggest giveaway is often the sky. Even with underexposure and color grading, a bright daytime sky can make the scene look artificial.
Hard shadows cast by the harsh sun also betray that it was shot during the day. Eliminating these telltale signs requires meticulous framing, lighting control, and post-production work.
Street lights, car headlights, and other light sources need special attention in day for night scenes. They must appear much brighter in relation to the rest of the scene to sell the illusion of darkness.
Key Techniques for Effective Day for Night Shooting
Choosing the right time of day and managing exposure are crucial for effective day for night shooting. Selective framing to avoid the sky and using polarizers to reduce glare can make your footage look more like it was shot at night.
Choosing the right time of day
Choosing the right time of day is a key factor in achieving an effective day for night look. Late afternoon or early evening, often called the “golden hour,” provides softer and more directional light that can mimic moonlight.
This time frame also casts longer shadows, adding depth and dimensionality to the scene.
Shooting during this period allows filmmakers to control the sun’s position, using it as a backlight to create separation between the subject and the background. By carefully framing out the sky and using filters like polarizers to reduce glare, the footage can be color graded in post-production to resemble a convincing nighttime setting.
Managing exposure
Exposure management is vital when shooting day for night. Keep the camera’s ISO low, around 100 to 200, to avoid overexposing the image. Close down the aperture to f/8 or smaller to reduce the amount of light entering the lens.
These settings will produce a darker exposure that looks more like nighttime.
Shutter speed also plays a key role in exposure control. Use a slower shutter speed, such as 1/60th or 1/30th of a second, to further darken the image. A neutral density filter can also help reduce light entering the camera.
Selective framing to avoid the sky
After adjusting exposure, the next step is carefully composing shots to exclude the sky. The bright daytime sky is a dead giveaway that footage was shot during the day, not at night.
Filmmakers should frame their shots tightly on subjects and use buildings, trees, or other elements in the scene to block out any view of the sky. By keeping the camera pointed downward and avoiding wide shots that include the horizon, it’s much easier to sell the illusion of nighttime in post-production.
Using polarizers to reduce glare
Framing out the sky can help, but glare from other surfaces can still give away the day-for-night effect. Polarizing filters are a filmmaker’s secret weapon for reducing unwanted reflections and shine.
These special lens attachments work by only allowing light waves vibrating in a specific direction to pass through, cutting down on glare from water, glass, and other shiny objects in the shot.
Polarizers come in two main types: linear and circular. While both do the job, circular polarizers are the go-to choice for most modern cameras. By rotating the filter, the cinematographer can dial in just the right amount of glare reduction to make the scene look more like night.
Color Grading for Day for Night Footage
Color grading changes the color palette, adjusts luminance, and manages midtones to make day shots look like night. DaVinci Resolve helps filmmakers achieve a realistic night look in post-production.
Read on for more tips and techniques to transform your daytime footage.
Changing the color palette
Color grading transforms day for night footage into a convincing nighttime look. Filmmakers adjust the luminance, saturation, and hues using software like DaVinci Resolve or plug-ins from Boris FX.
They create a bluish tint, darken the midtones, and add contrast to mimic moonlight and shadows.
Skilled colorists composite a starry night sky and replace sun shadows with synthetic moon shadows. They eliminate glare with polarizers during shooting and bring back detail in post-production.
Adjusting luminance
After changing the color palette, the next step is to adjust the luminance. This involves altering the brightness and contrast of the footage to create a more convincing nighttime look.
Use color grading software like DaVinci Resolve to darken the overall image while still maintaining some detail in the shadows. Pay special attention to light sources in the shot, such as street lamps or car headlights, and make sure they stand out against the darker background.
Balancing the luminance is crucial for selling the day for night effect. If the image is too bright, it will give away the fact that it was shot during the day. On the other hand, if it’s too dark, viewers won’t be able to see what’s happening in the scene.
Managing midtones
After adjusting luminance, the next step is managing midtones. Midtones are the range of tones between the brightest highlights and darkest shadows. They play a significant role in creating a convincing night look when shooting day for night.
Pay close attention to practical lights in the scene, such as street lamps or car headlights. These light sources can give away the effect if not handled properly. Use plugins like Mocha Pro by Boris FX to composite a starry night sky and replace daytime shadows with nighttime ones.
This post-processing work helps bring back some detail in the midtones while maintaining the illusion of a night scene.
Post-production Tips for Day for Night Shooting
Post-production is the key to nailing the day for night look. DaVinci Resolve and other video editing software help you refine your footage.
Using software like DaVinci Resolve

DaVinci Resolve is a powerful color correction software. It helps filmmakers create a convincing day for night effect in post-production. The software offers advanced tools for adjusting color, luminance, and midtones.
These tools allow precise control over the footage to mimic nighttime conditions.
DaVinci Resolve’s node-based workflow enables non-destructive editing. This means changes can be made without altering the original footage. The software’s tracking capabilities also help maintain consistent color grading across shots.
Importance of testing and tweaking
Extensive testing and tweaking during post-production is critical for achieving a convincing day for night look. Filmmakers must experiment with various color grading techniques using video editing applications to find the right balance of exposure, color temperature, and contrast.
They should also carefully scrutinize how different light sources and shadows appear in the footage, making adjustments as needed.
Iterative refinement is key. Directors and editors should review the color graded footage multiple times, making small tweaks to settings like saturation, luminance curves, and color wheels until the desired nighttime aesthetic is achieved.
Conclusion
Day for night shooting is a valuable filmmaking technique that can save time and money. But it requires careful planning and execution to achieve a convincing night look. By using the right techniques during shooting and post-production, including color grading software like DaVinci Resolve, you can create night scenes that look realistic.
With some practice and tweaking, day for night shooting can be a powerful tool in your filmmaking arsenal.
FAQ – How to Shoot Day For Night
The pros of shooting day for night include greater safety and convenience, as well as reduced production costs, since filming during actual night can pose logistical challenges and hazards. Cons include potential difficulties in achieving a realistic day for night look, with issues such as harsh shadows and the sky not convincingly depicting night time, which can compromise immersion for the audience.
A day for night filter can significantly improve your daytime filming to look like night by reducing the intensity of daylight and altering its color temperature. This helps in mimicking the natural ambiance of night time, making it a crucial tool for filmmakers attempting to shoot day for night scenes. It’s essential for achieving a more realistic night filming look without actually shooting at night.
Yes, several tutorials offer in-depth guidance on night color grading to achieve a realistic day for night look. Filmmakers such as Noam Kroll, an award-winning Los Angeles based filmmaker, often share techniques explained through tutorials. These often cover the use of color grading tools, adjustments of blue tones, and the use of power windows to manage light and create the illusion of night during the post-production process.
Executing daytime scenes to look like night presents several challenges, including controlling harsh shadows that are unnatural at night, handling the brightness and color temperature of the daylight to mimic night time, and perhaps most importantly, making sure the sky isn’t perceptible if it can’t be convincingly darkened in post. These require careful planning, the right equipment, and expert post-production techniques to overcome.
Immersion is crucial when attempting to shoot day for night because it maintains the audience’s belief in the reality of the scene. Without a convincing night time look, viewers may become distracted or disengaged, which can diminish the impact of the scene. Filmmakers must meticulously manage various elements such as lighting, color grading, and environmental details to ensure that the day for night technique preserves the story’s illusion and emotional depth.
Yes, VFX techniques play a pivotal role in the post-production process for achieving a day for night look. This can include digital manipulation of the sky to make it appear dark, adding artificial light sources to simulate night time lighting, and using digital noise to mimic the grainier texture often associated with night filming. When executed well, these VFX techniques can significantly enhance the realism of a day for night scene.
The pipeline in shooting day for night refers to the structured process that guides a project from initial filming through post-production. It includes planning how to approach daytime shooting with a night look in mind, selecting the appropriate equipment like day for night filters, and implementing a detailed color grading and VFX strategy. A well-organized pipeline ensures that every aspect of achieving a realistic day for night look is addressed efficiently and effectively.
Award-winning filmmakers, including those like Noam Kroll, emphasize the importance of planning and testing when shooting day for night. They recommend thoroughly scouting locations to understand how light behaves throughout the day, experimenting with filters and camera settings to gauge their impact on the desired night look, and not underestimating the power of post-production techniques such as color grading and VFX to fine-tune the final output. Their experience underscores that achieving a convincing day for night look is as much about preparation and expertise as it is about creative vision.


